
Virtual Tactile Art Club - Origami
/These strange times have presented some confounding circumstances but also some extraordinary opportunities. The Tactile Art Club’s first virtual meeting was one such example. Normally, our club meetings are attended by students from Denver and Colorado Springs, but we took the opportunity of using the virtual platform to reach out to the Blind and Visually Impaired community across Colorado. The club continues to spread creativity and positivity through accessible art online!
On May 19th, the club held our first virtual meeting making origami Masu boxes with guest artist Jim Jackson. In planning this, I was grateful to have the expertise of Ann Cunningham in navigating the uncharted territory of teaching tactile art online. Learning about art virtually through meetings with TVI’s and attending the Teaching Art Online (TAO) Summit made me realize the potential of technology and illustrated that anything is possible.
After planning out the sessions, we did a trial run to gain student feedback on May 16th and conducted the live session through the National Federation of the Blind on May 19th. We were thrilled to have 27 participants join in. We taught each member the basic principles and vocabulary for origami, from the different types of folds to adaptive hand-eye coordination strategies for the visually impaired. After a night of fun with jokes, trivia, Q&A, and limitless imagination, the online meeting was a huge success!
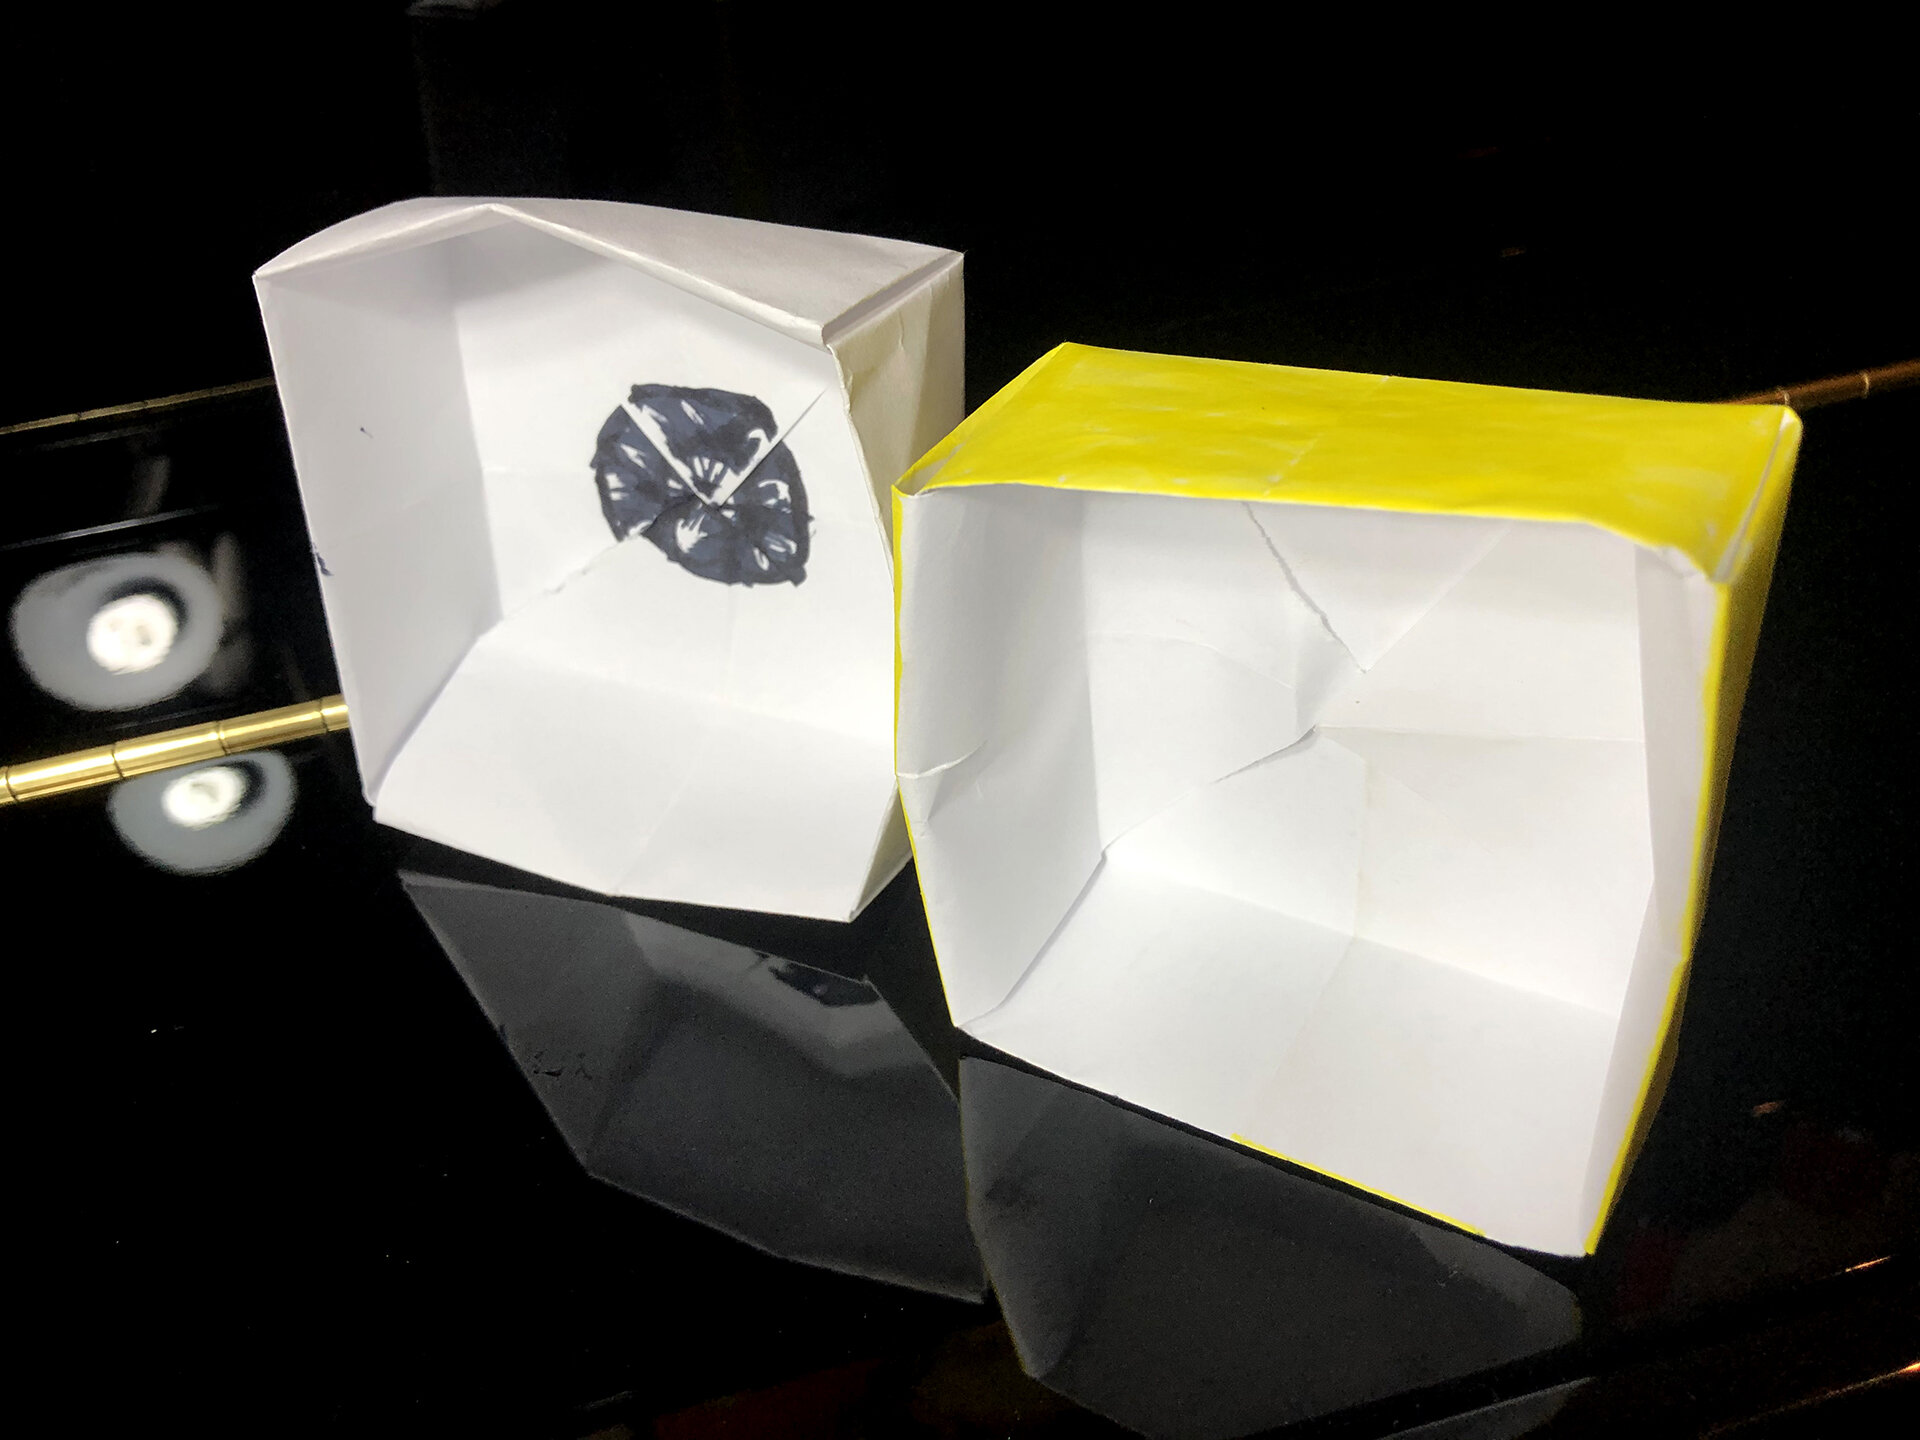
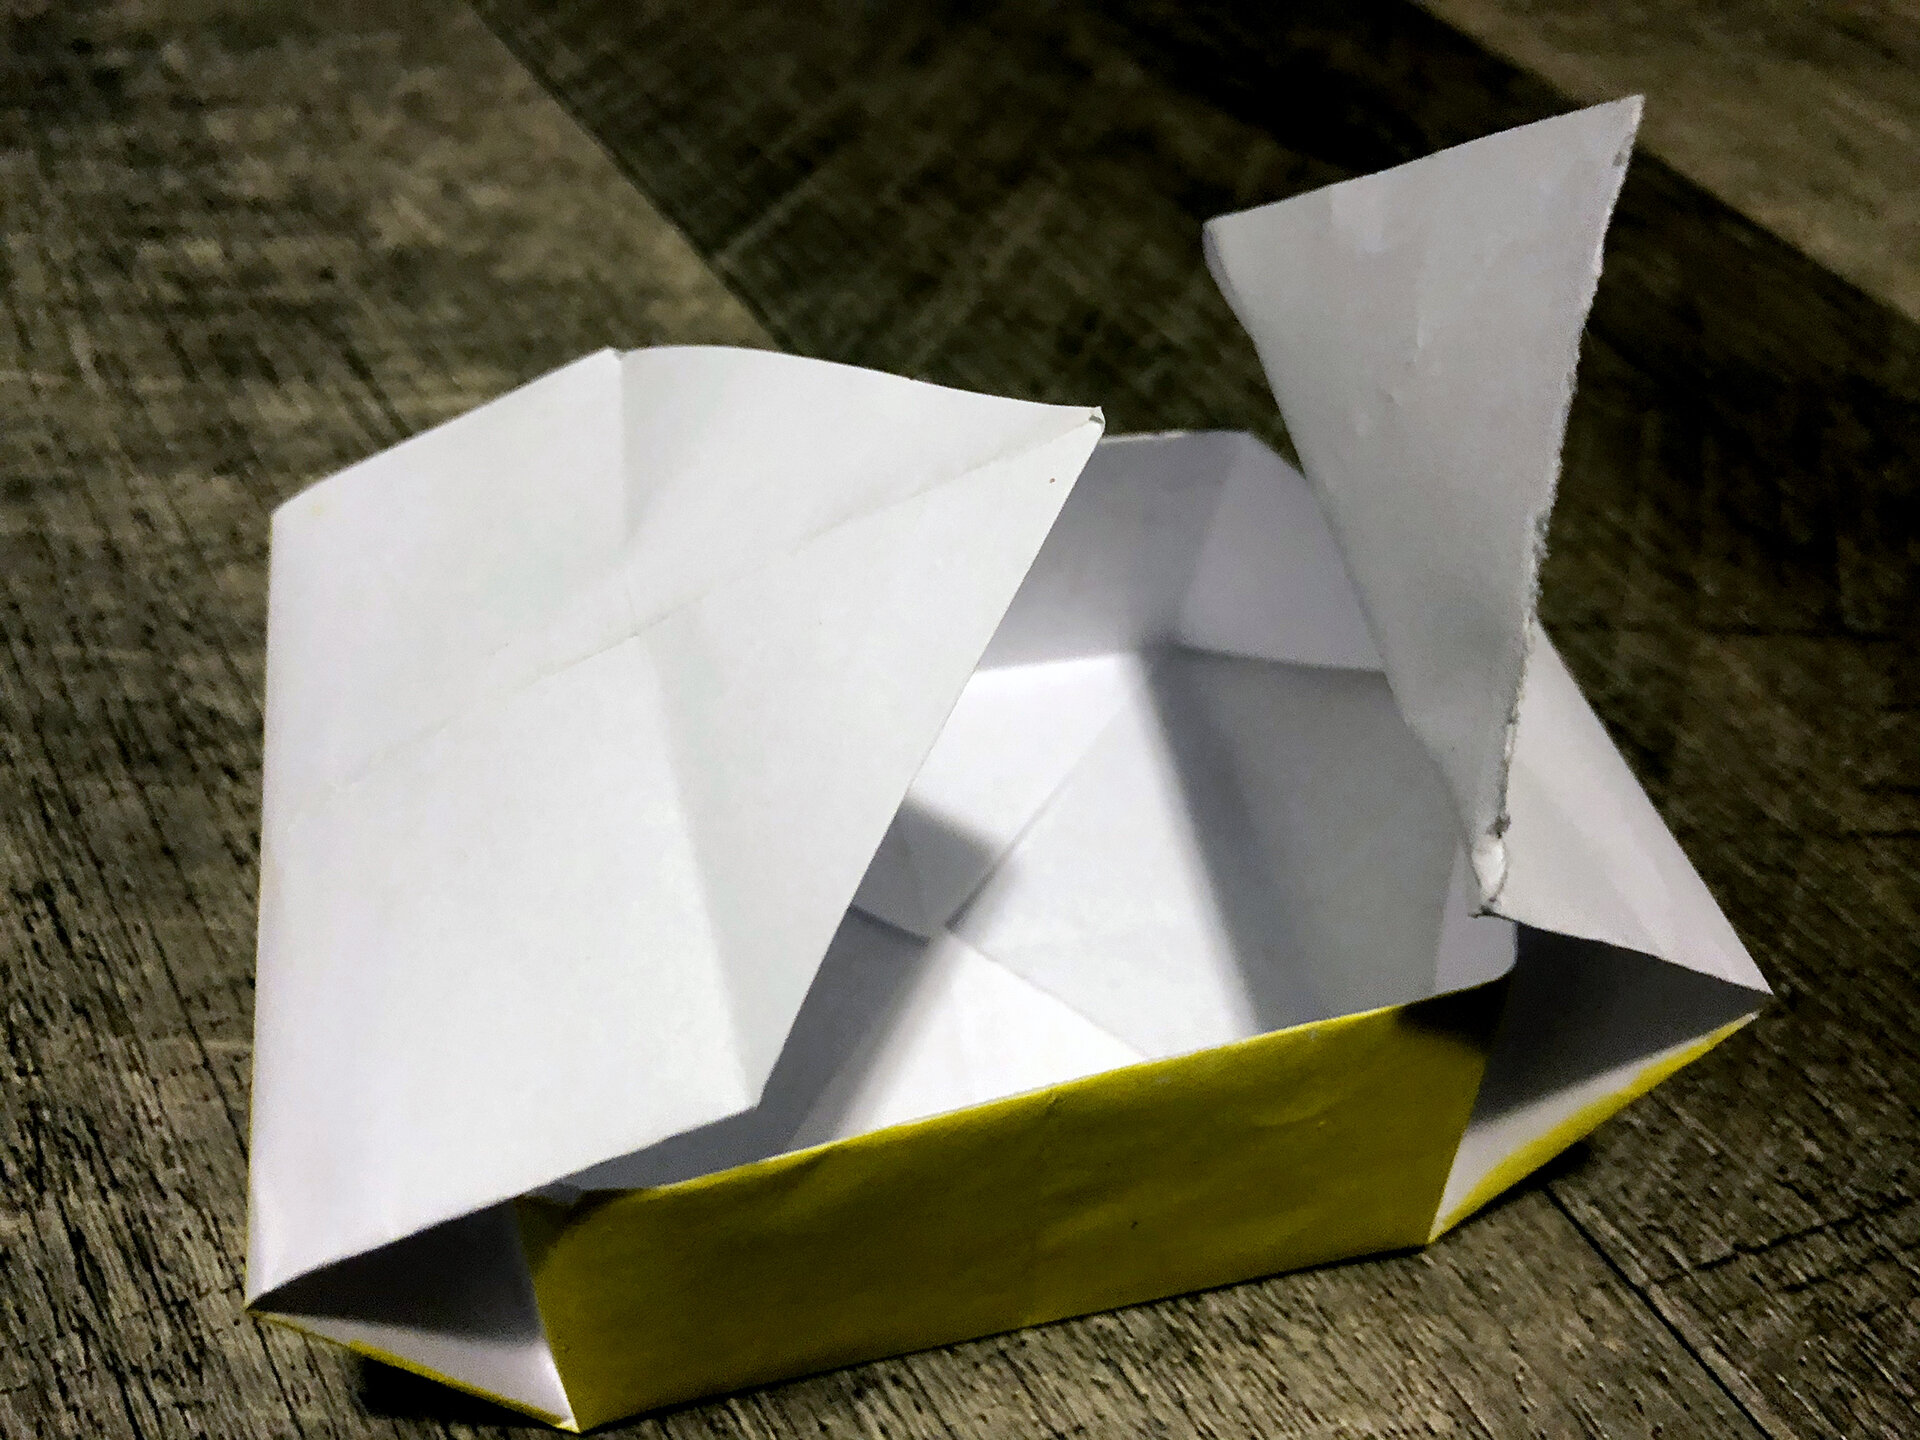
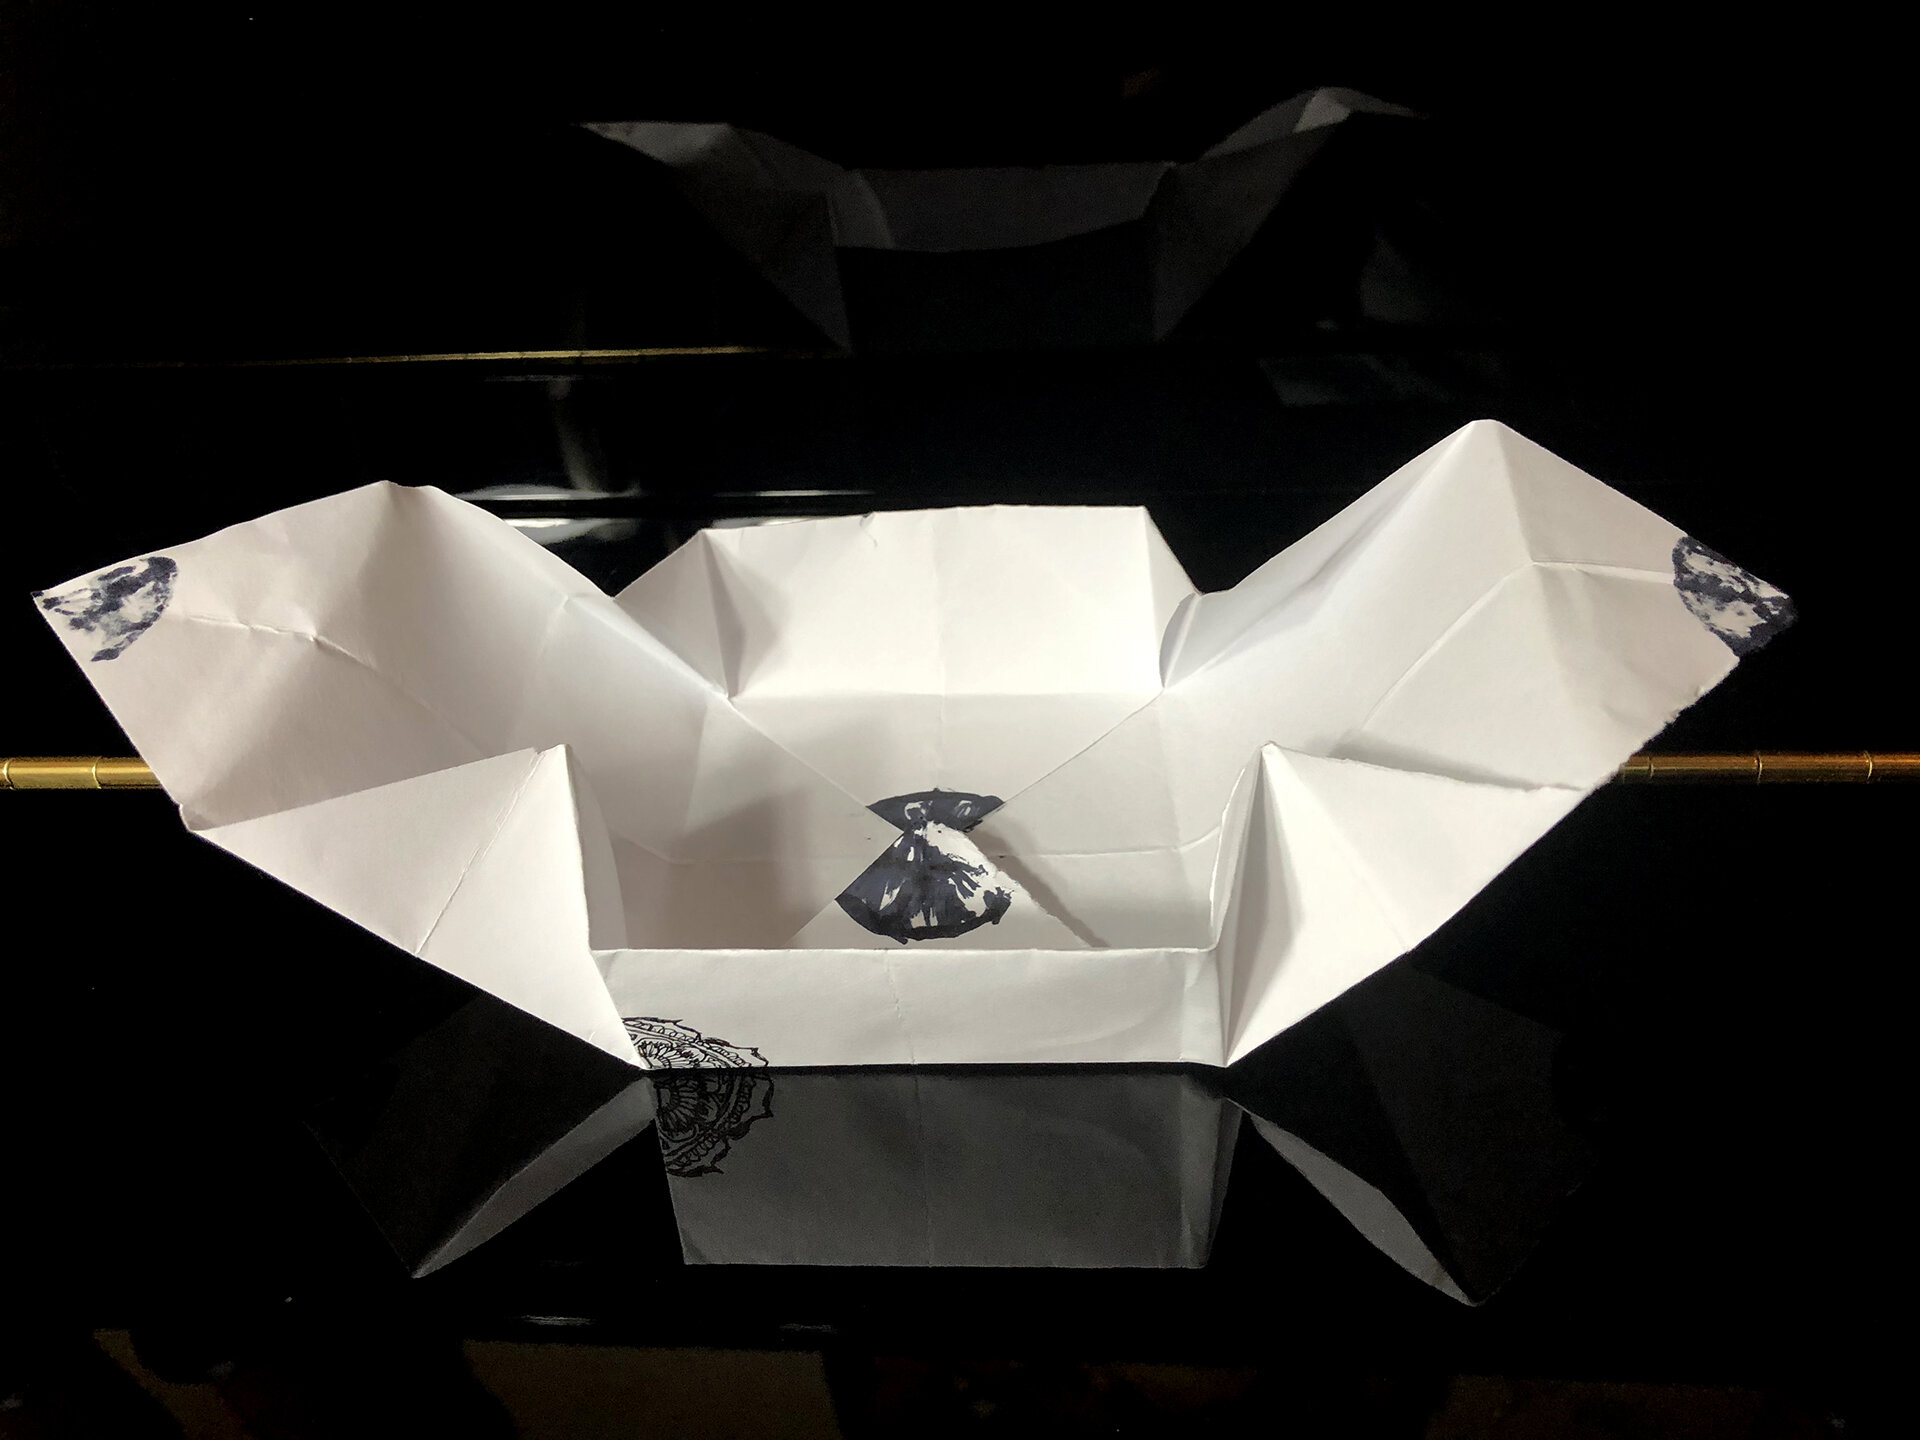
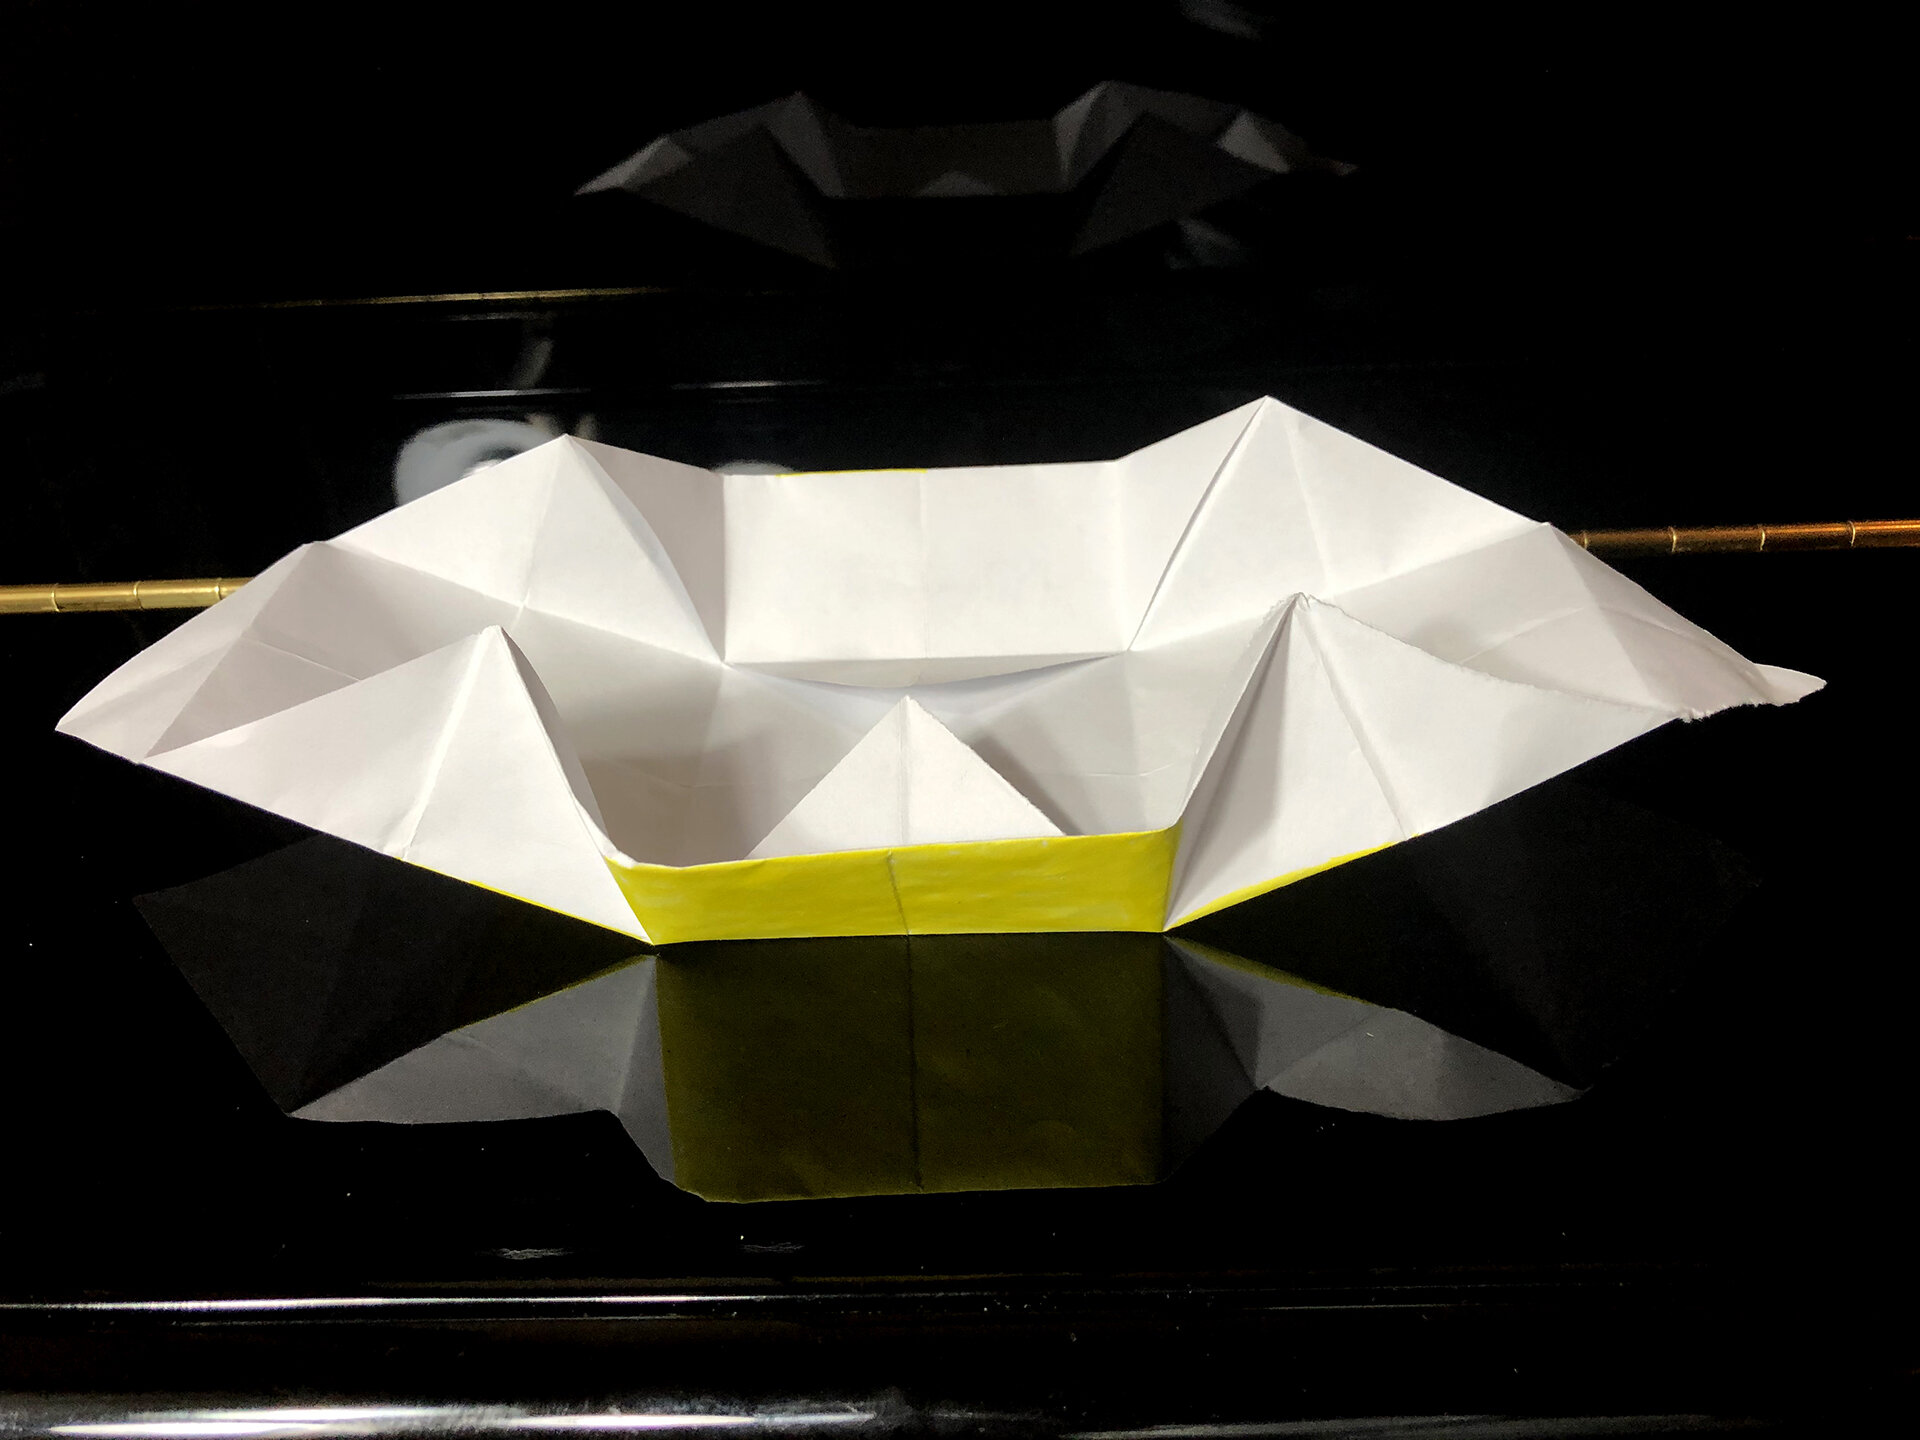
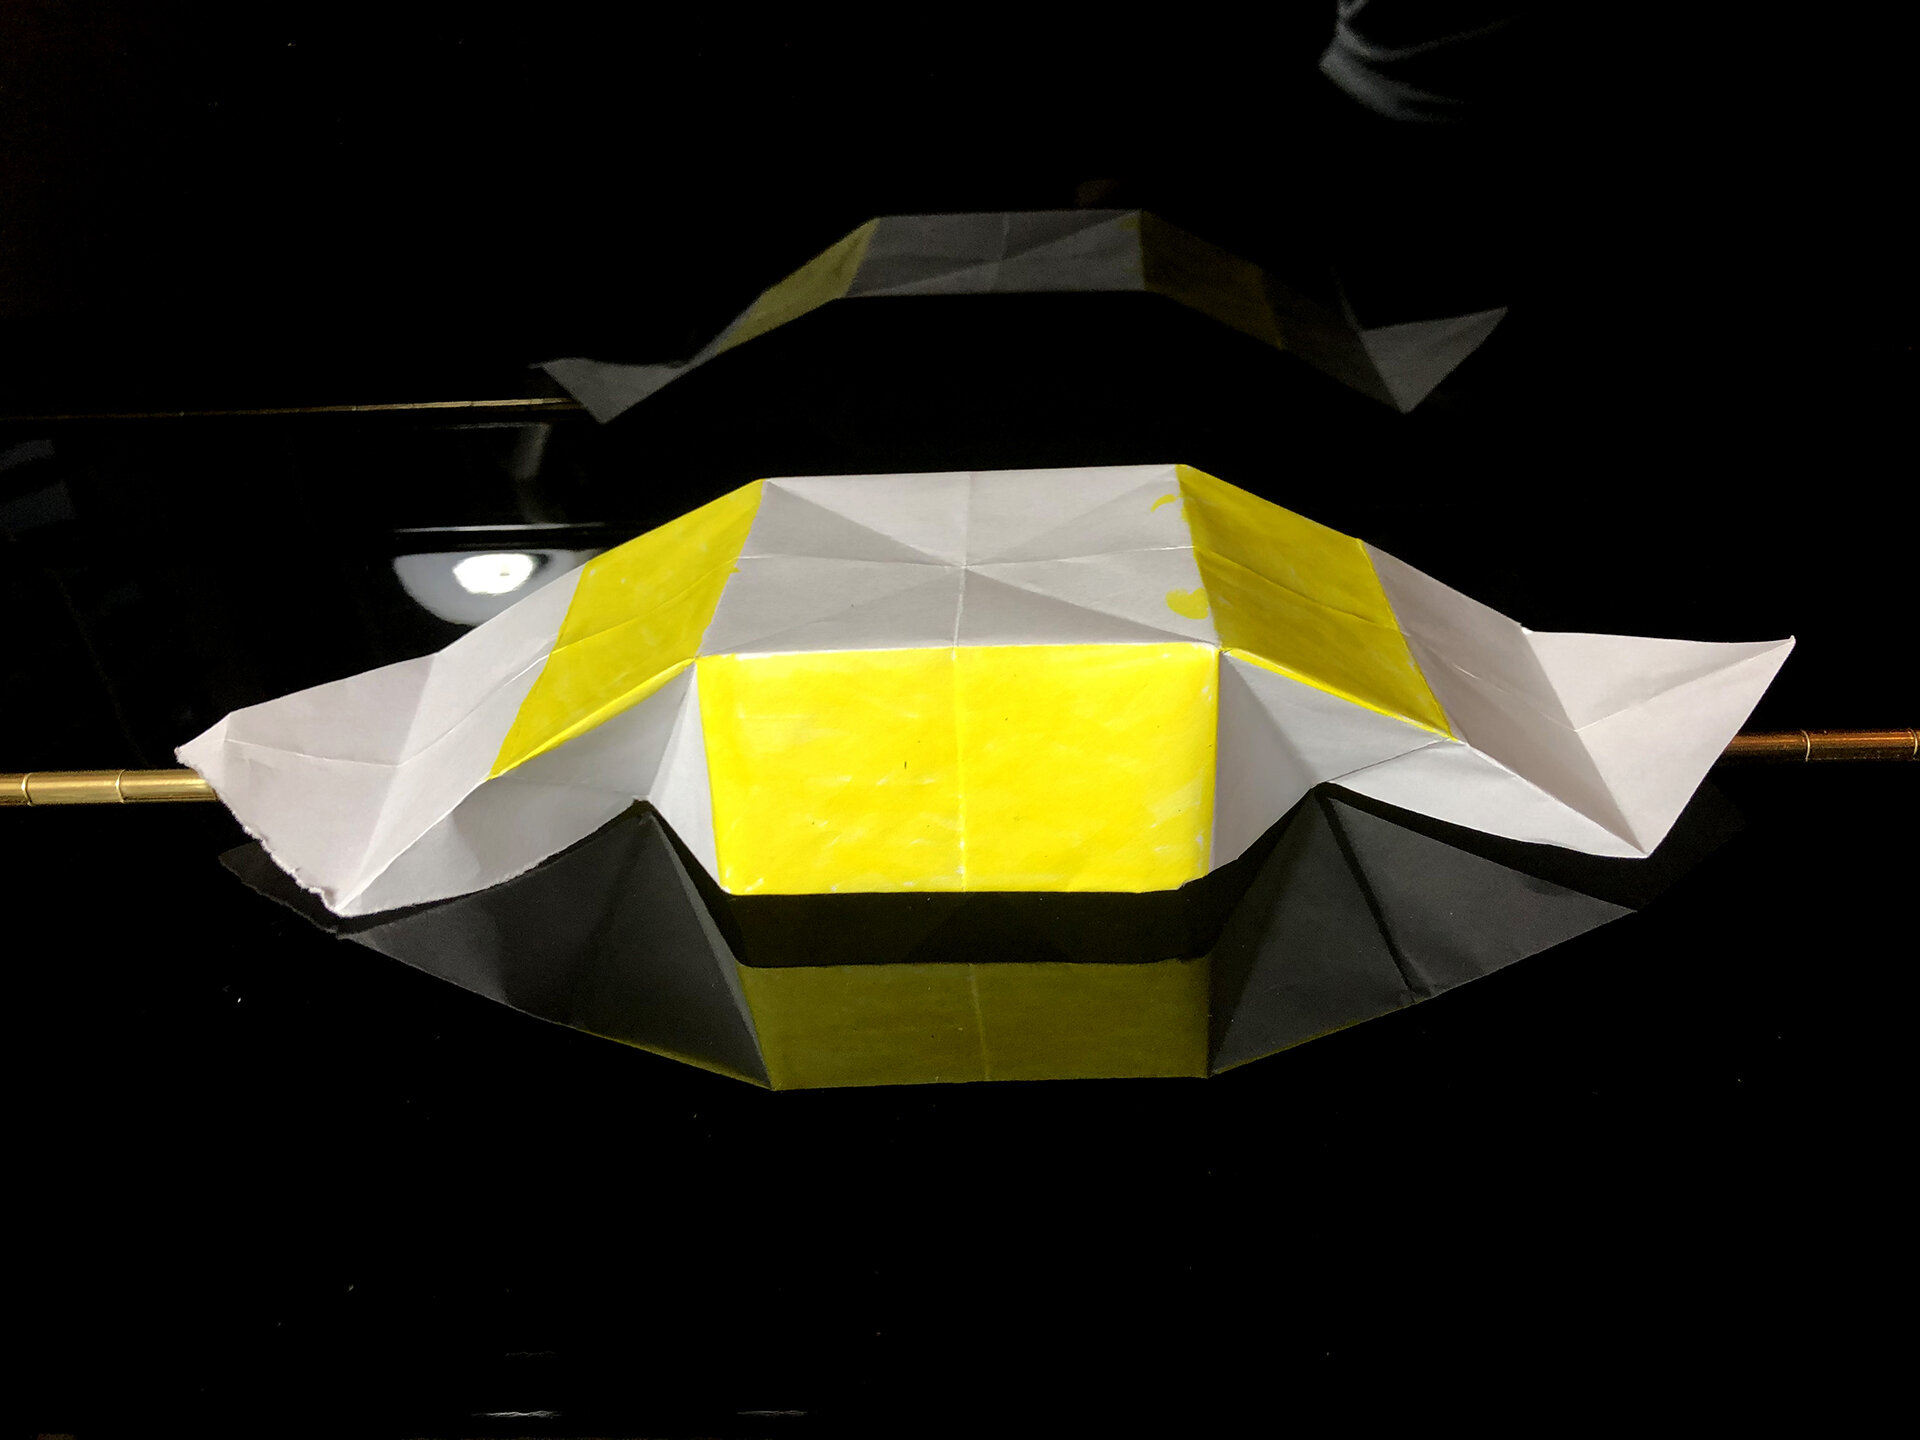
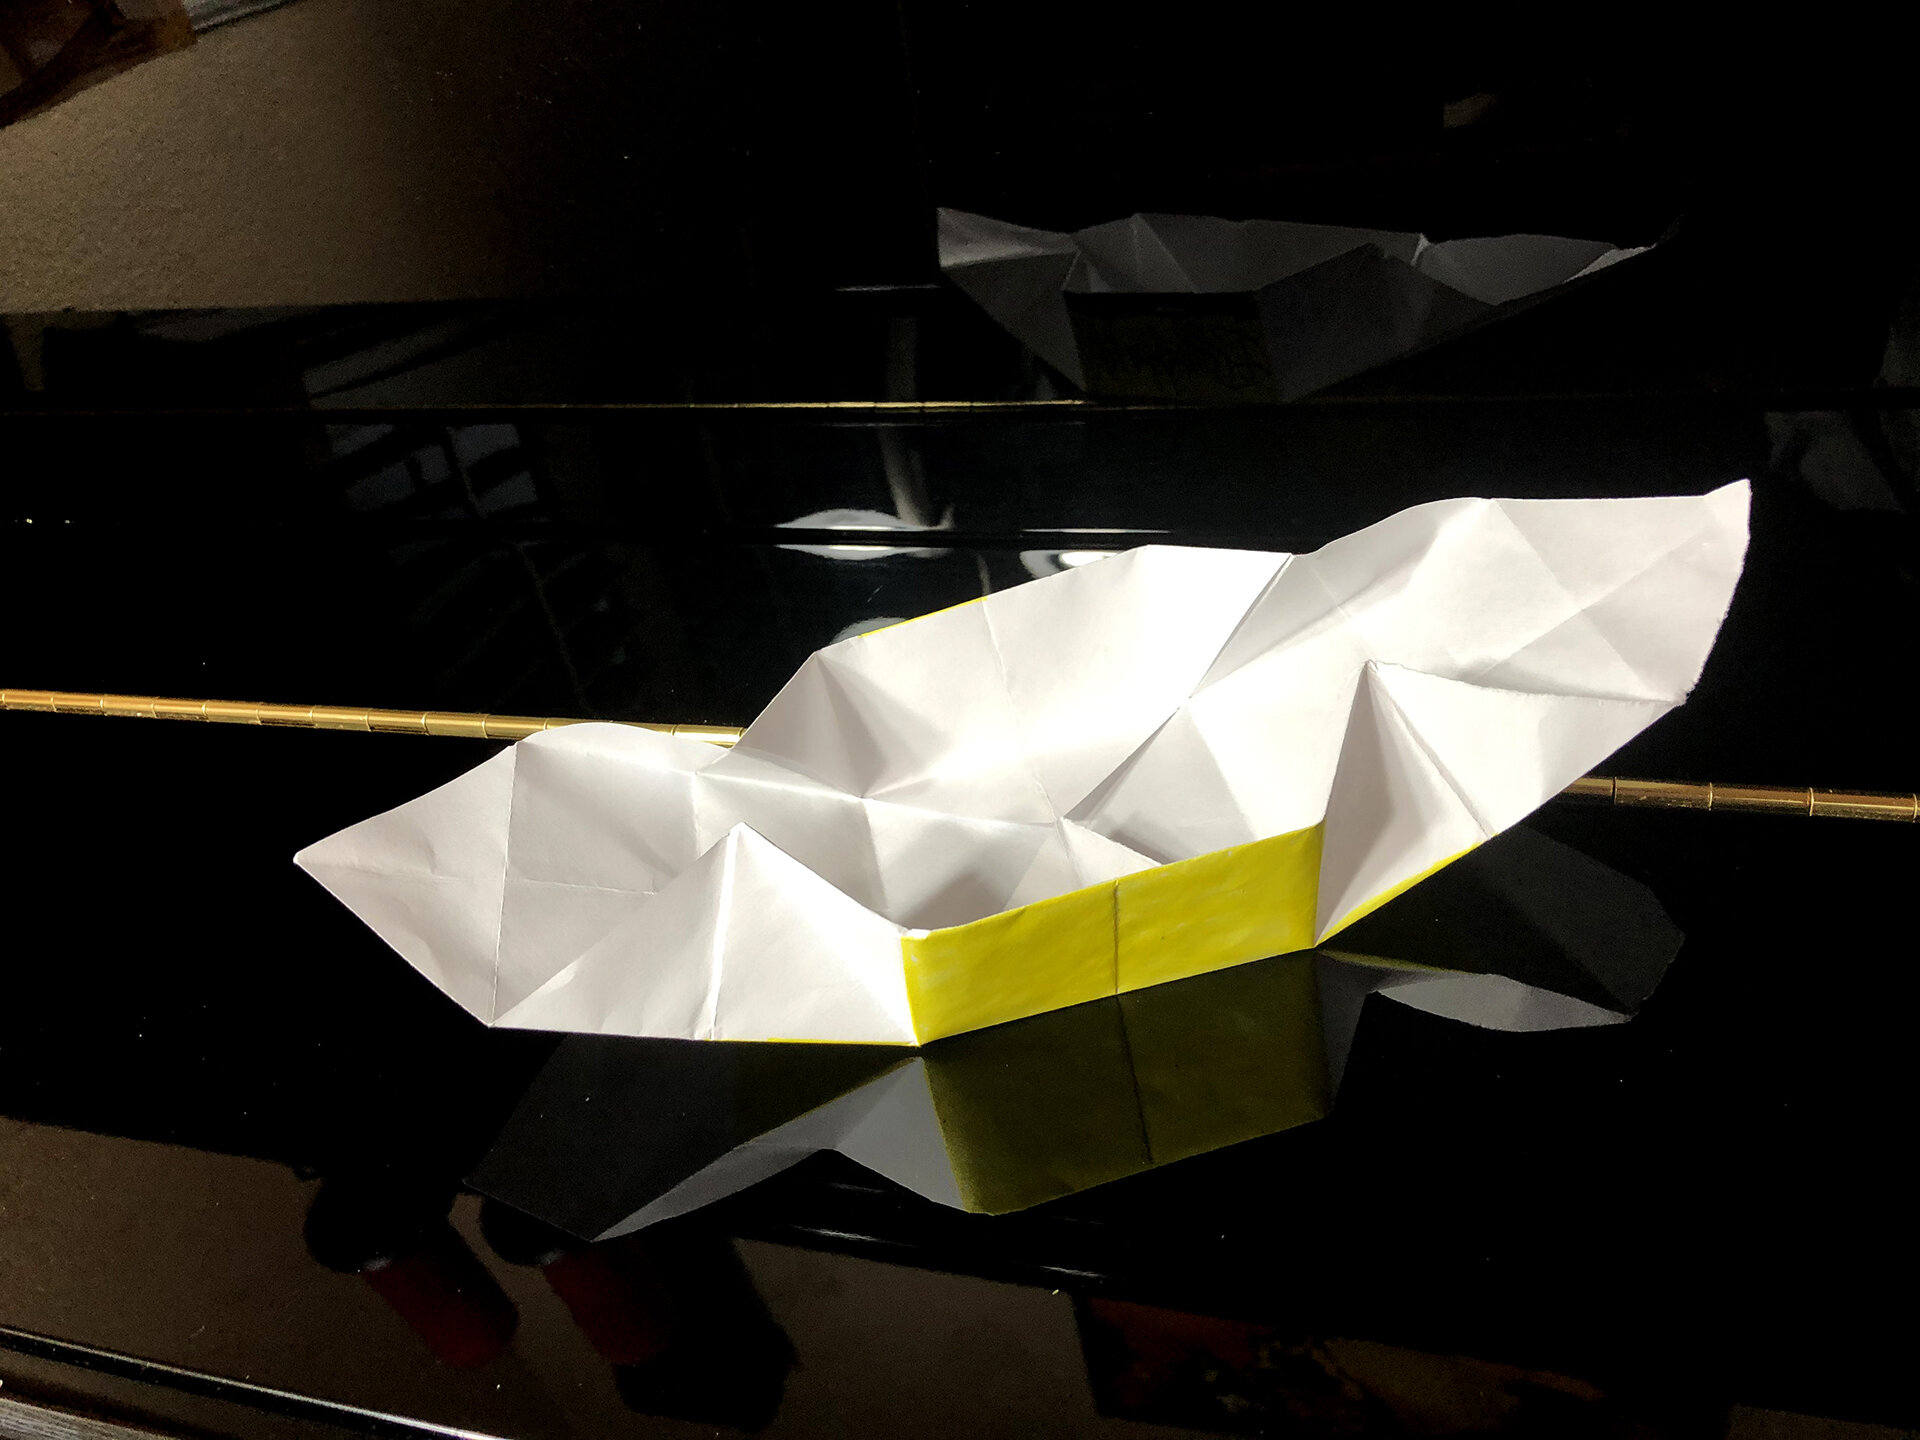
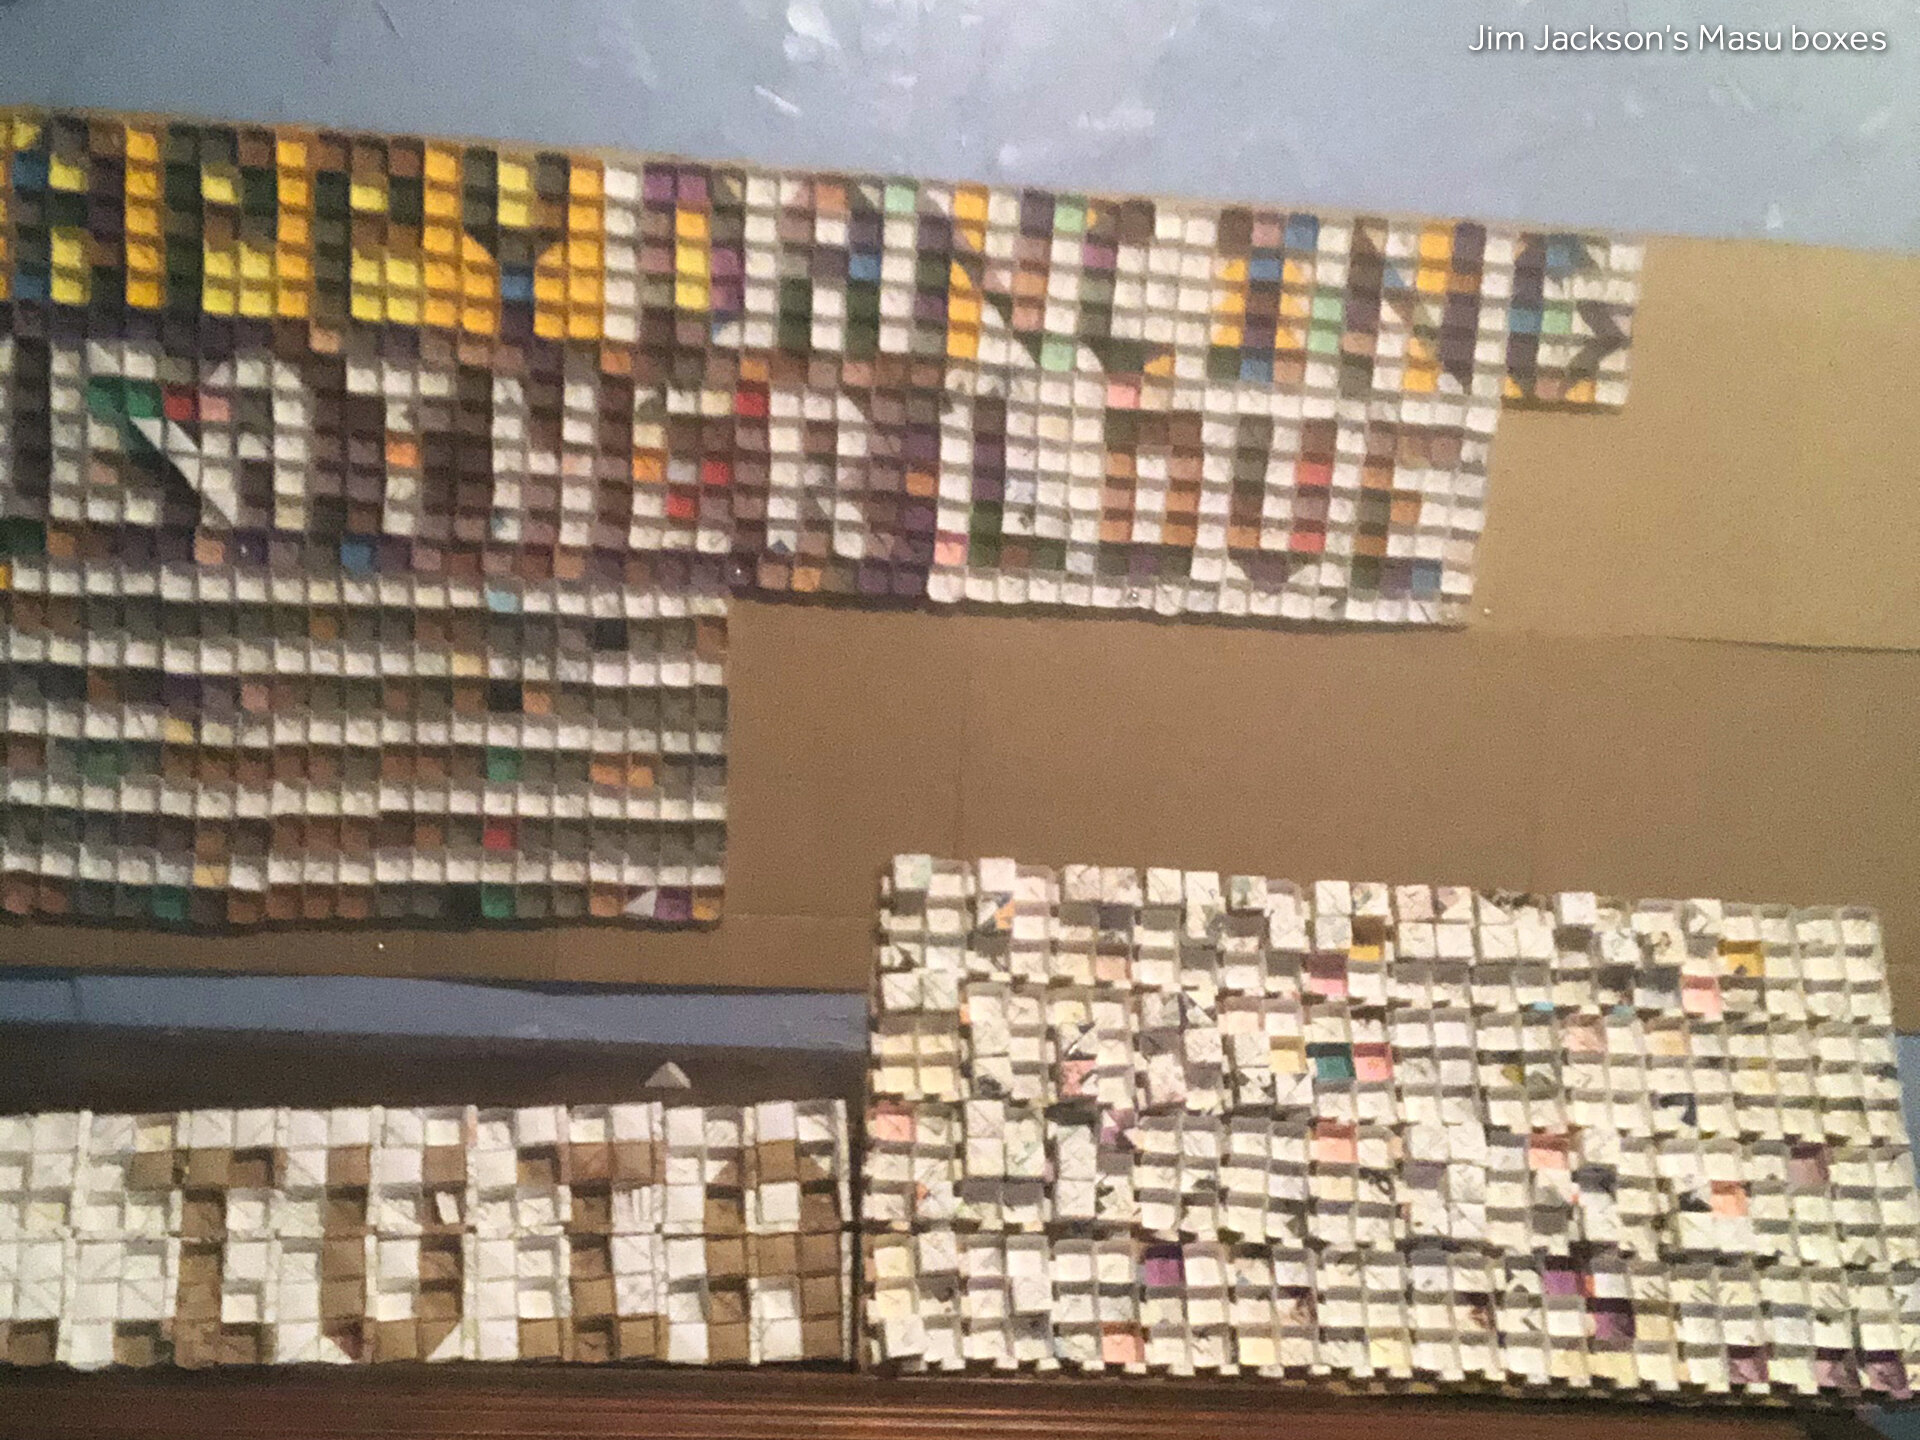
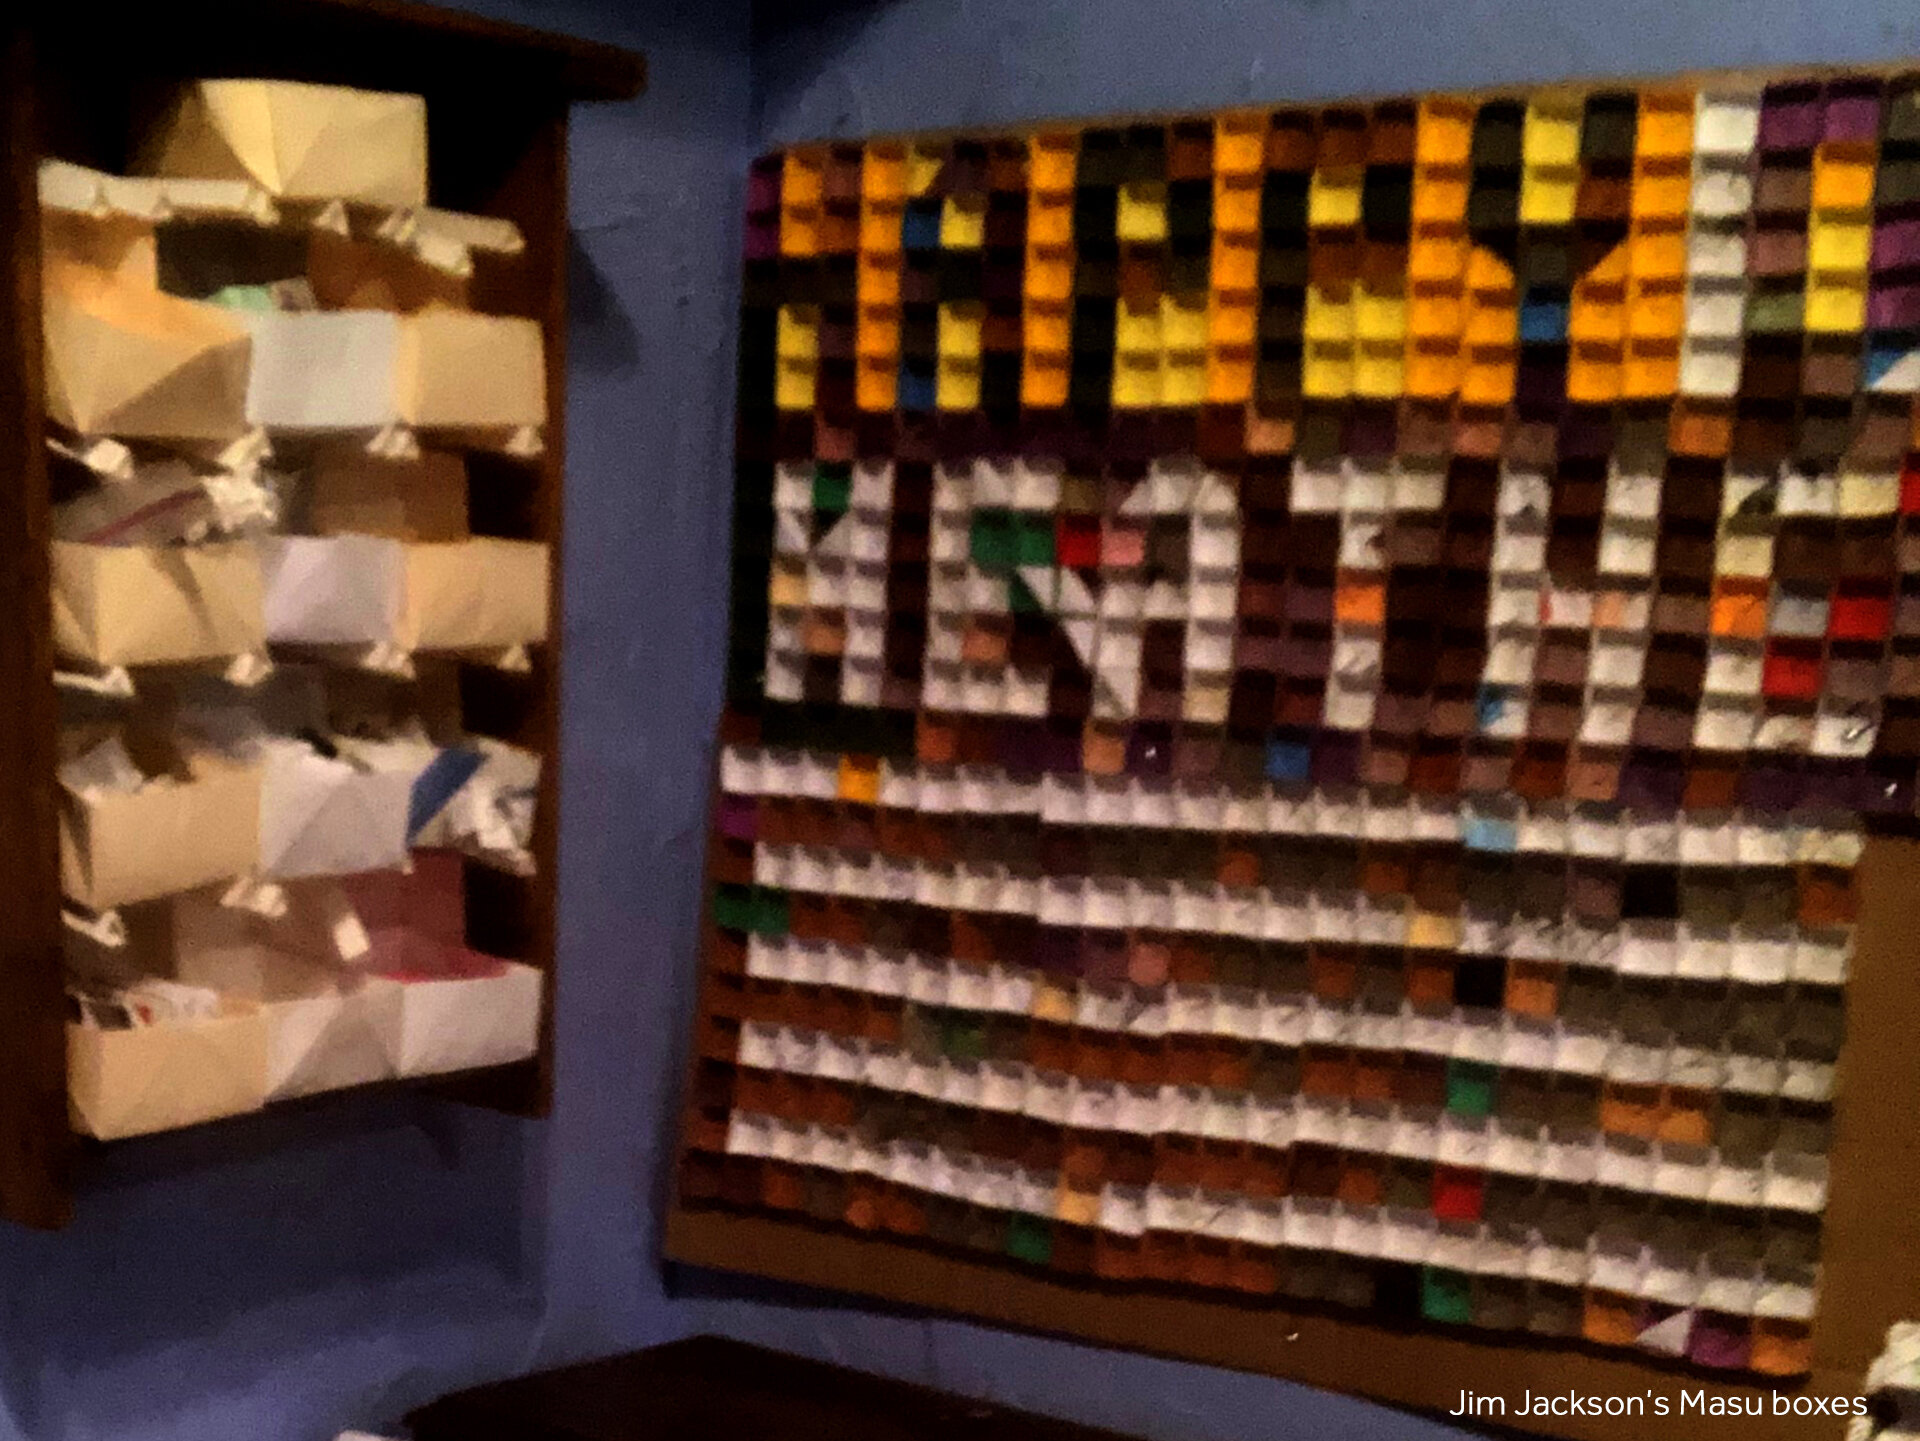
Attached are pictures of what people created:


About guest Artist Jim Jackson:
Artist Jim Jackson is a piano tuner/ technician/ music teacher by trade and every piece of paper he touches gives him a twinge of desire to fold. Although Jim has memories of learning origami in grade school he did not start folding in earnest until 2005. Jim was finishing his undergraduate degree and took a class for art for elementary school teachers. The class assigned small groups to teach the whole class an art lesson. Jim’s group chose to teach the class how to fold the crane. Before teaching the whole class, Jim’s group needed to know how to fold the traditional model but before they had learned how to fold it half way through, the class had ended and he could not wait until the following week to find out how to complete the model. Jim had been given a sheet of instructions in print He asked his sighted friends to help him interpret but ultimately Jim had to trial and error his way to the finished model. The instruction sheet had a different model on the backside using the same initial folds And again he had trouble with getting the instructions interpreted. Jim discovered he could get to the point the two models diverged and then he would explore in wonder the seemingly endless possibilities. Jim began enjoying the pursuit and realized many of his attempts were not what he was aiming for but were interesting in their own right. Jim’s hope is to inspire a similar curiosity, joy and the ability to follow one’s imagination. Talking with Jim, there hasn’t been a day in the last 15 years that he has not done some doodleing with paper and he hopes we all get the folding bug, too.
For those interested in accessible origami, here is a transcript of Jim Jackson’s instructions:
Project: Introduction to Origami - Making a classic Masu Box
Artists: Jim Jackson, Ann Cunningham and Rishika Kartik
Origami Vocabulary:
Crease: A line formed by folding paper.
Diagonal Fold: A Fold that involves folding one corner to the opposite corner, creating a diagonal crease.
Valley Fold: A crease made by folding paper towards you forming a “V” when you unfold.
Mountain Fold: A mountain fold is the opposite of a valley fold – the paper folds to the opposite underneath side making a ridge.
Book Fold: It is made by bringing one edge of a square or rectangle to the opposite edge, folding the sheet in half.
Raw Edge: The edge of a single layer, one of the original outside edges of the square that hasn’t been folded.
Model: the finished product of your efforts.
Instructions for making a regular 8-½” x 11” paper into a SQUARE paper:
Most origami projects start with a square piece of paper. Most of the paper we have on hand, copy paper, news papers, paper towels, are rectangular. Here are the instructions for how to modify a rectangle into a square. We know the difference between a rectangle and a square is that the square has four sides that are equal and the rectangle has two long sides and two short sides. So we are going to make all four sides of this square the length of the short side of your rectangle.
There are lots of ways to do this. You can measure the short side and then cut the long side to that length using scissors, a mat cutter or an exacto knife. Or, what we would like to show you here is, we can fold and tear our rectangle into a square.
1. Orient the 8-½” x 11” paper in the Portrait paper and square yourself to the paper.
2. The long side is left and right. The short sides are top and bottom. The side farthest away from you is the top side.
3. We are going to line up one short side of our paper to one long side. If you call any corner corner A. Pull A across the page to the long side of the page. Hold the A corner to the edge of the paper with one hand. Scan your other hand back to the fold that is starting to form, We want this fold to hit directly on the corner of the paper. We will call this corner B. Don’t press it flat just yet let it curl now, but try to determine if it is going to fold right at the point of the corner. If you can tell it is going to fold to one side or the other, adjust corner A that you are pinching to the long side one way or the other to make it fold on the corner. Keep adjusting until you get it as close as you can and then carefully press a crease into the paper along the entire diagonal from corner B to the opposite side of the paper.
4. If you crease your paper and find that your fold is not exactly at the corner but a little to one side or the other you can fix it by moving corner A a little one way or the other along the long side of the paper and re-creasing the fold.
5. You now have a large triangle on one side of your form and a rectangular strip that is sticking out. Let’s name all the corners. Unfold your paper and you can see where A is and B is, going in the same direction we will call the next corner C and next D. If you continue in the same direction you will come to the diagonal fold that you created and we will call that point E. Continue on and you are back to corner A.
6. Please refold your paper along the diagonal so that corner A is lined up along the side of the rectangle. All we need to do now is to remove the rectangular strip from your sheet of paper. We can do this by going back to corner A, pinch the long side and corer A together. Now we need to fold the rectangular strip right along the line to point E. Start this fold by lining corner C up with the long side of the paper. Make the fold away from whichever side you have Corner A on. If corer A is on top, pull corner C to the back . This will make it easier for you to feel how things are lining up. We want our crease to fall directly at corner A. If you keep corner C lined up with the straight edge of the paper and crease the paper firmly your fold should fall right at point E. If you need to adjust, make whatever corrections you need. Fold back and forth a couple of times until the paper fibers have softened and then carefully tear along that line.
7. Now you have a perfect square ready for origami!
Instructions for making Masu Box:
1. Open the square paper so that the mountain folds are at the top and valley folds at the bottom. Do a valley fold like a book.
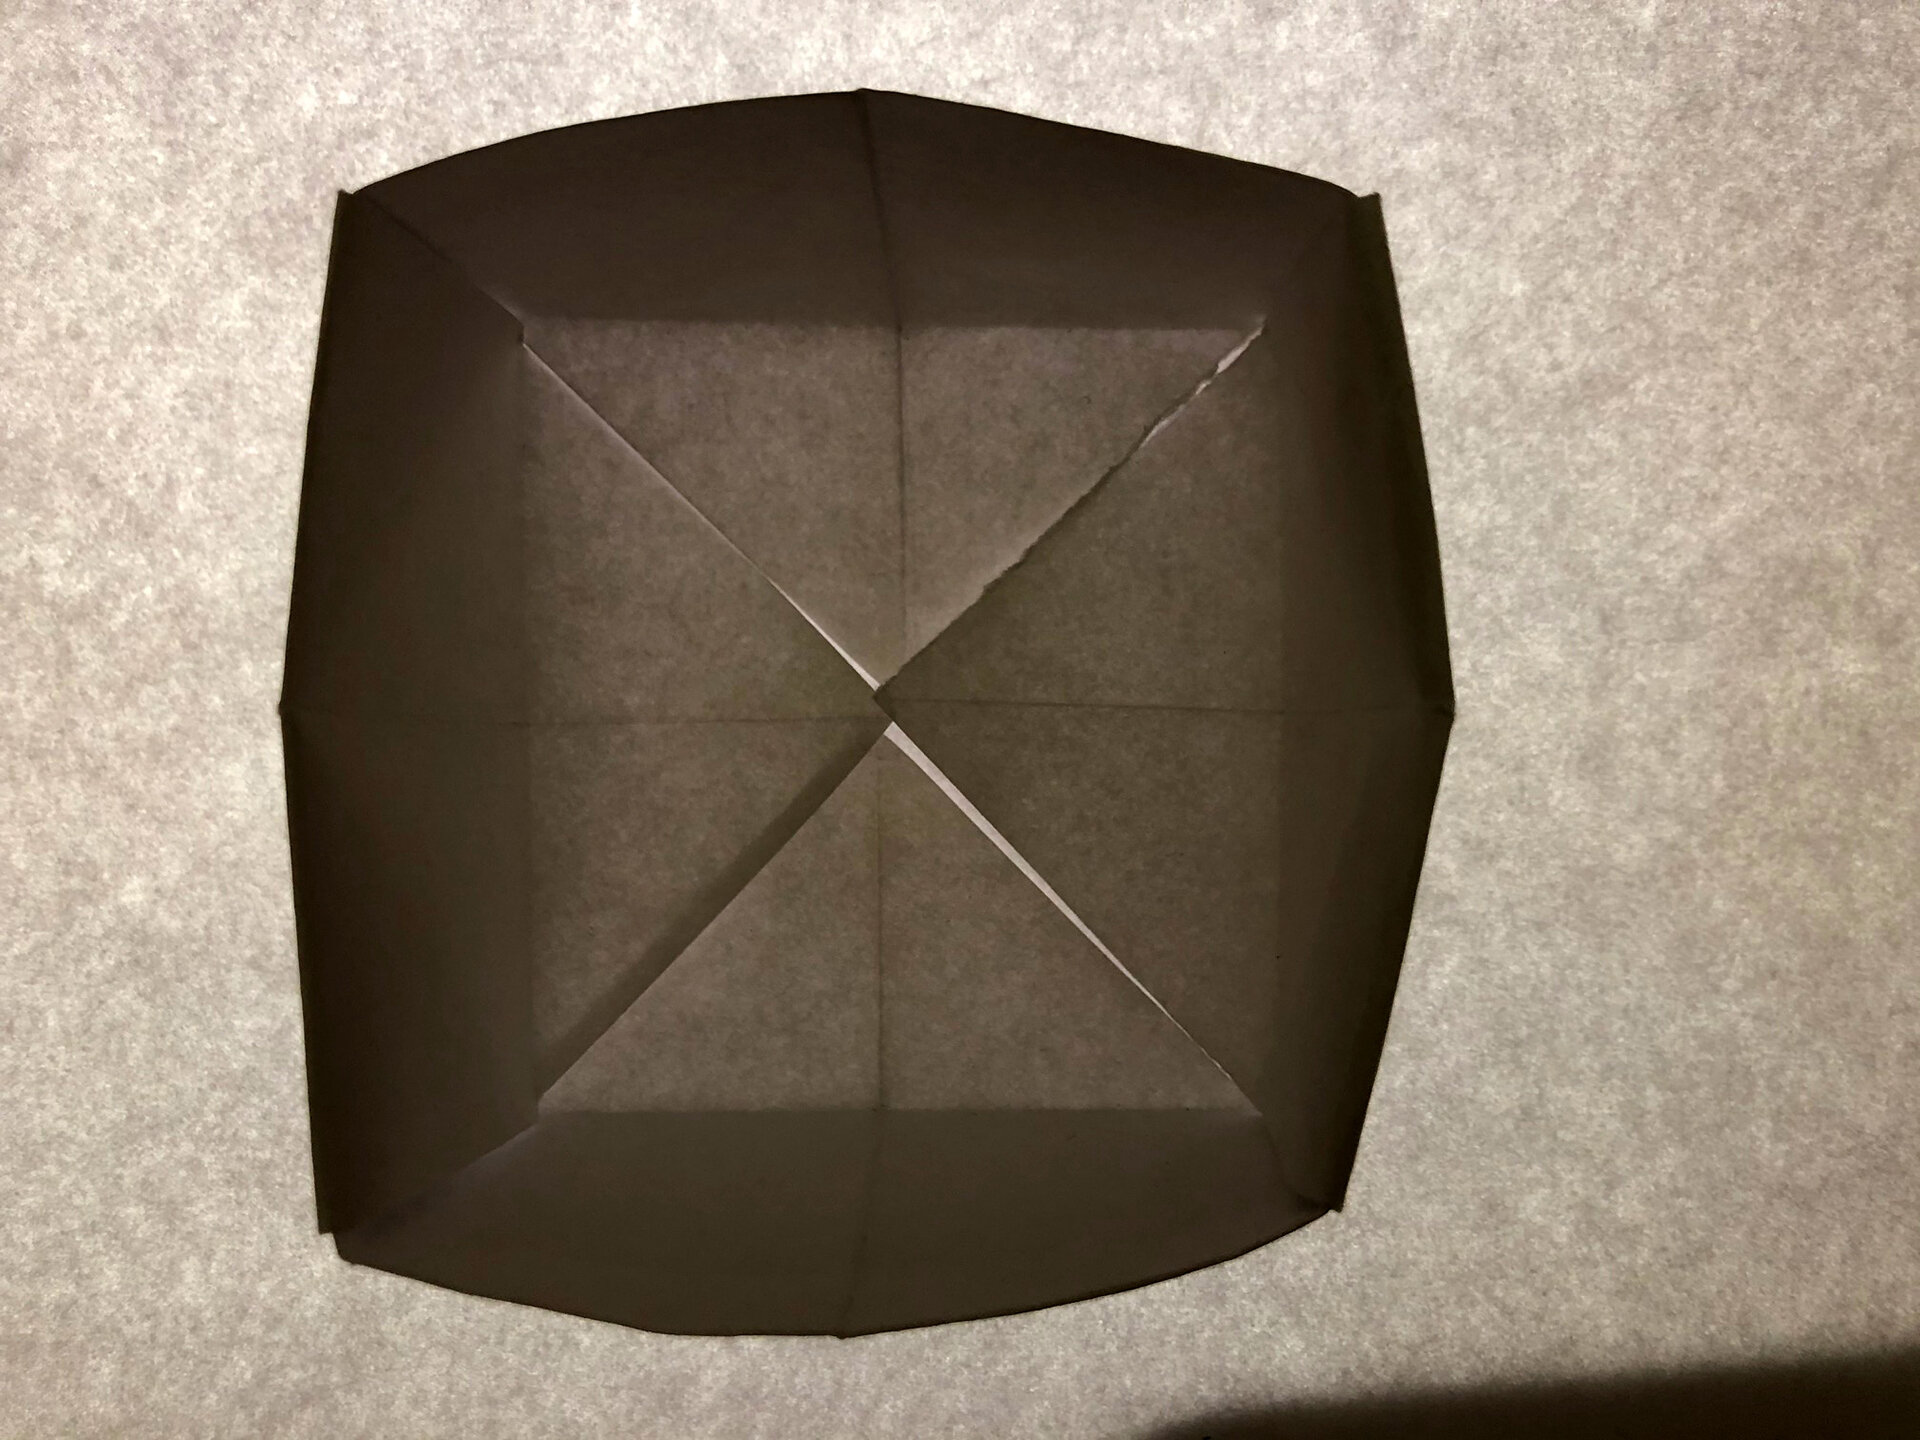
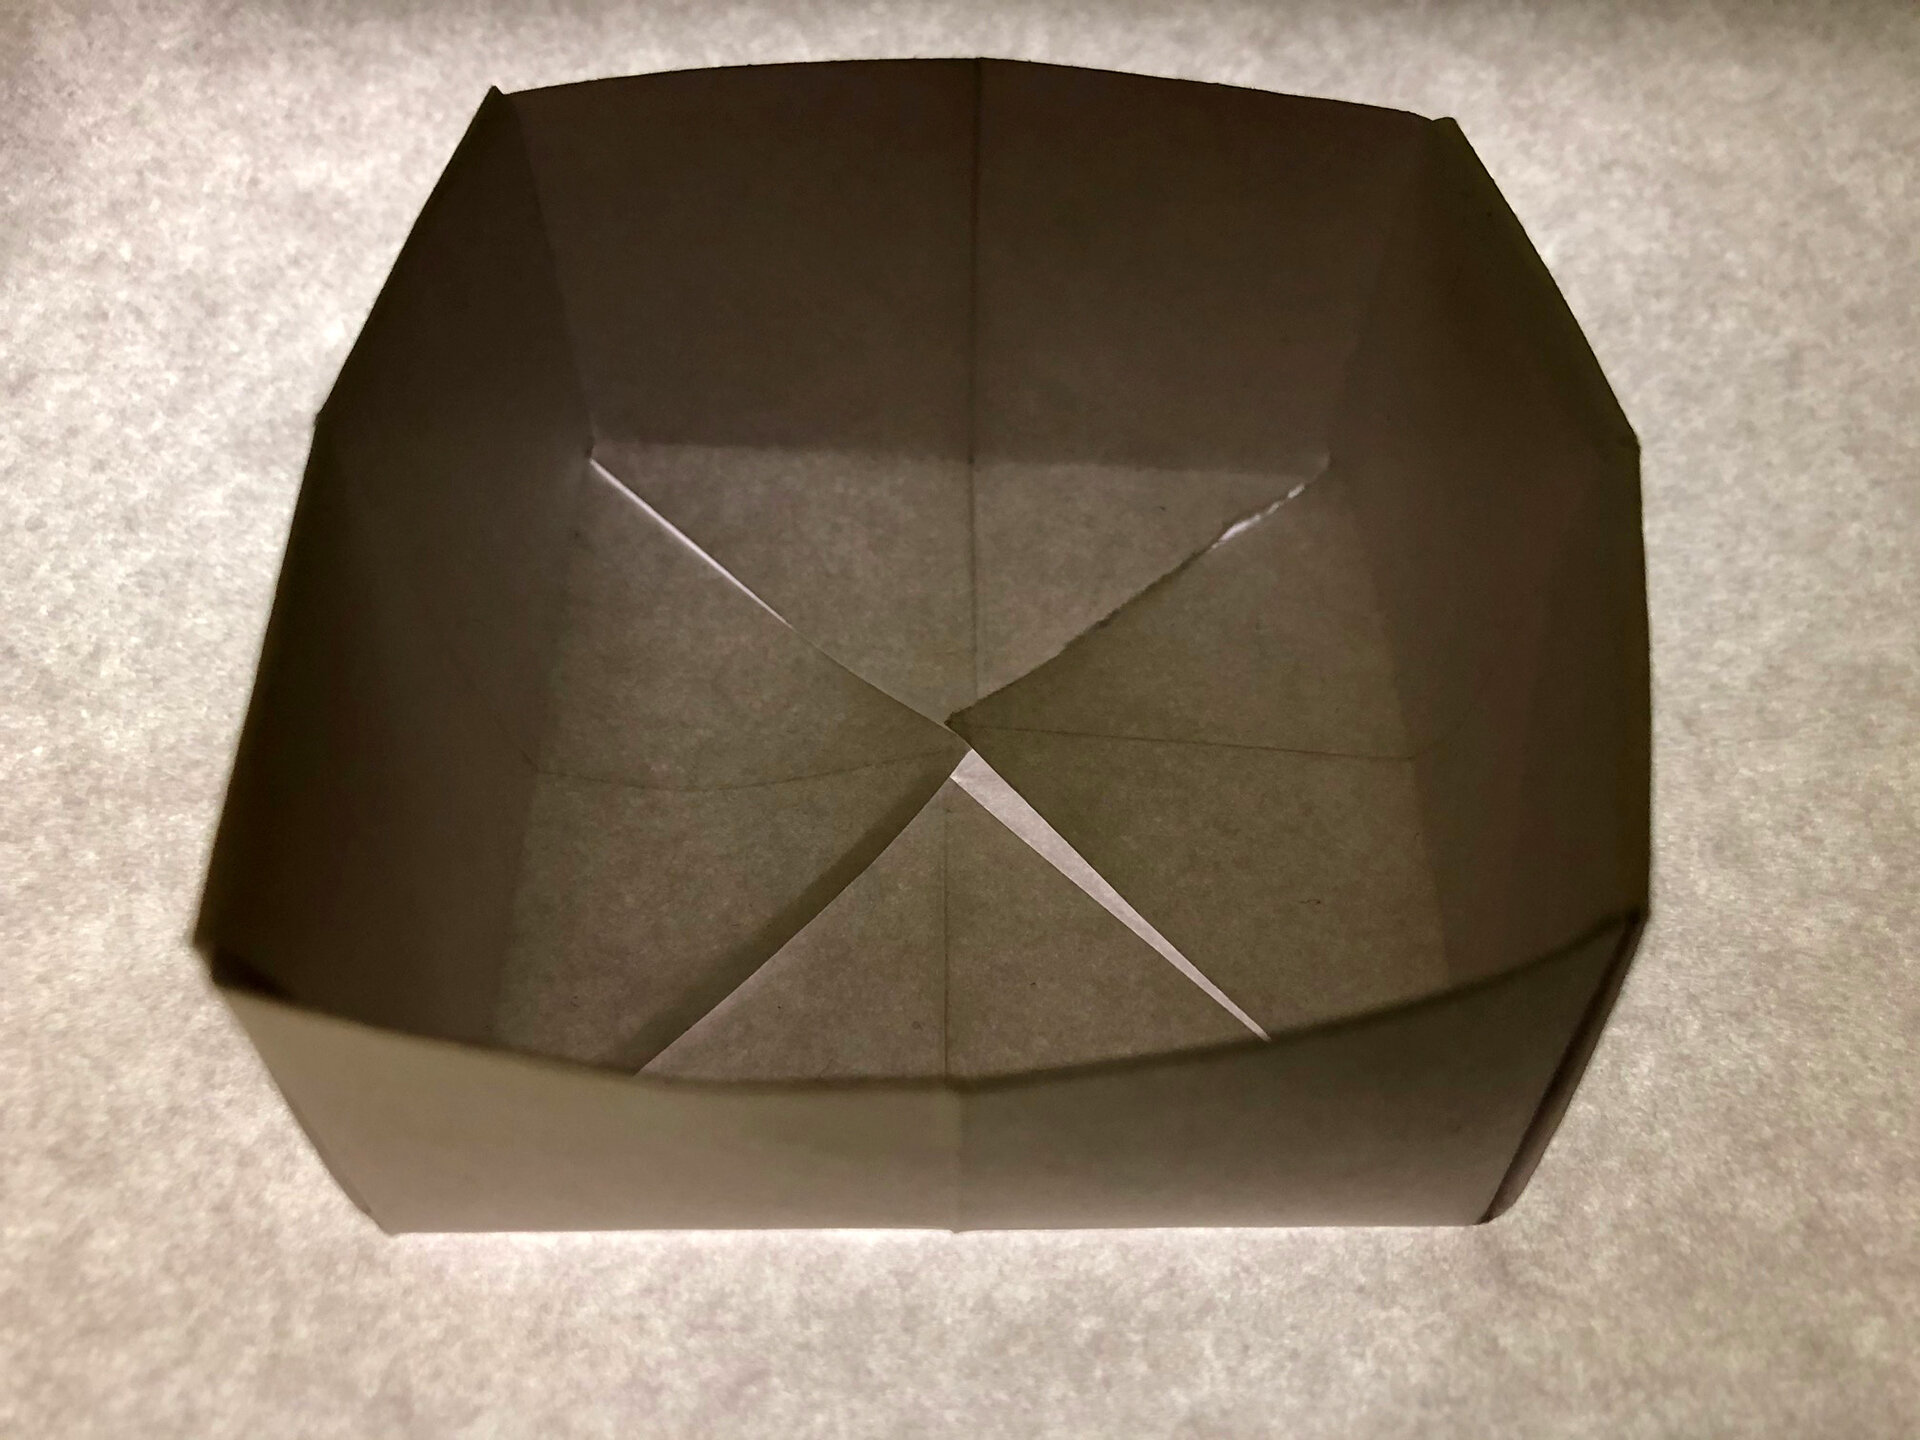
2. Open up the fold and do a perpendicular fold like a book. You should now have 8 triangles.
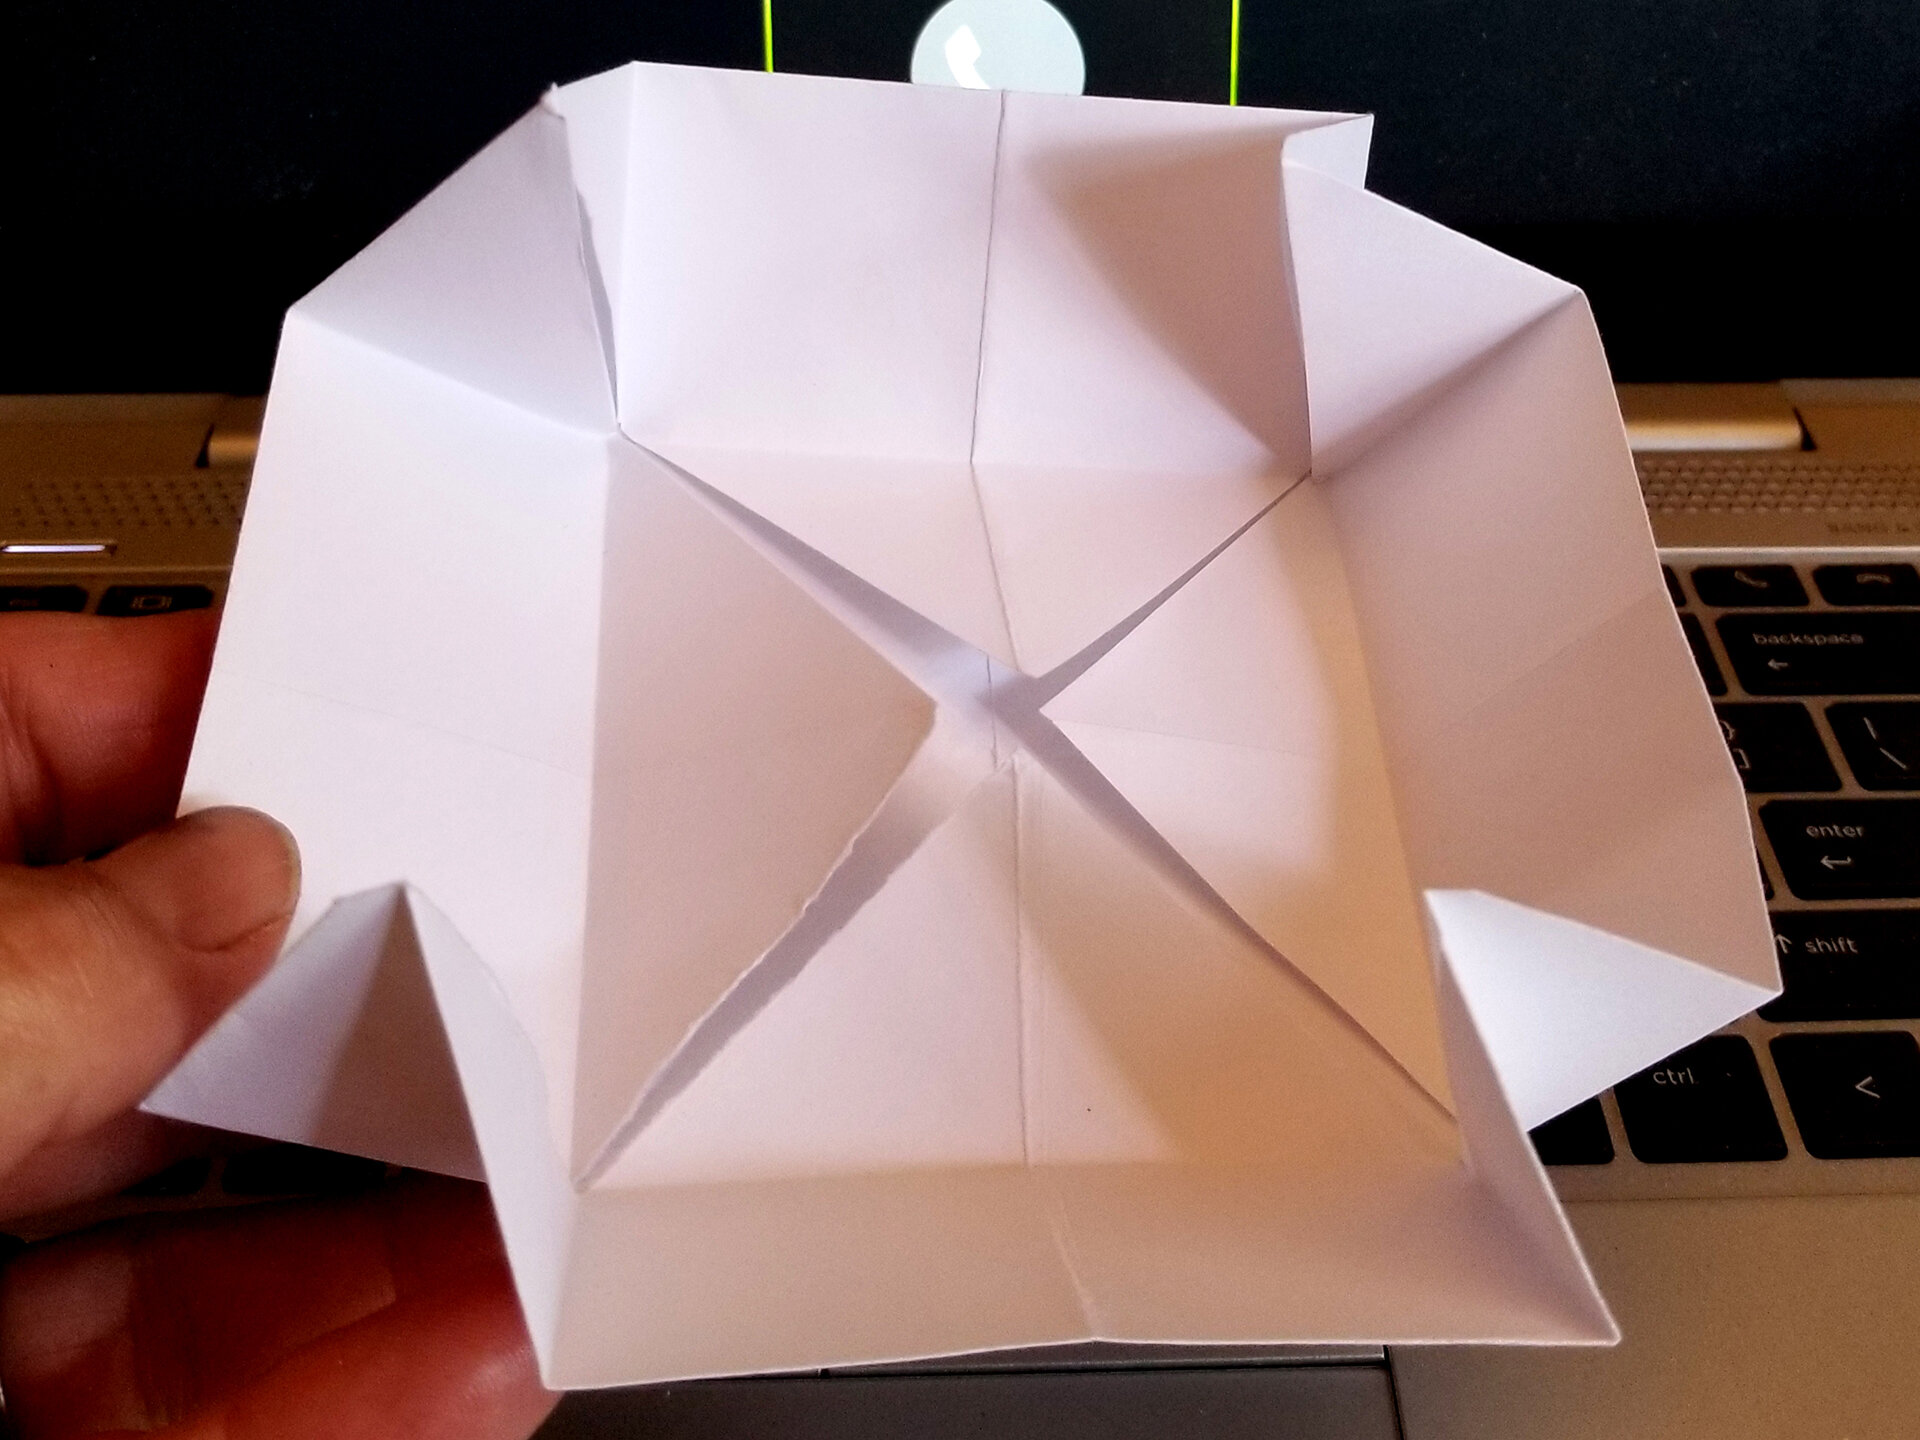
3. Get the Corners to the Center point by following the instruction below: Position your paper with the folded edge away from you. Take the left raw edge. Pivot from the left corner and make the left side of the top layer parallel to the folded edge facing away from you. Do it to all four corners so that the corners are to the center point of the paper.
4. Flip the paper so that points are at the bottom.
5. Fold it like a book along the pre-folded lines. The book will have two long the corners meeting on the outside spine of the "book".
6. Place the spine of the book away from you. bring the folded edge of the first layer up to meet the spine and crease. flip the model over keeping the spine away from you. bring the other page of the book to meet the spine and crease.
7. Unfold back to square with the corners to the center point of the square and facing the surface in front of you.
8. Turn the paper perpendicular and repeat the book folds on step 5 and 6 to make 4 by 4 grid.
9. Unfold the book folds to come back to the square with corners to the center point but facing you now.
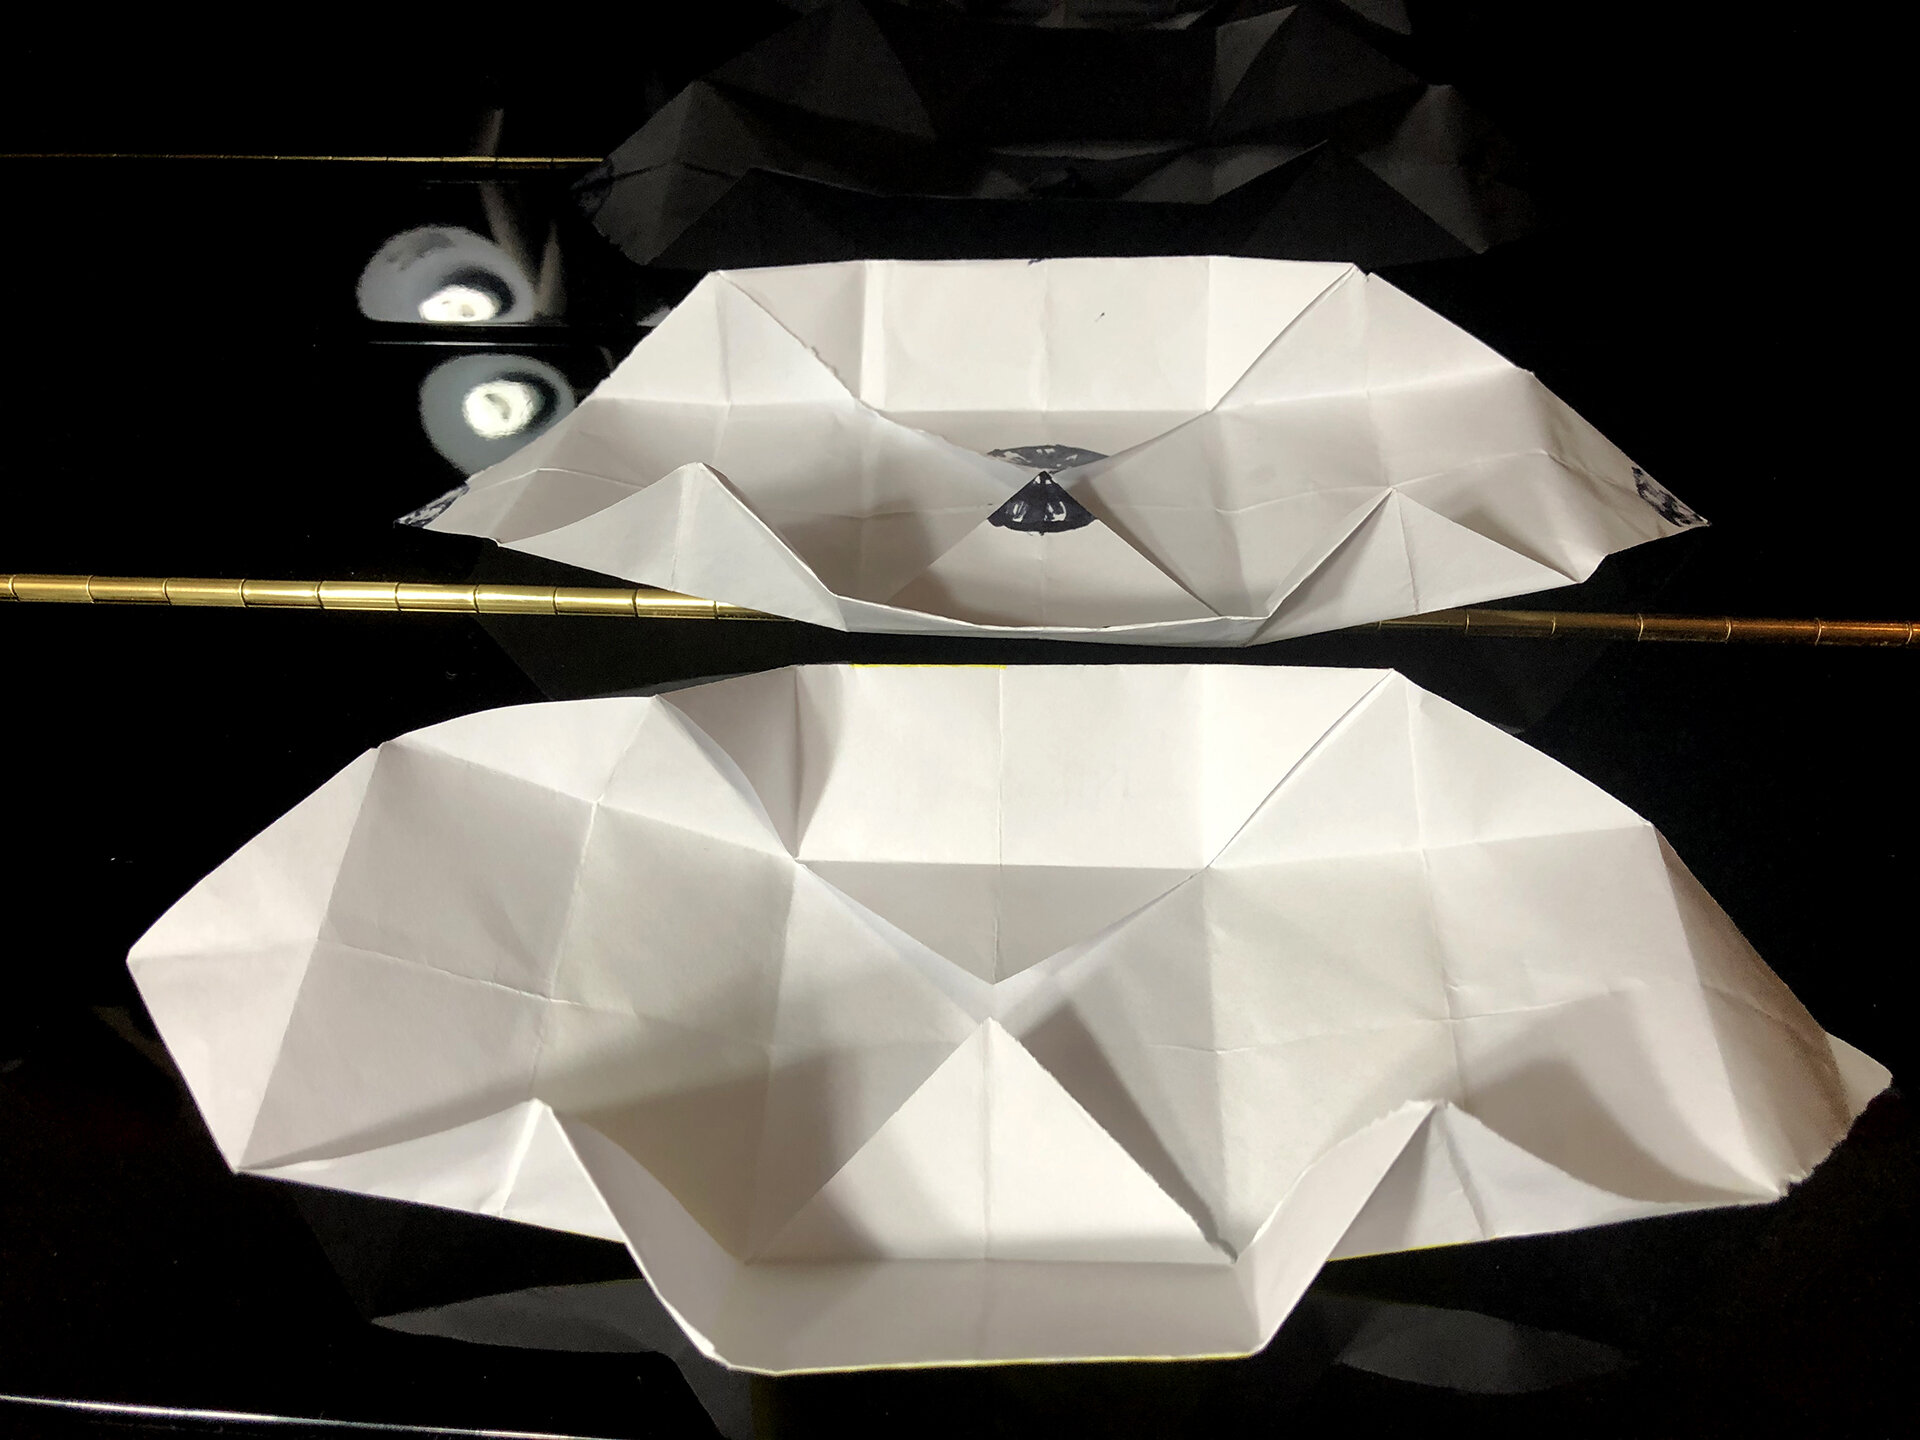
10. Unfold the left and right sides of the square so the left and right sides become triangular flags.
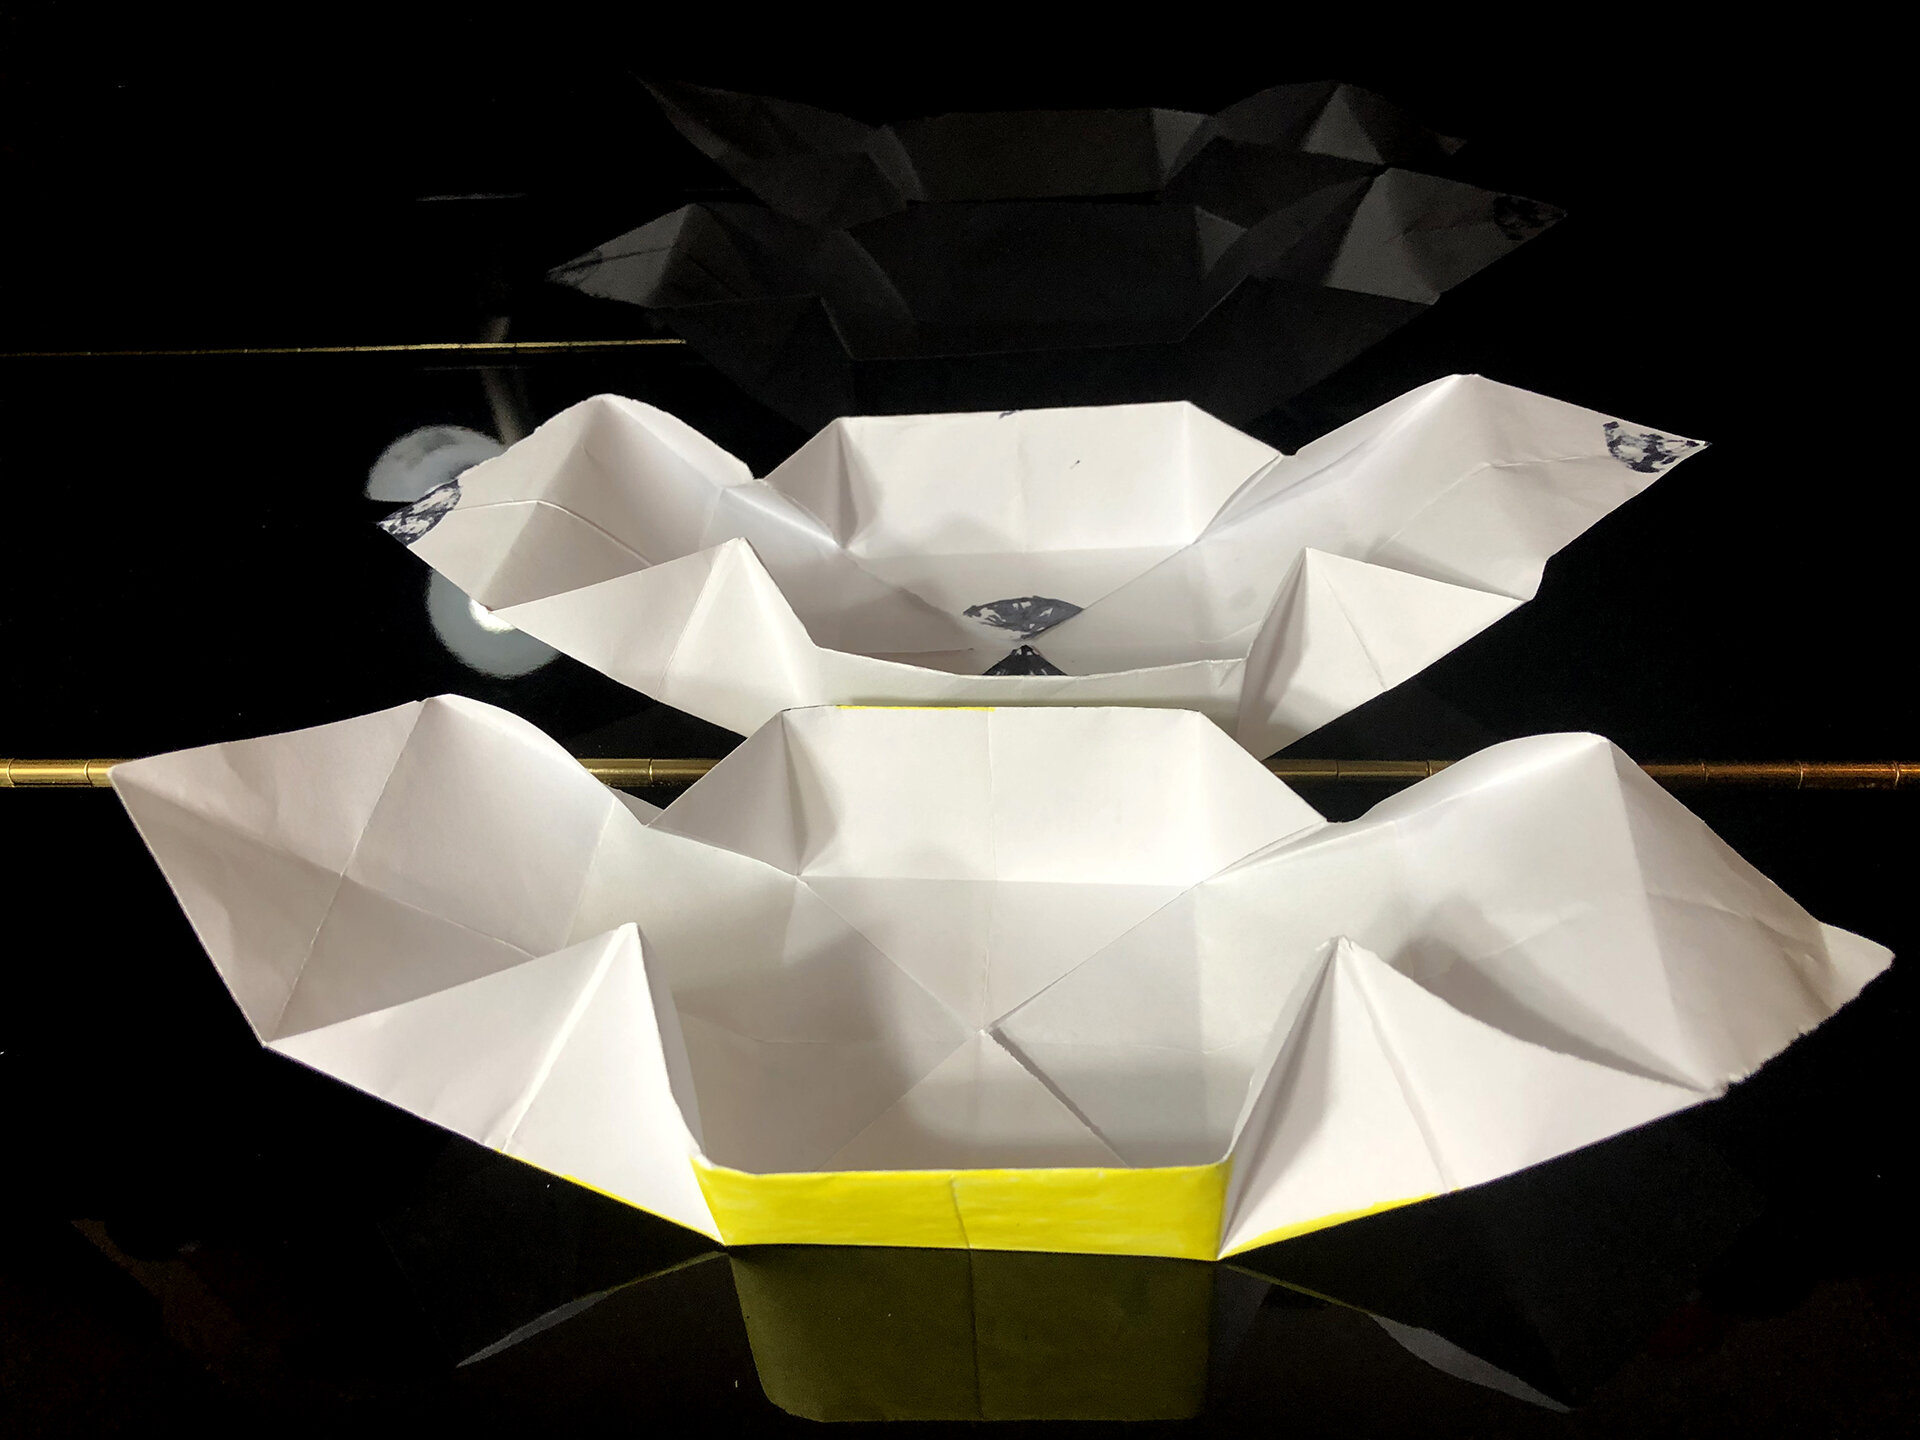
11. Bring top and bottom folded edges of the paper up and fold it to the center. Move the right corner up into the air allowing the top and bottom sections to fold up and be perpendicular to the table. These form the two walls of the Masu box.
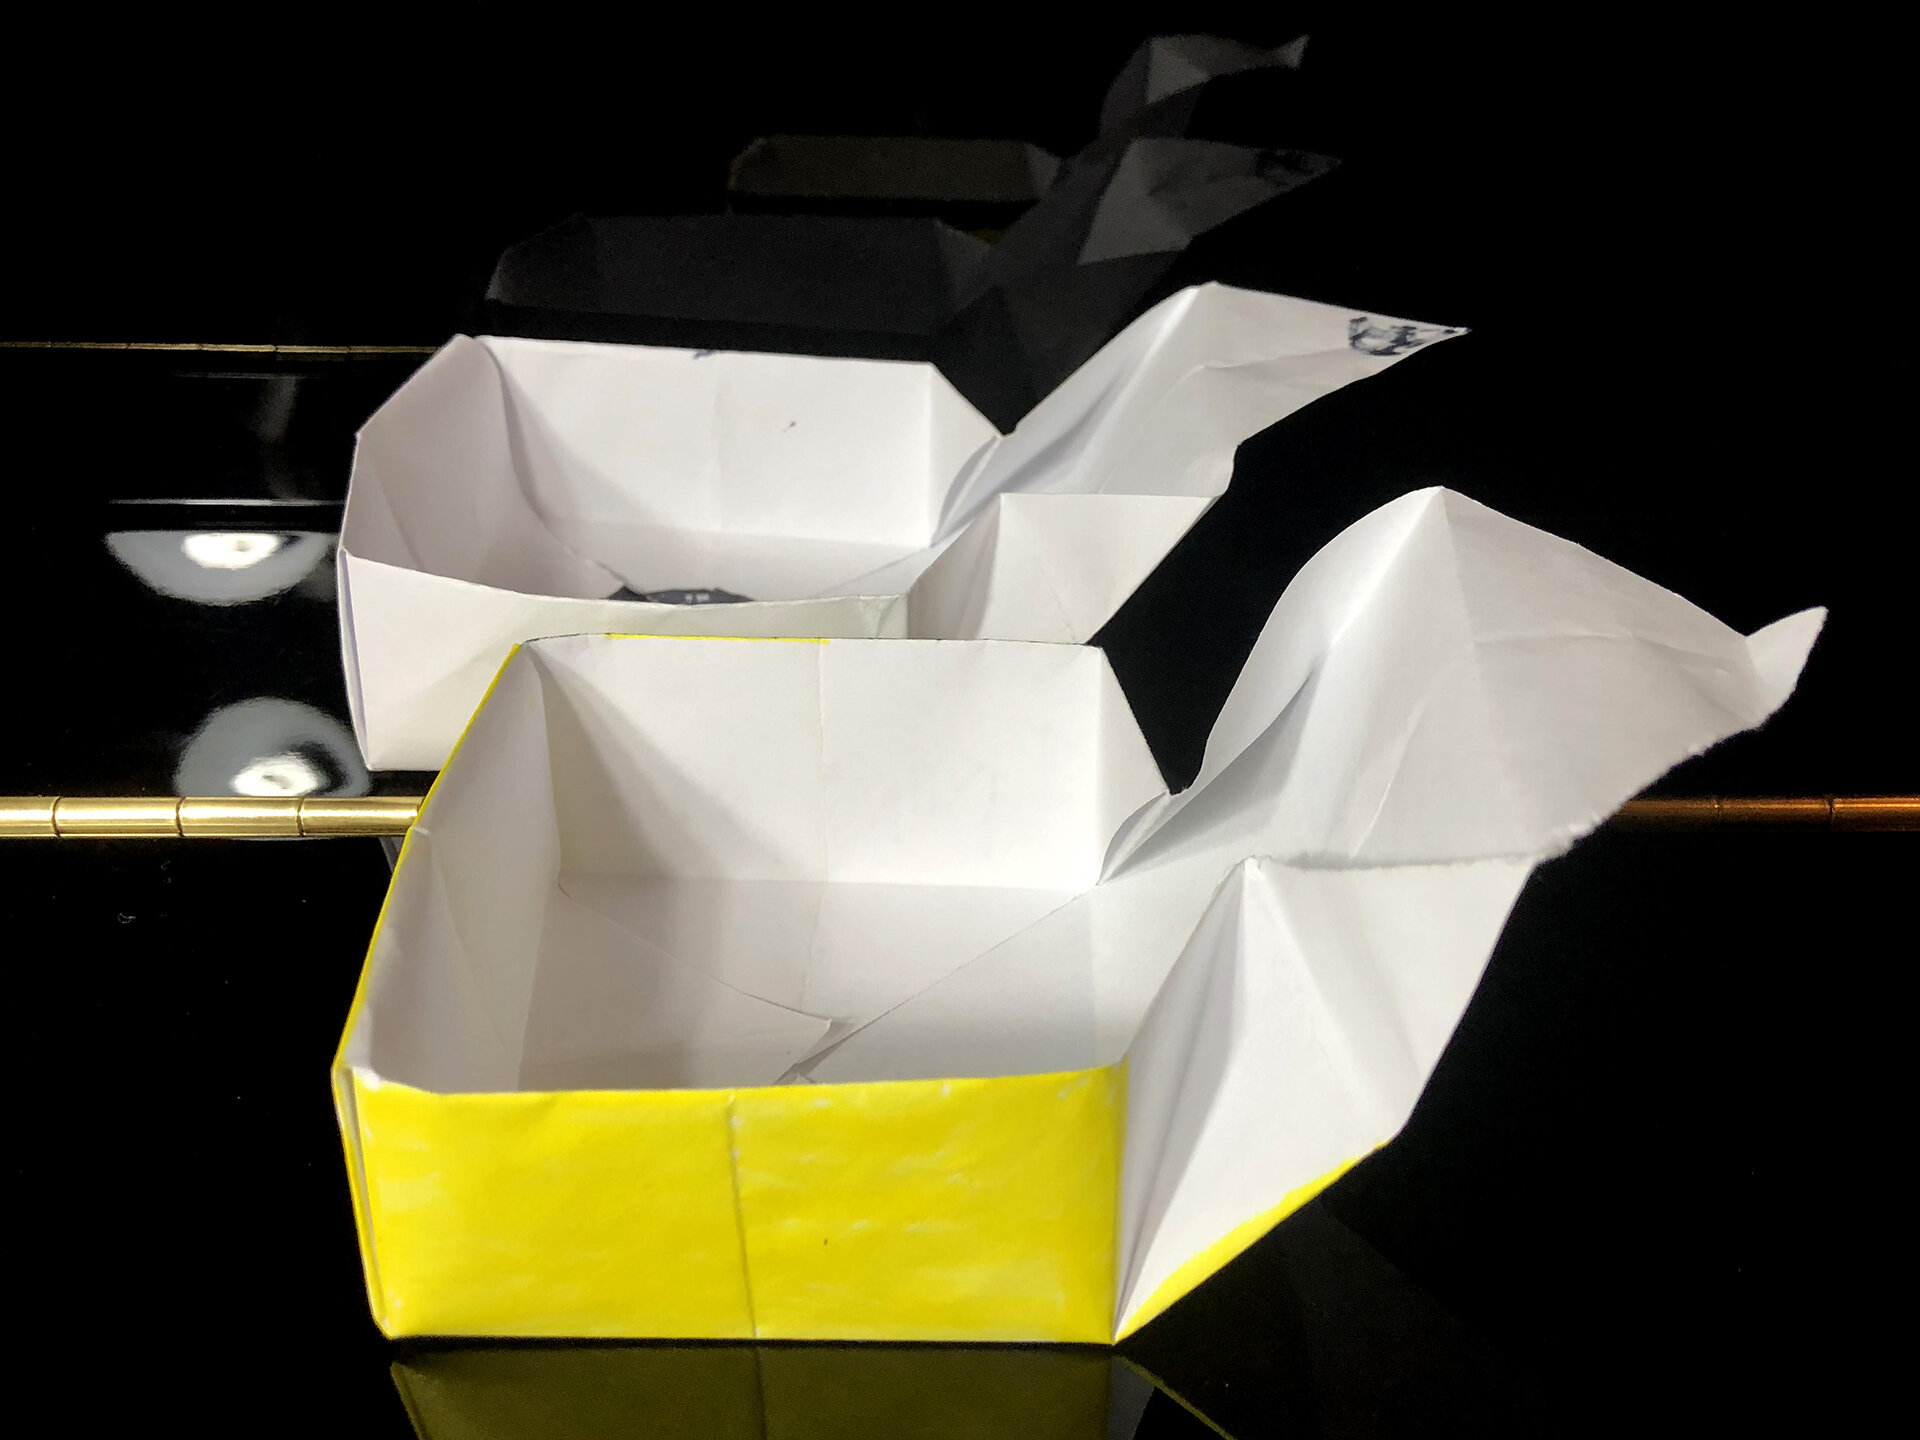
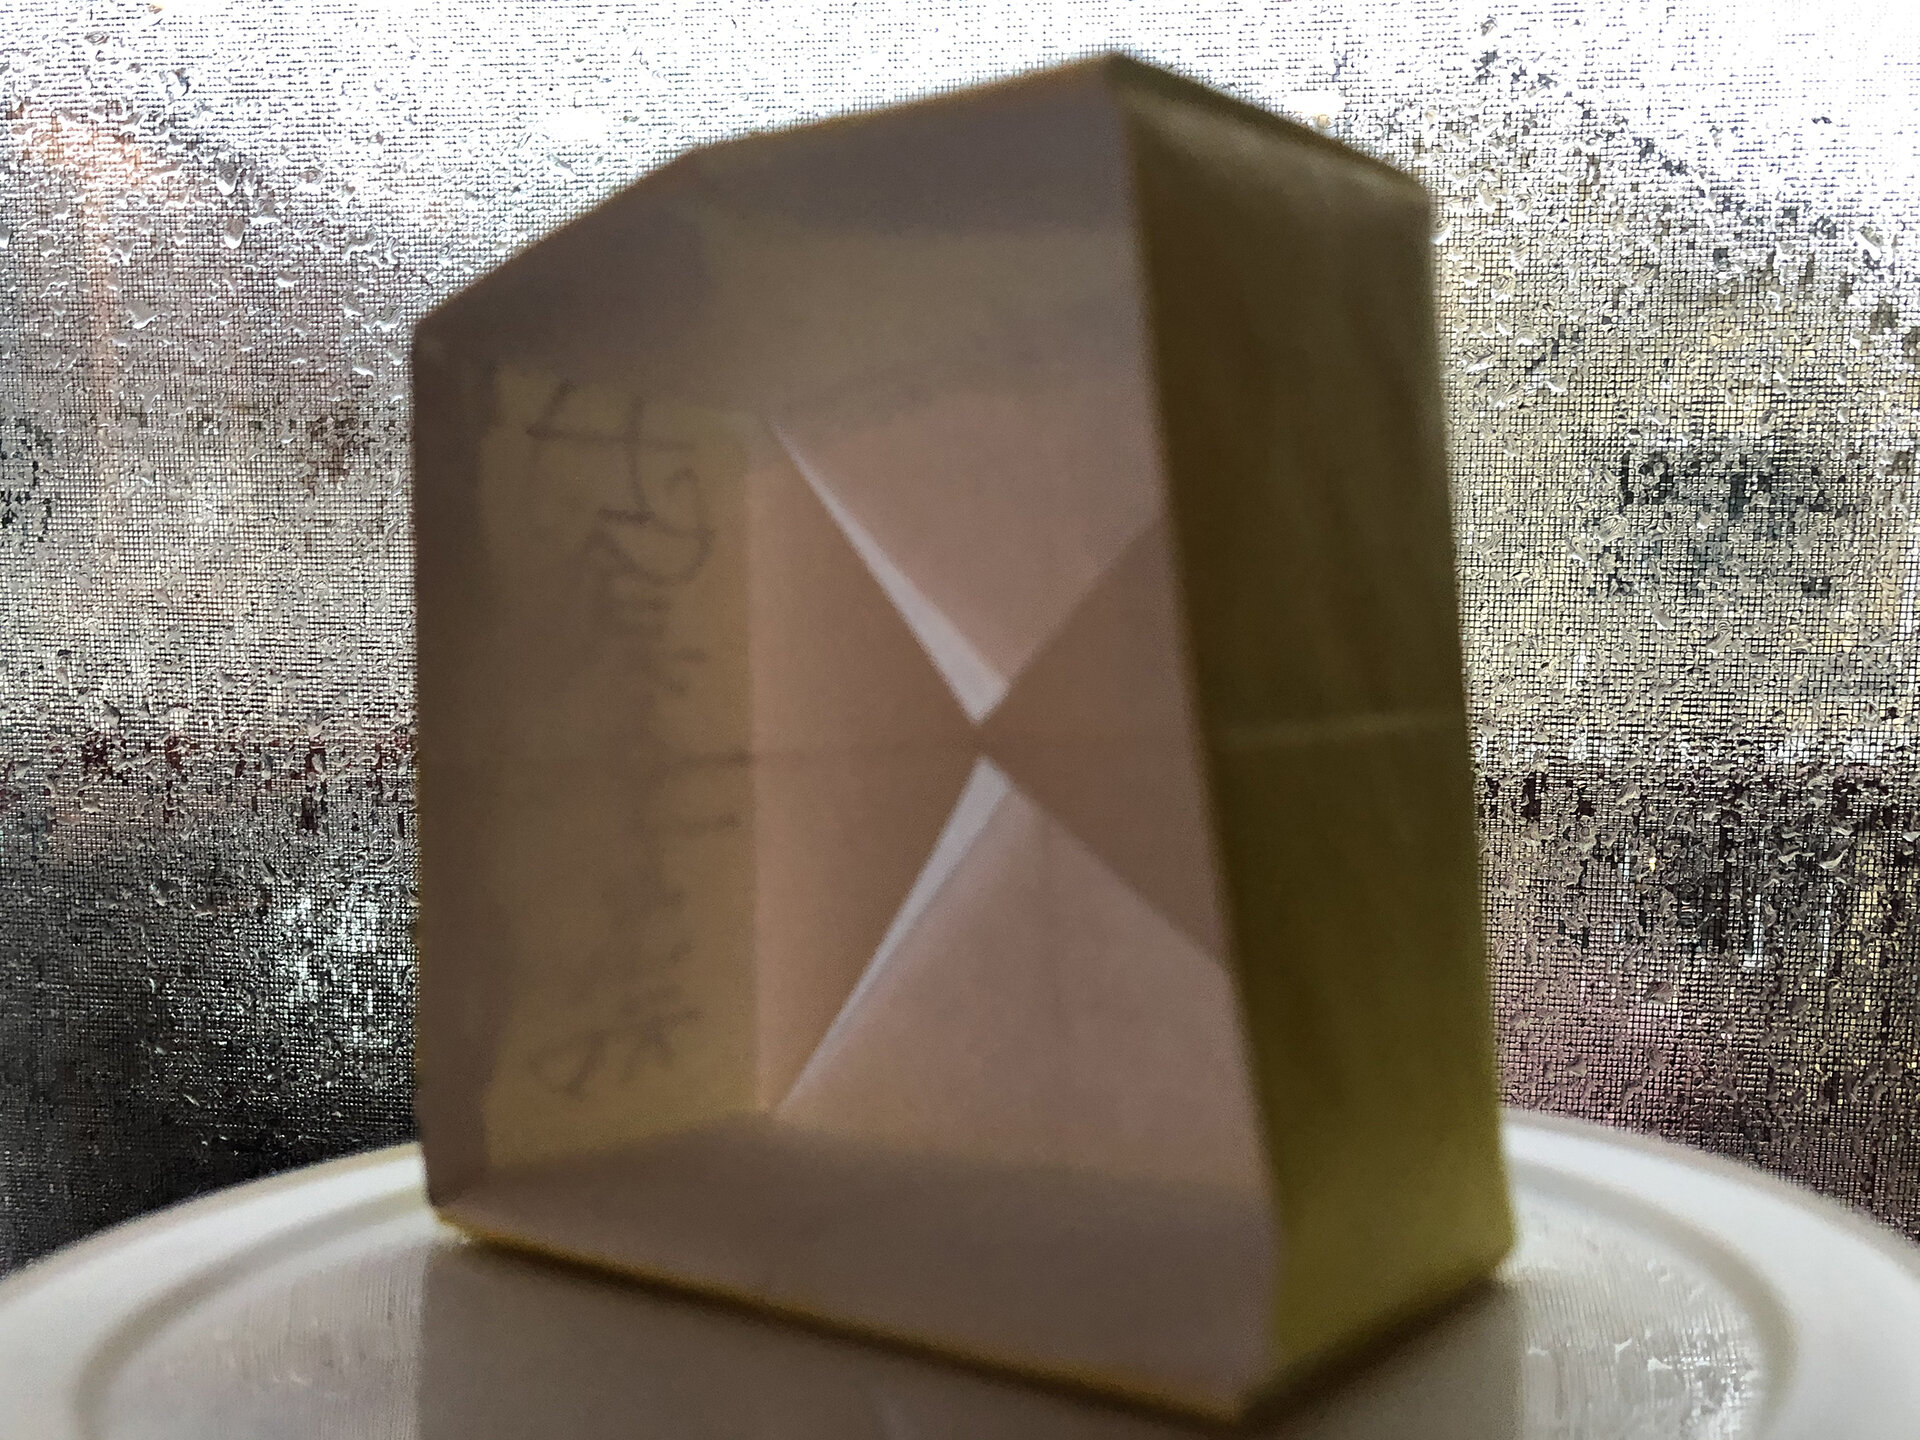
12. Place the right hand in the right corner of the model. Fold the triangular flab over the edge of the box. Fold and tuck the remaining paper into the base of the box.Repeat on the other side to make the forth wall of the box. Pinch the side of the paper to form the corners of the box.
13. You now have a classic Masu box.
14. If you want a closed container, make a second paper box with a piece of paper that is slightly smaller than the one used for the lid of the box.
