
Tactile Art Club - Paper Snowflakes and Celebrating the New Year!
/The first Tactile Art club meeting of 2021 was off to a great start! We had a great time talking about our hopes, wishes and aspirations for the New Year. We then worked on a fun project to create our own unique paper snowflakes.
The only material we used was paper, scissors, and tape. Consequently, the use of household materials reiterates Tactile Art Clubs belief that anyone can be an artist and spearheads the message of making creative outlets accessible to all. With 22 participants joining, our reach continues to increase, and we are so excited about growing a community of such diverse, talented individuals.
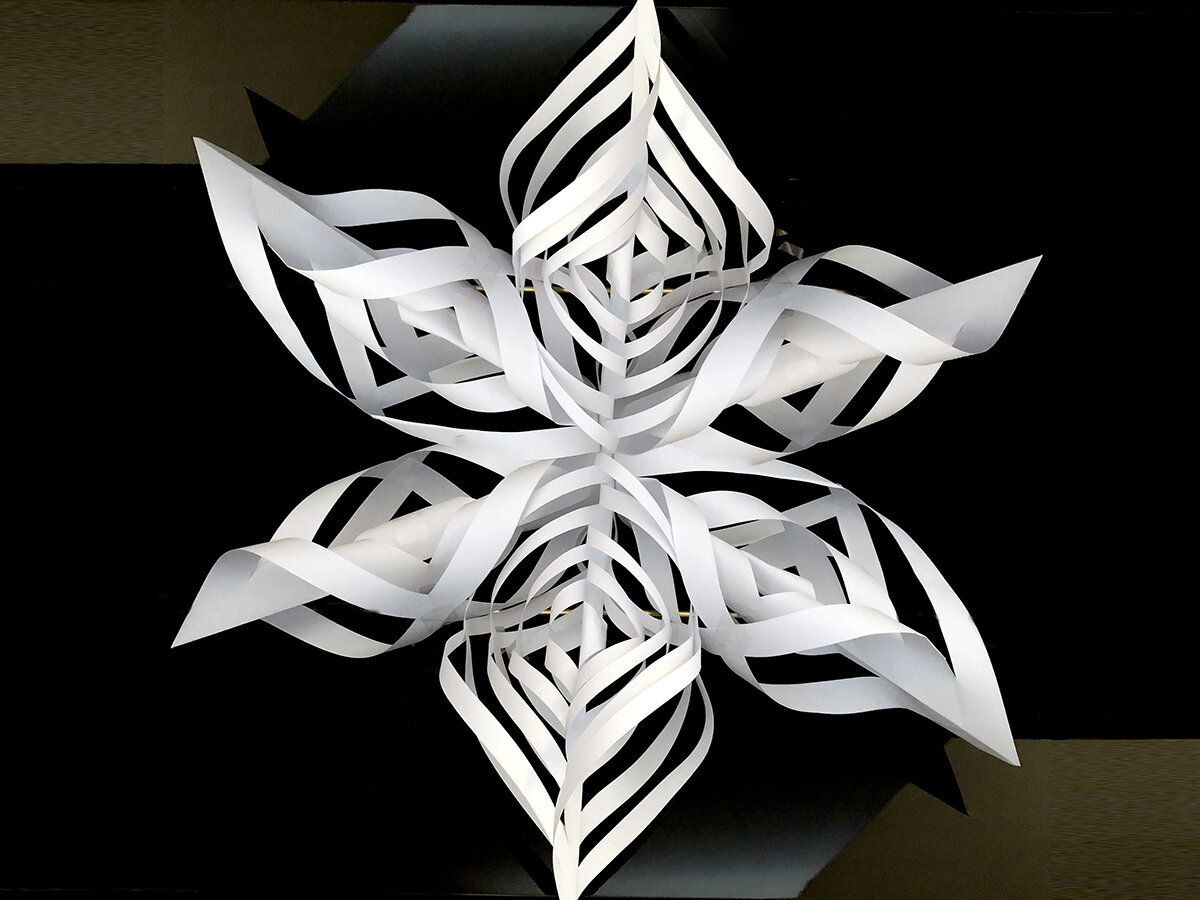
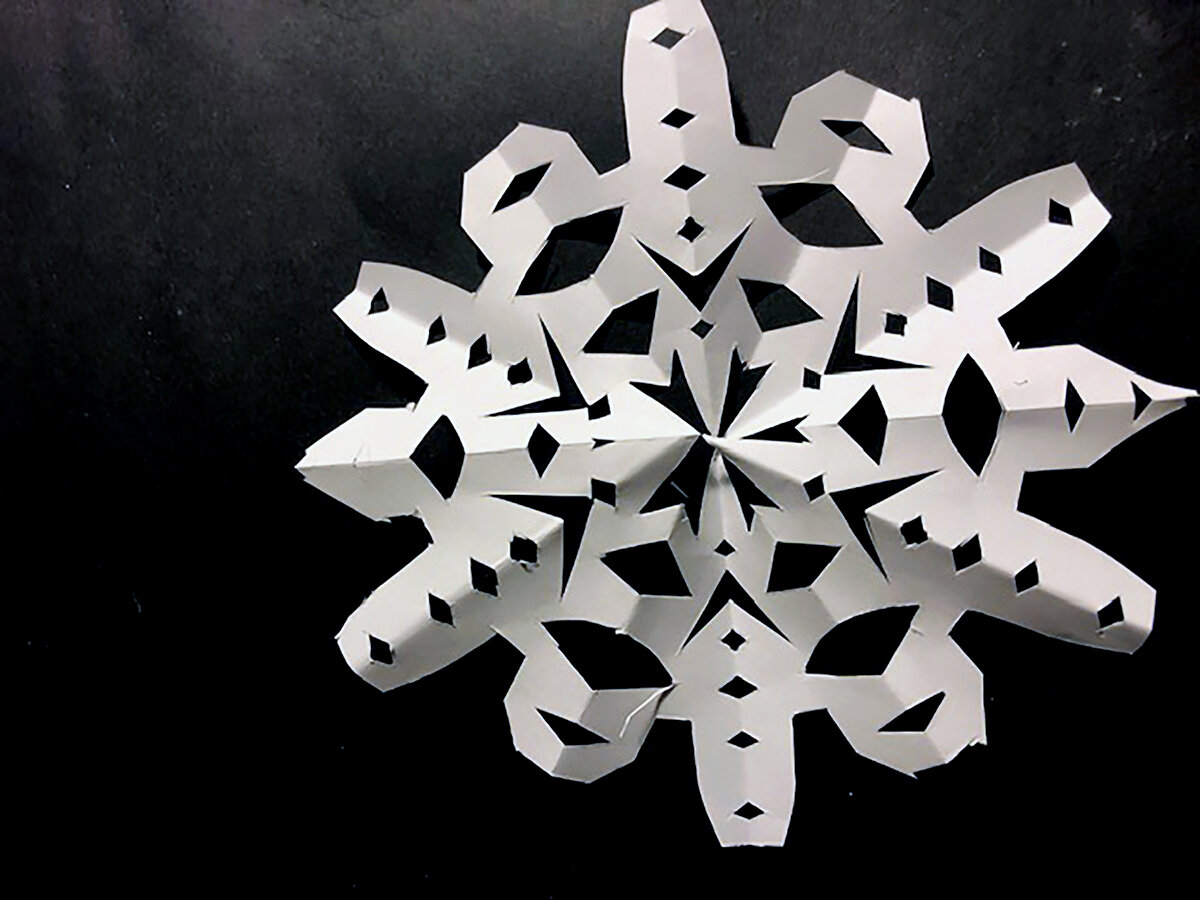
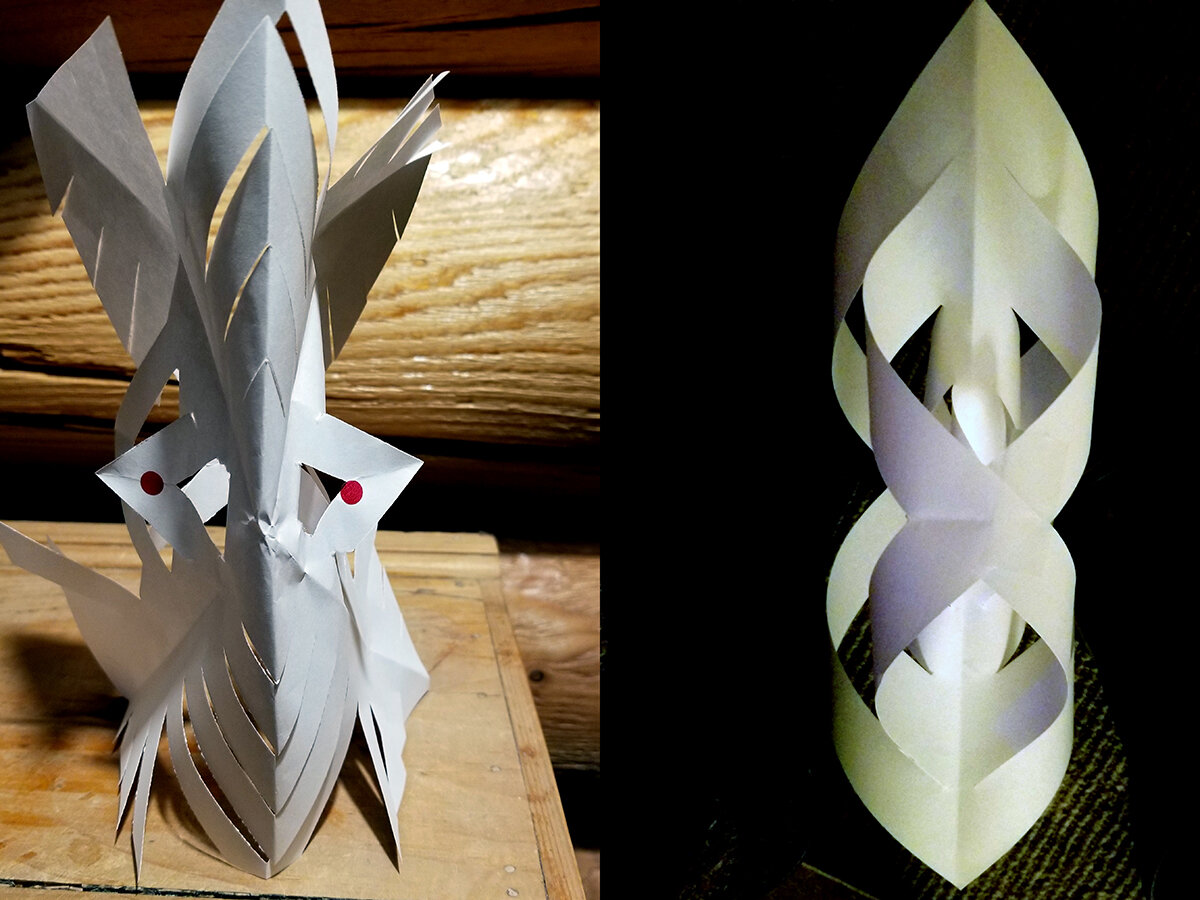
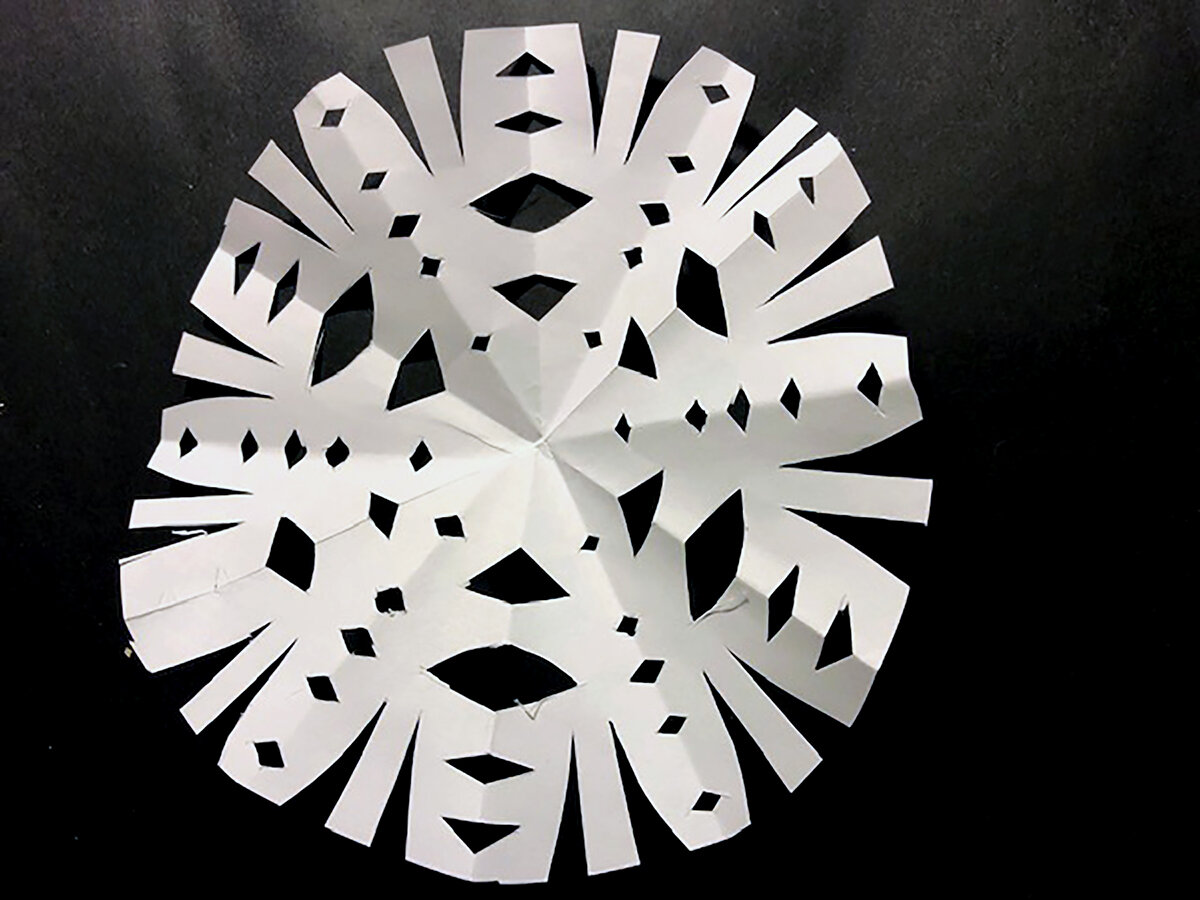
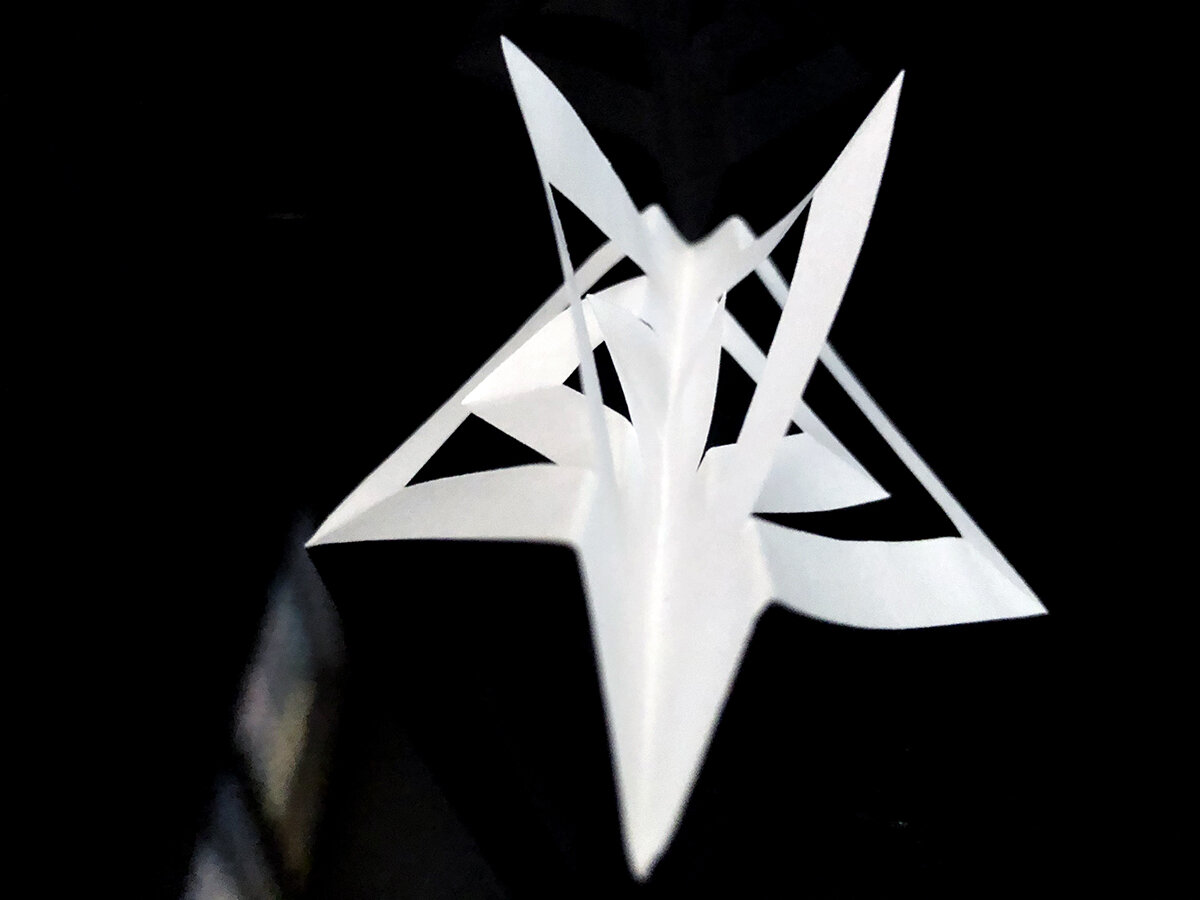
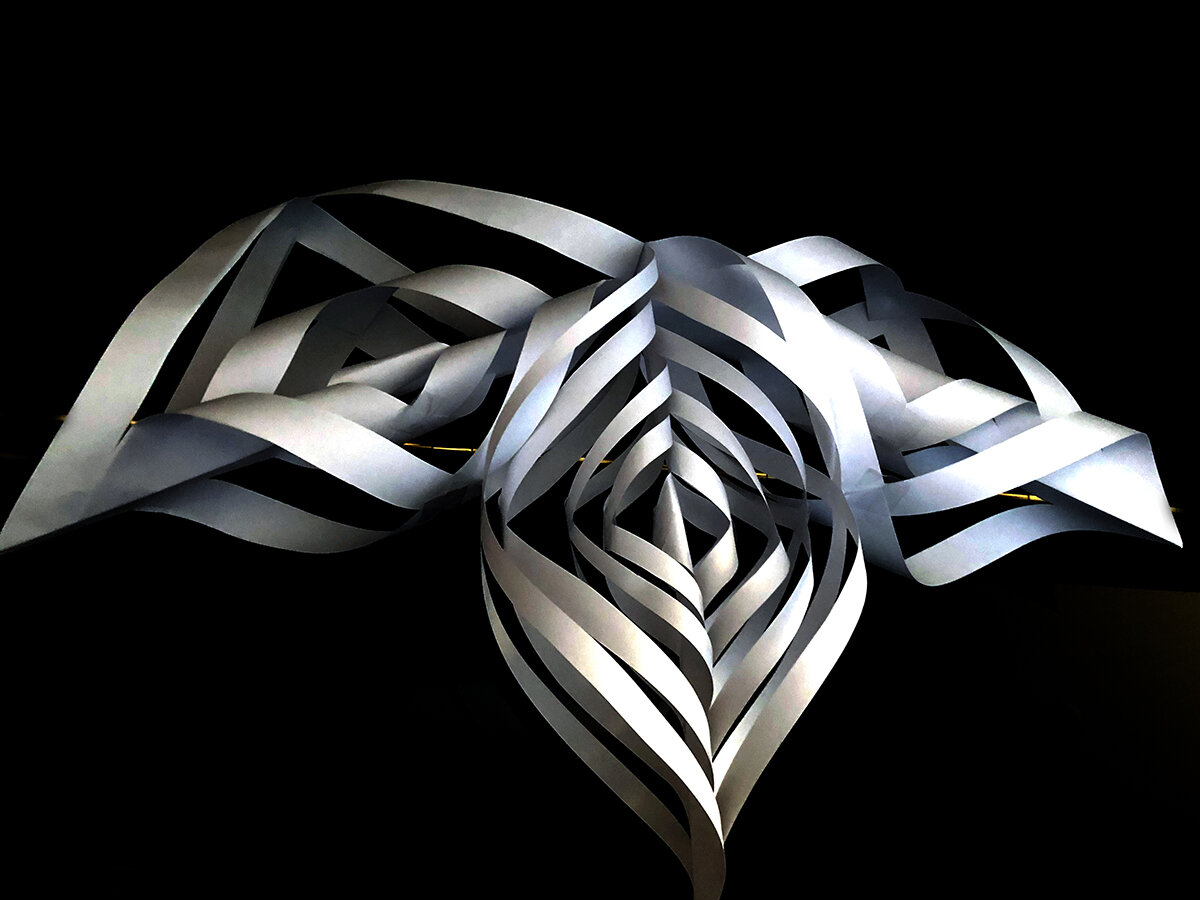
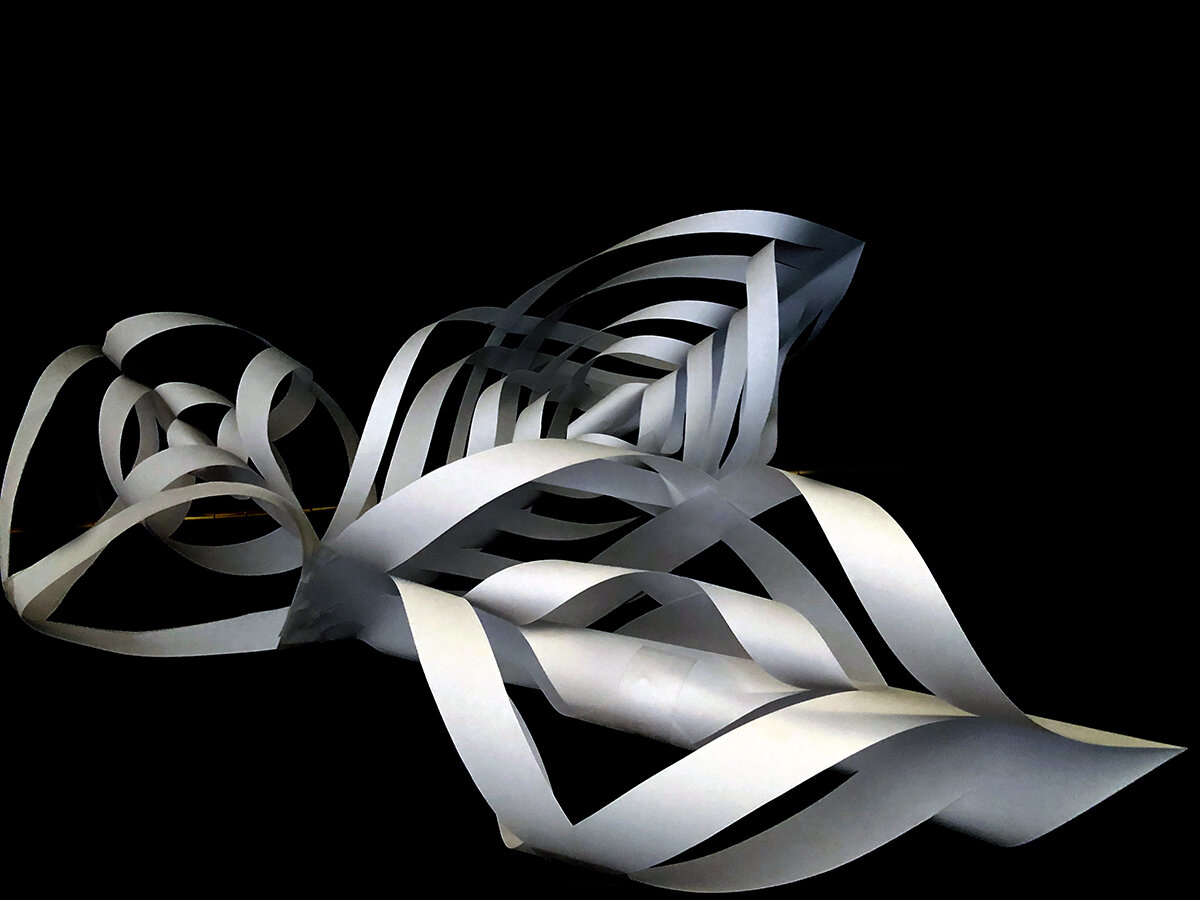
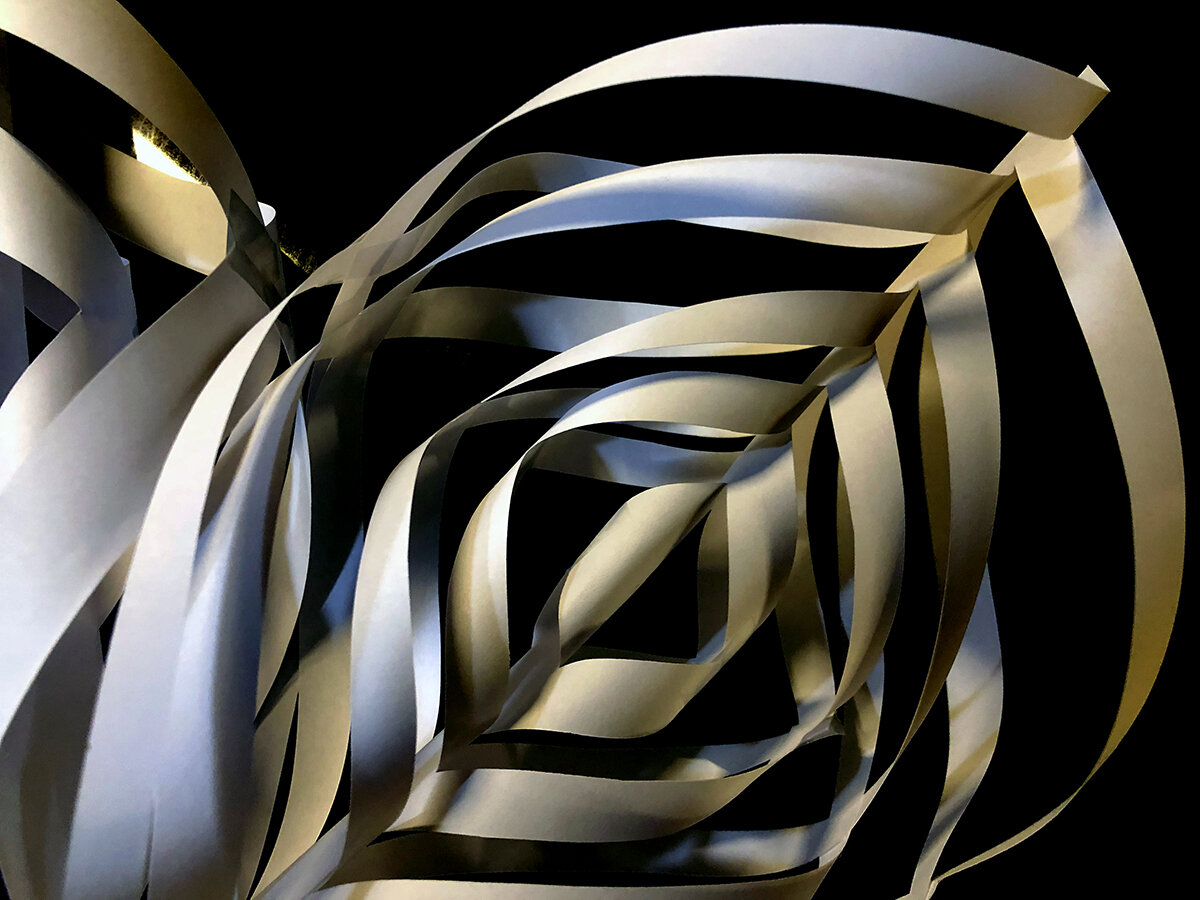
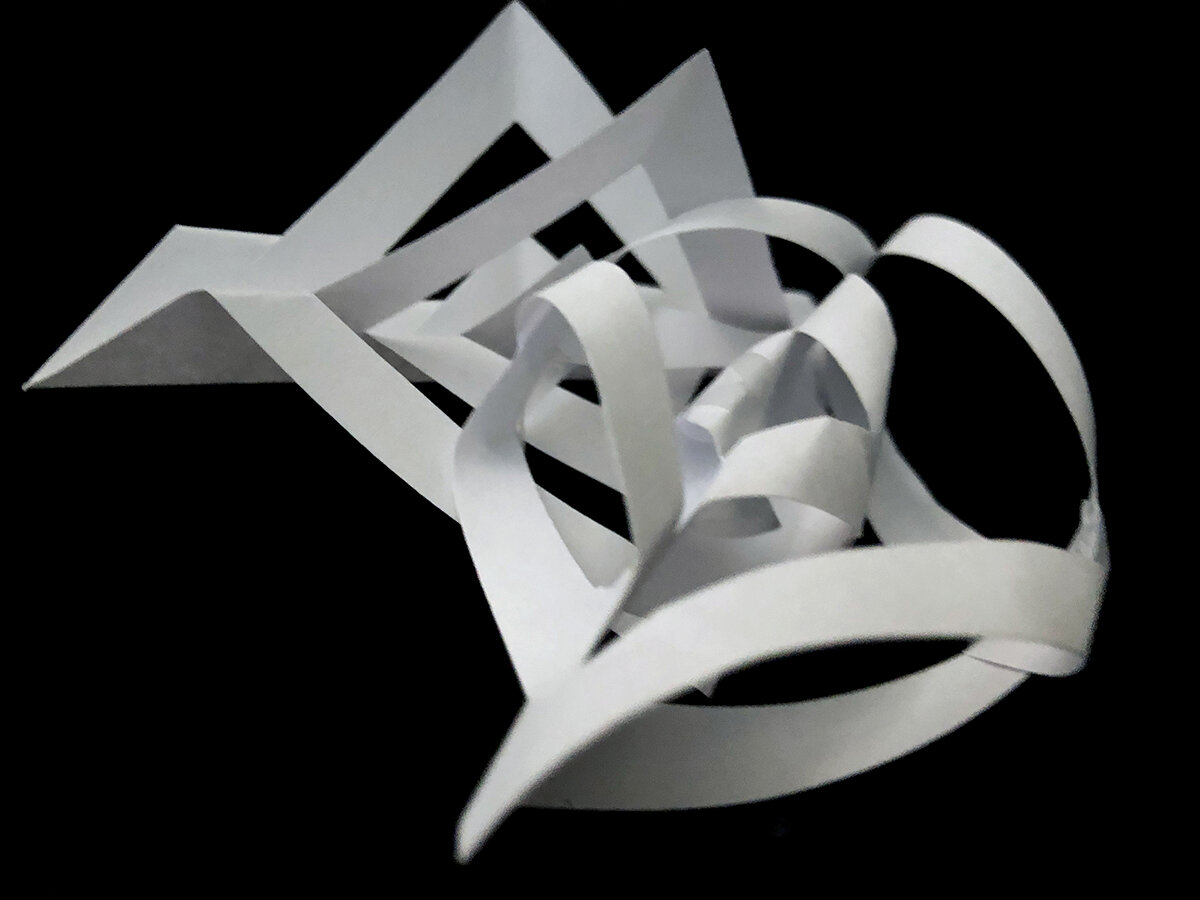
In nature, no two snowflakes are alike; each one shines with its own unique brilliance and contributes to the overall beauty of a storm. The project reminded us that we are all and special in our own ways, with our own dreams and different ways of pursuing them. This idea was evident by the many dynamic 3D snowflakes each member created. In spite of working together and following similar directions, each person created a vastly different snowflake as unique as they are. Thus, the project encouraged us to embrace our originality and be the best version of ourselves. The snowflakes also symbolically foster acceptance by demonstrating how one project can be interpreted through a plethora of perspectives, yet all ideas can come together to enhance the collective whole.
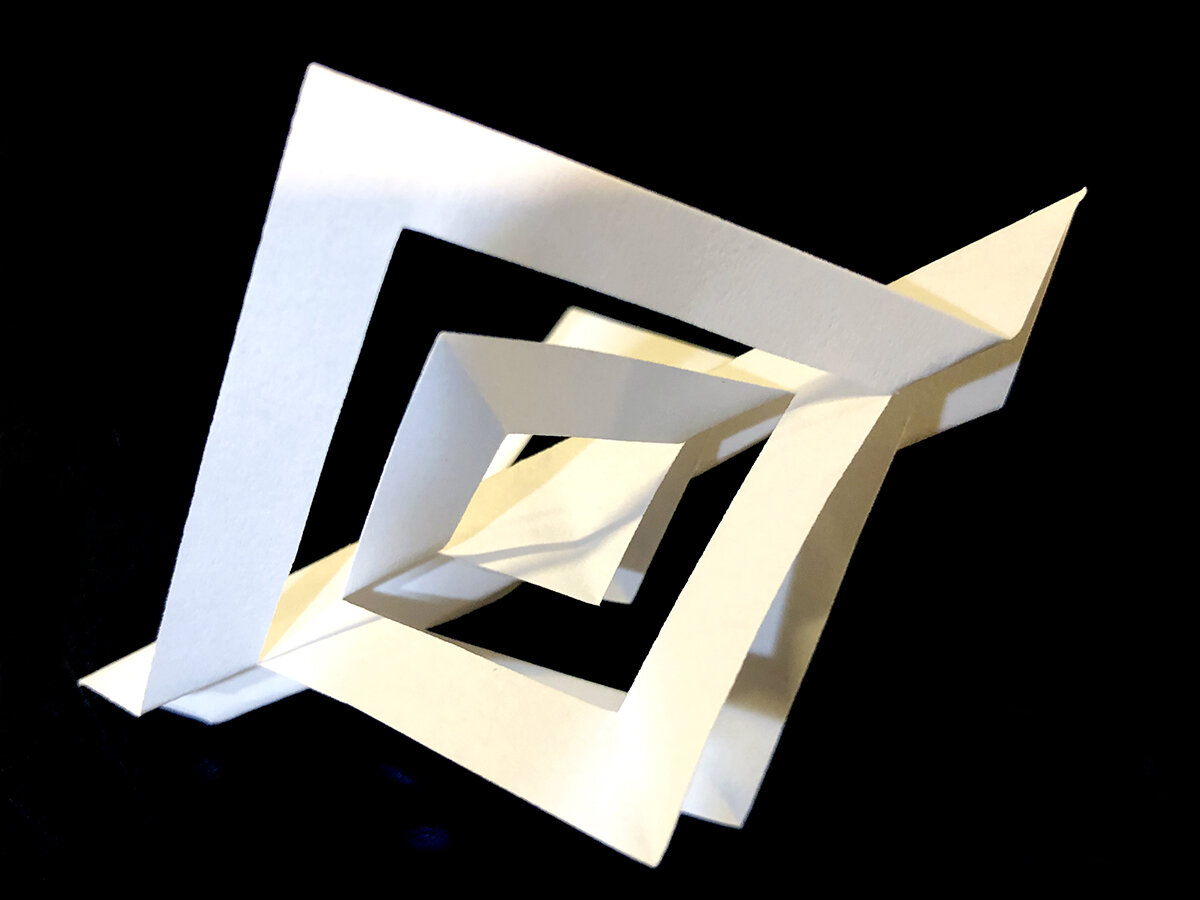
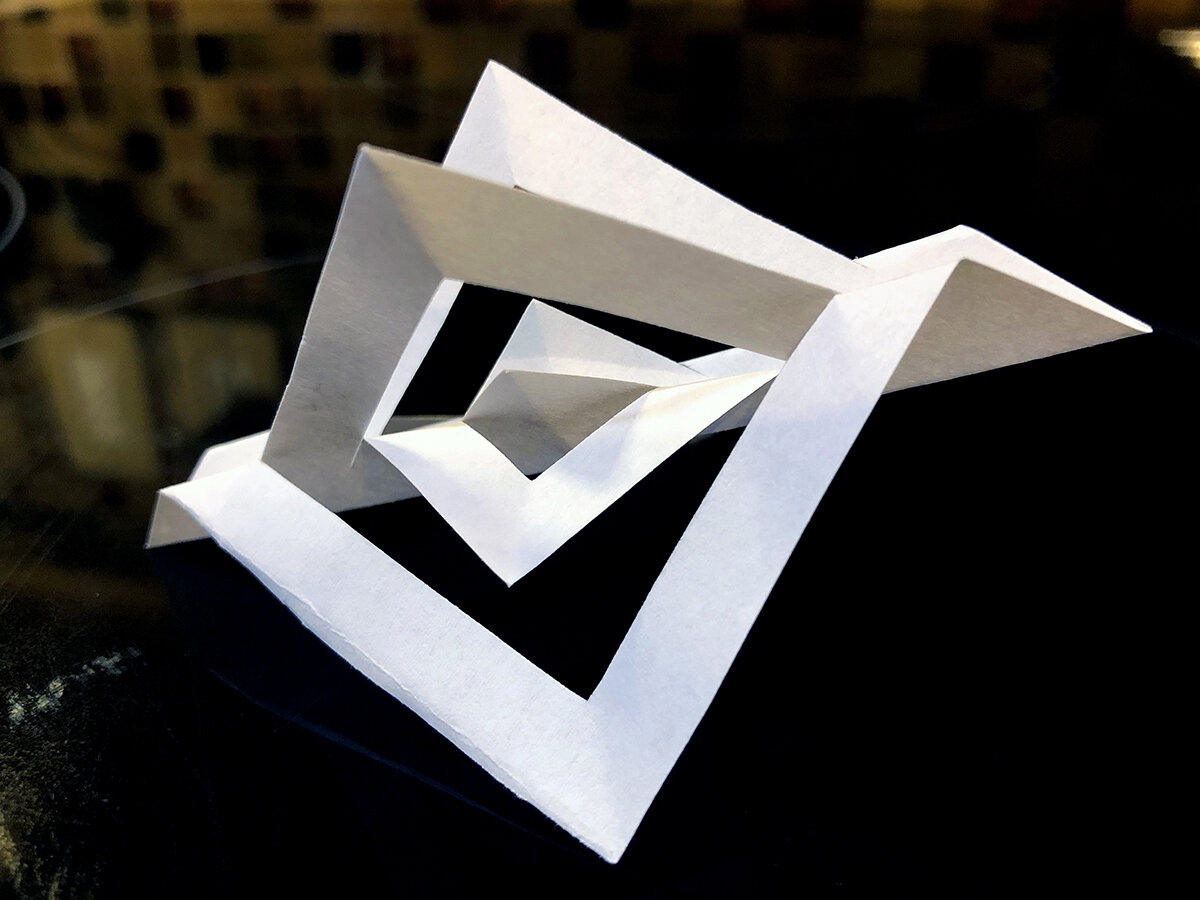
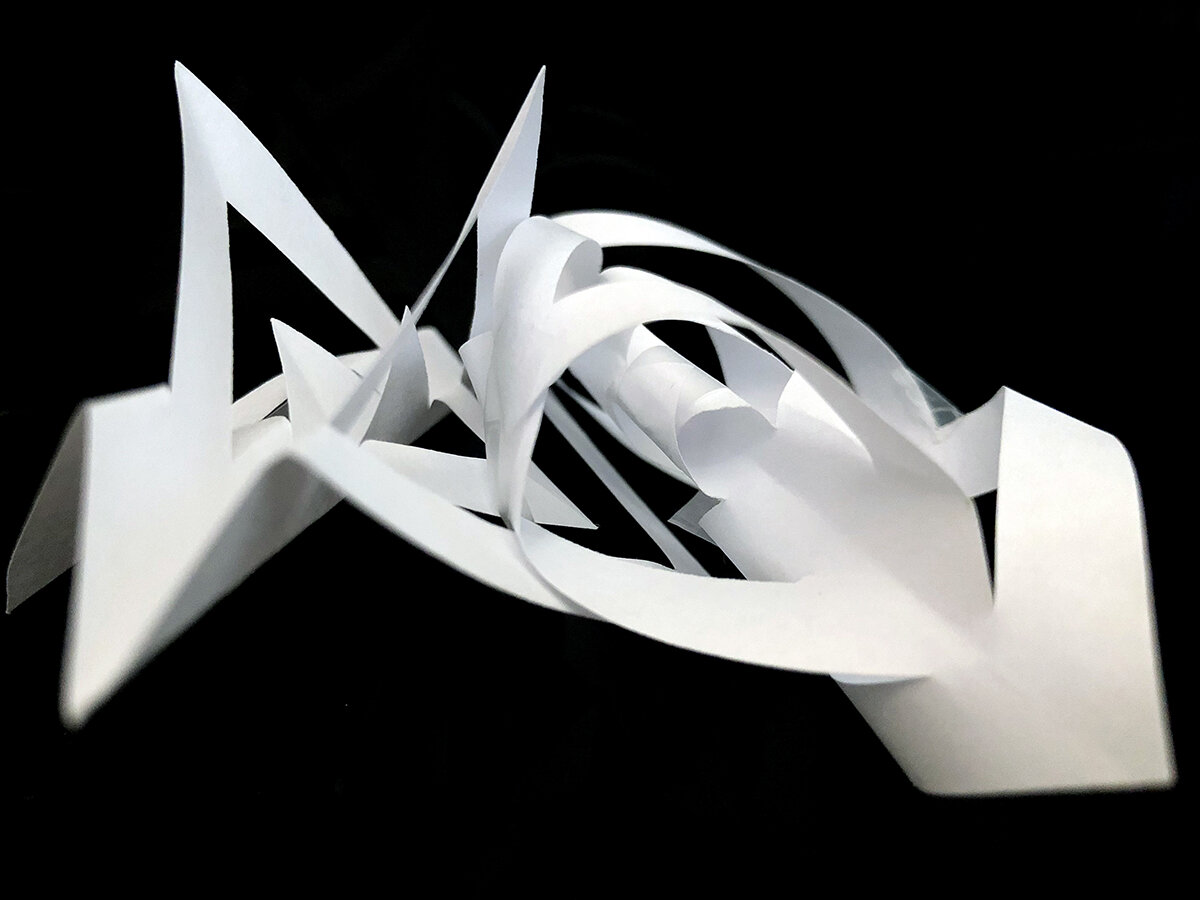
Attached are pictures of what people created:

Instructions for Paper Snowflakes:
Create a square out of your paper. To do so, simply fold the top, shorter edge over to meet the longer, perpendicular edge of the paper.
Fold the square in half diagonally
Fold the triangle in half diagonally again
Cut 3 slits along the bottom folded edge of the triangle. The cuts should be parallel to the longest side of the triangle
The first slit should be the longest (an inch or so away from the edge). Make sure you do not cut all the way through. Keep an inch or so between the cuts, and make each subsequent cut around an inch smaller than the previous one.
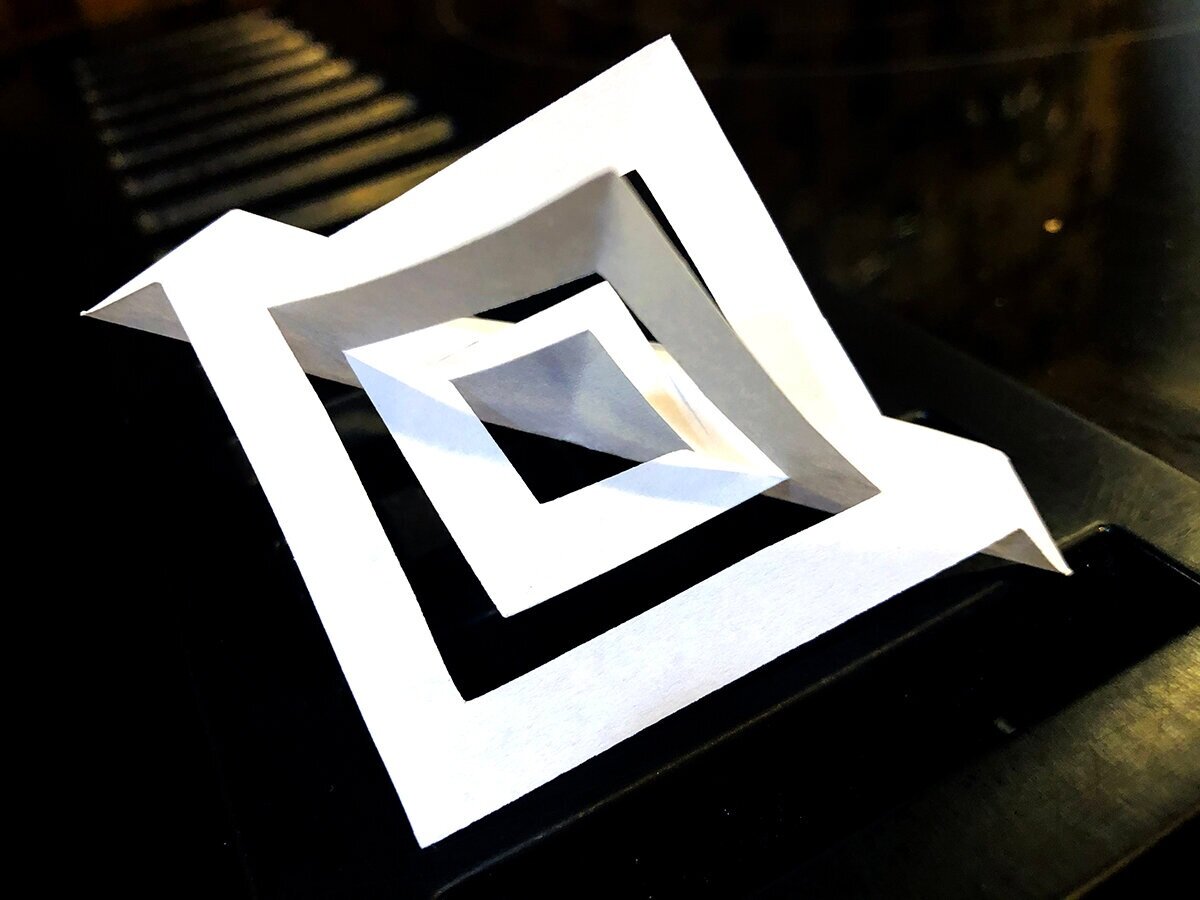
Unfold the paper so it is flat. Orient it so that one point of the square is directly facing you
In the center of the diamond, pick up the innermost paper flaps and roll them together to form a tube. Tape this tube together
Flip the diamond over to the other side of the paper. Take the next two paper flaps and tape them together on the opposite side of the tube
Keep flipping your paper over and taping flaps together until all paper lines have been joined. This is now one point of your snowflake
Repeat steps 1-9 for how many points you want your snowflake to have
Tape all points of the snowflake together in a center point and enjoy your artwork!
Tags:
#tactilceart, #Artfortheblind, #touchart, #visuallyimpaired, #blindartist,, #accessibleart, #artforall, #sensoryart, #BlindandVI, #accessibility, #inclusion, #artmuseums, #artforeveryone, #accessiblemuseum
#lowvision, Art for the visually impaired, Art for the Blind
