
Tactile Art Club - 3D Gratitude Turkey
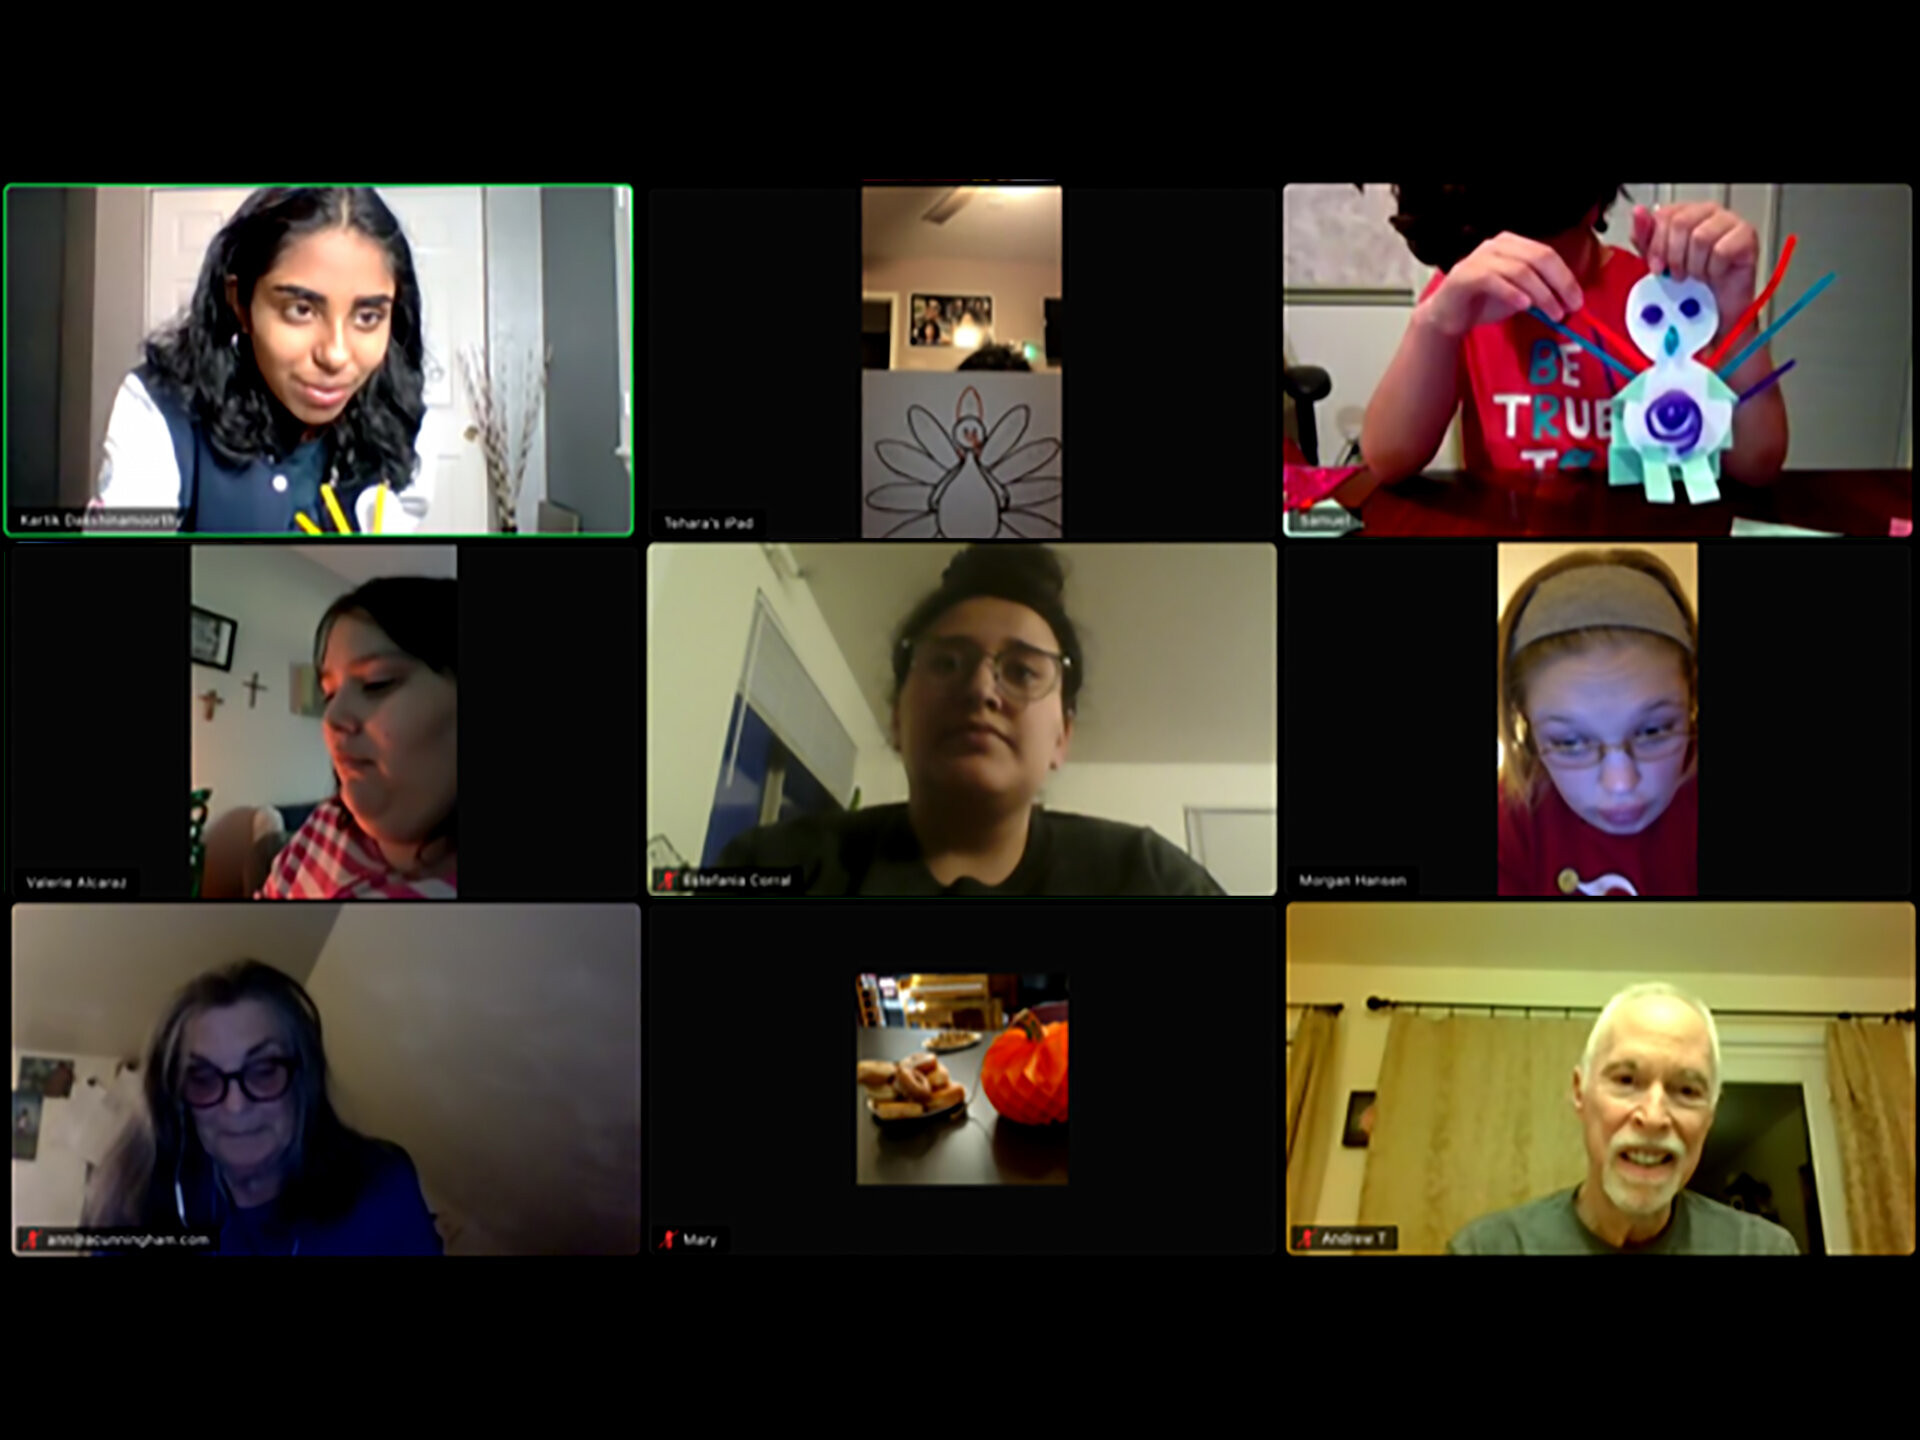
/This November, Tactile Art Club enjoyed bonding and getting in the spirit of Thanksgiving! We had 14 participants for the November TAC meeting. At the beginning, we shared stories about what we are thankful for and why we enjoy Thanksgiving. After getting to know each other and sharing the holiday spirit, we made special craft turkeys to give to our loved ones or decorate our homes. We explored different techniques with paper and mixed media, and enjoyed expressing positivity and gratitude in a hands on way. The club continues to spread creativity through accessible art online. We are excited to continue forming a global community and form connections with each other through this time.
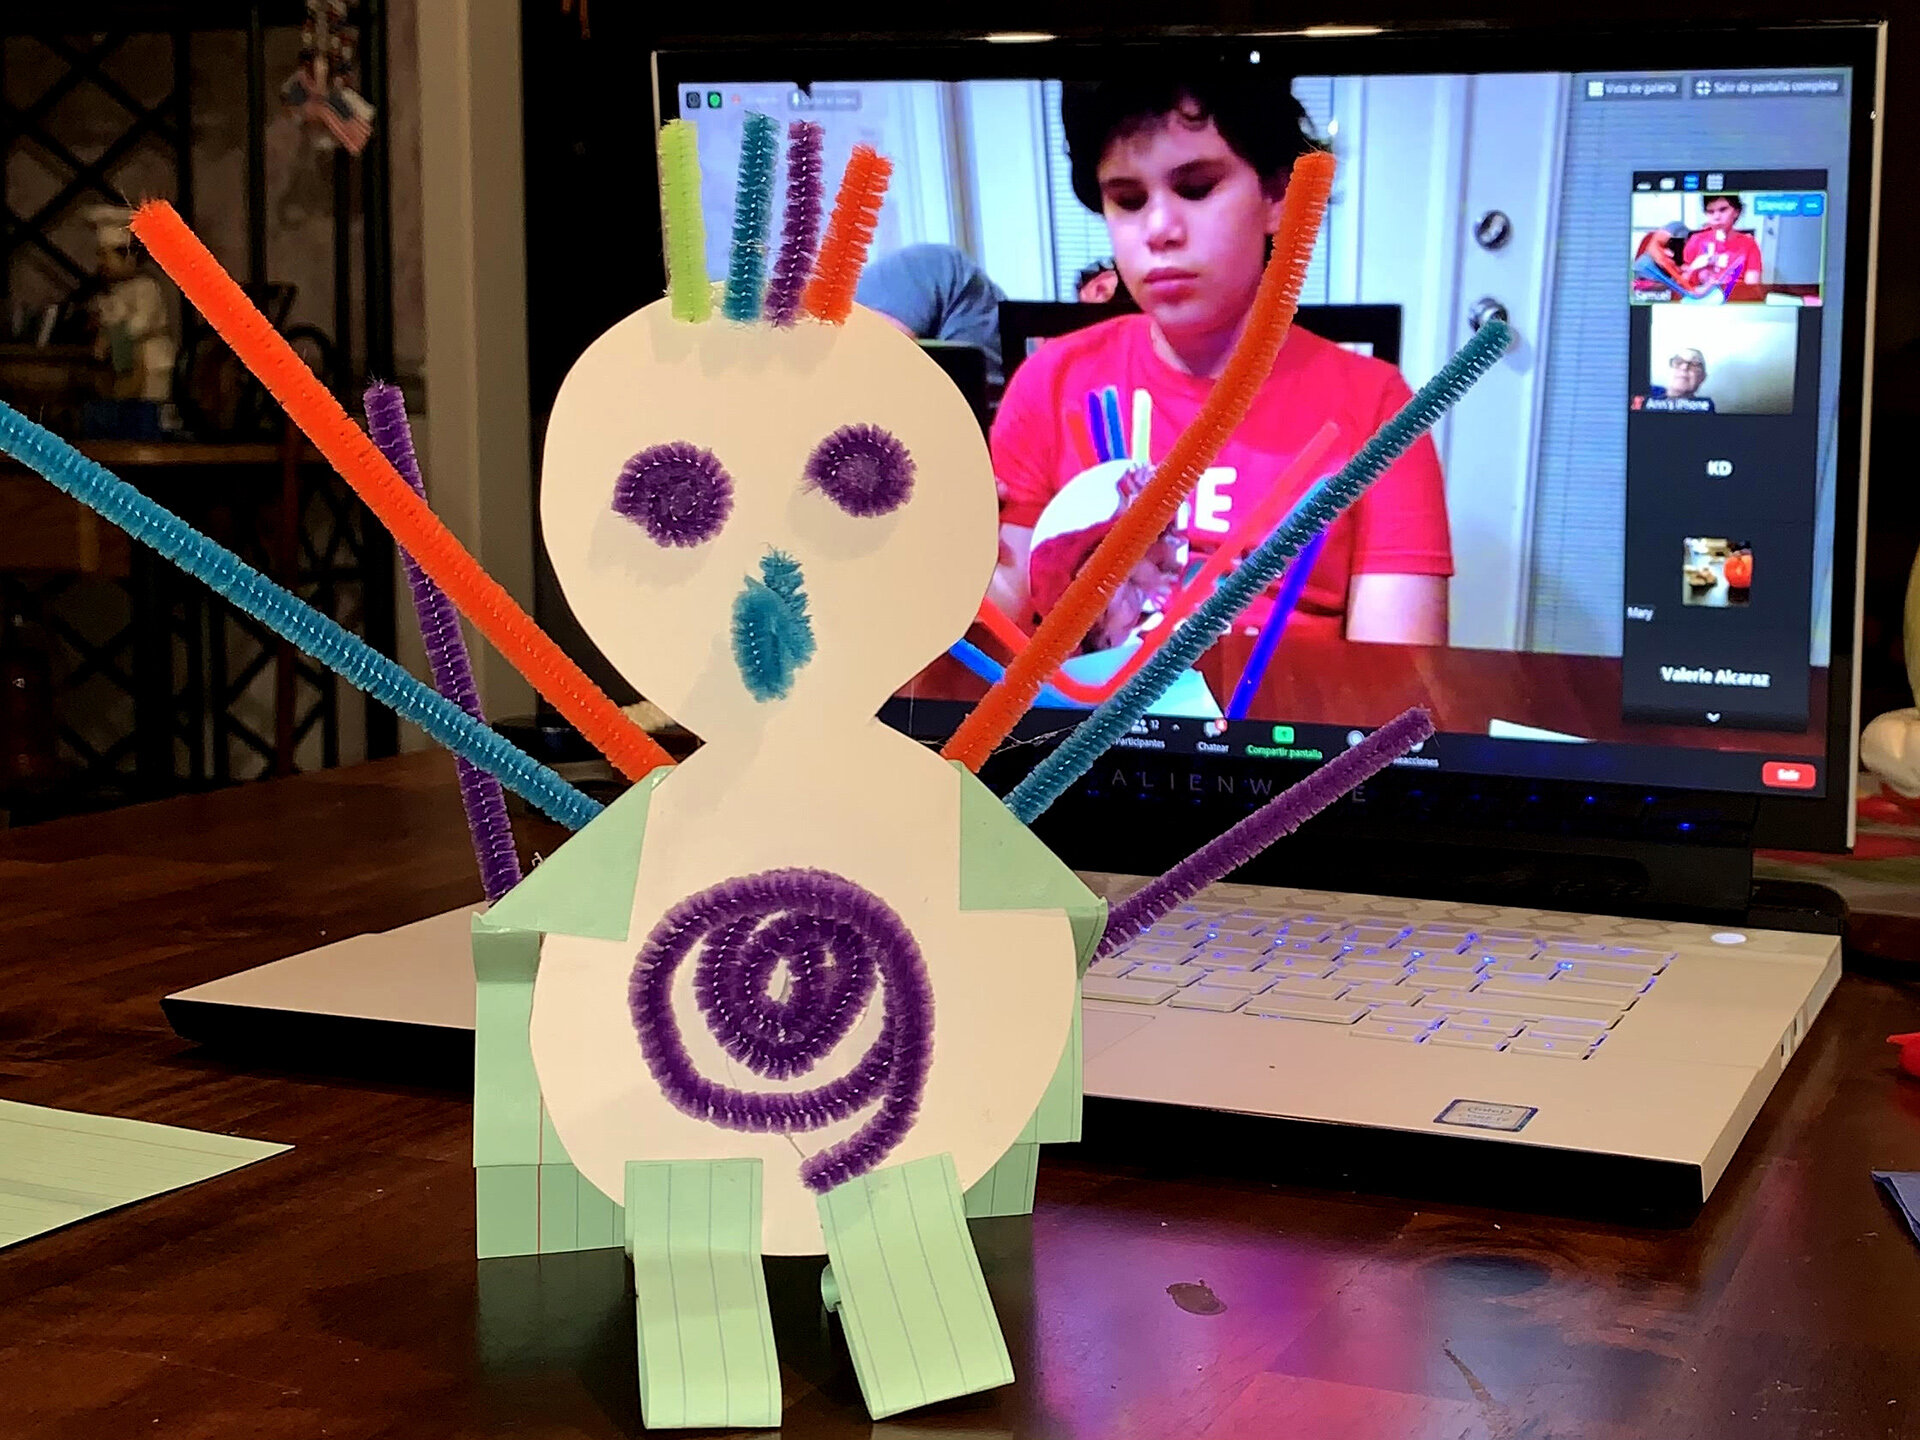
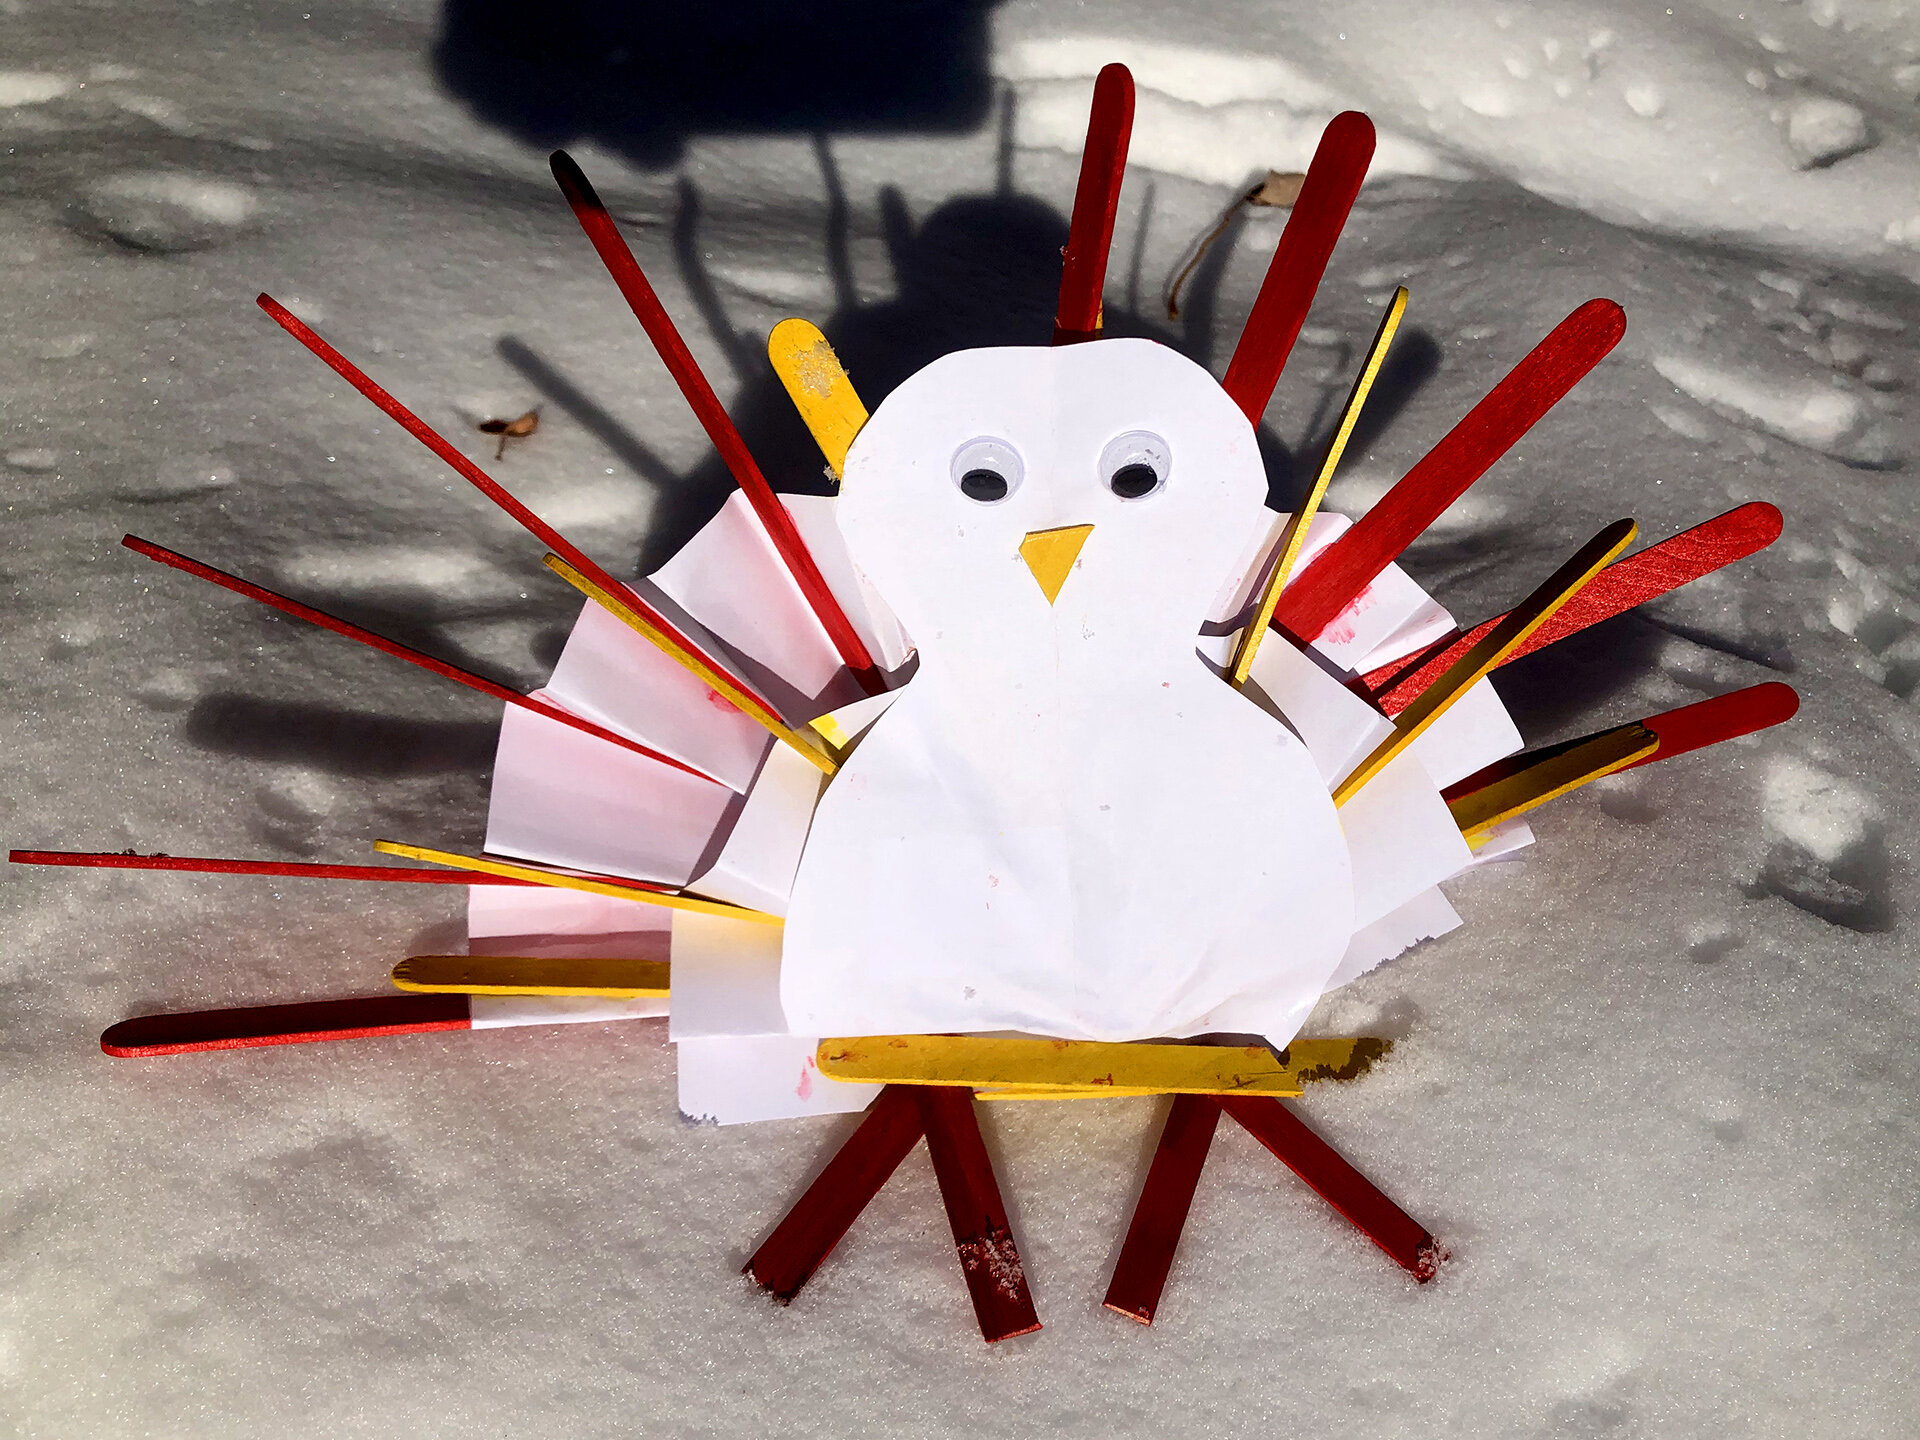
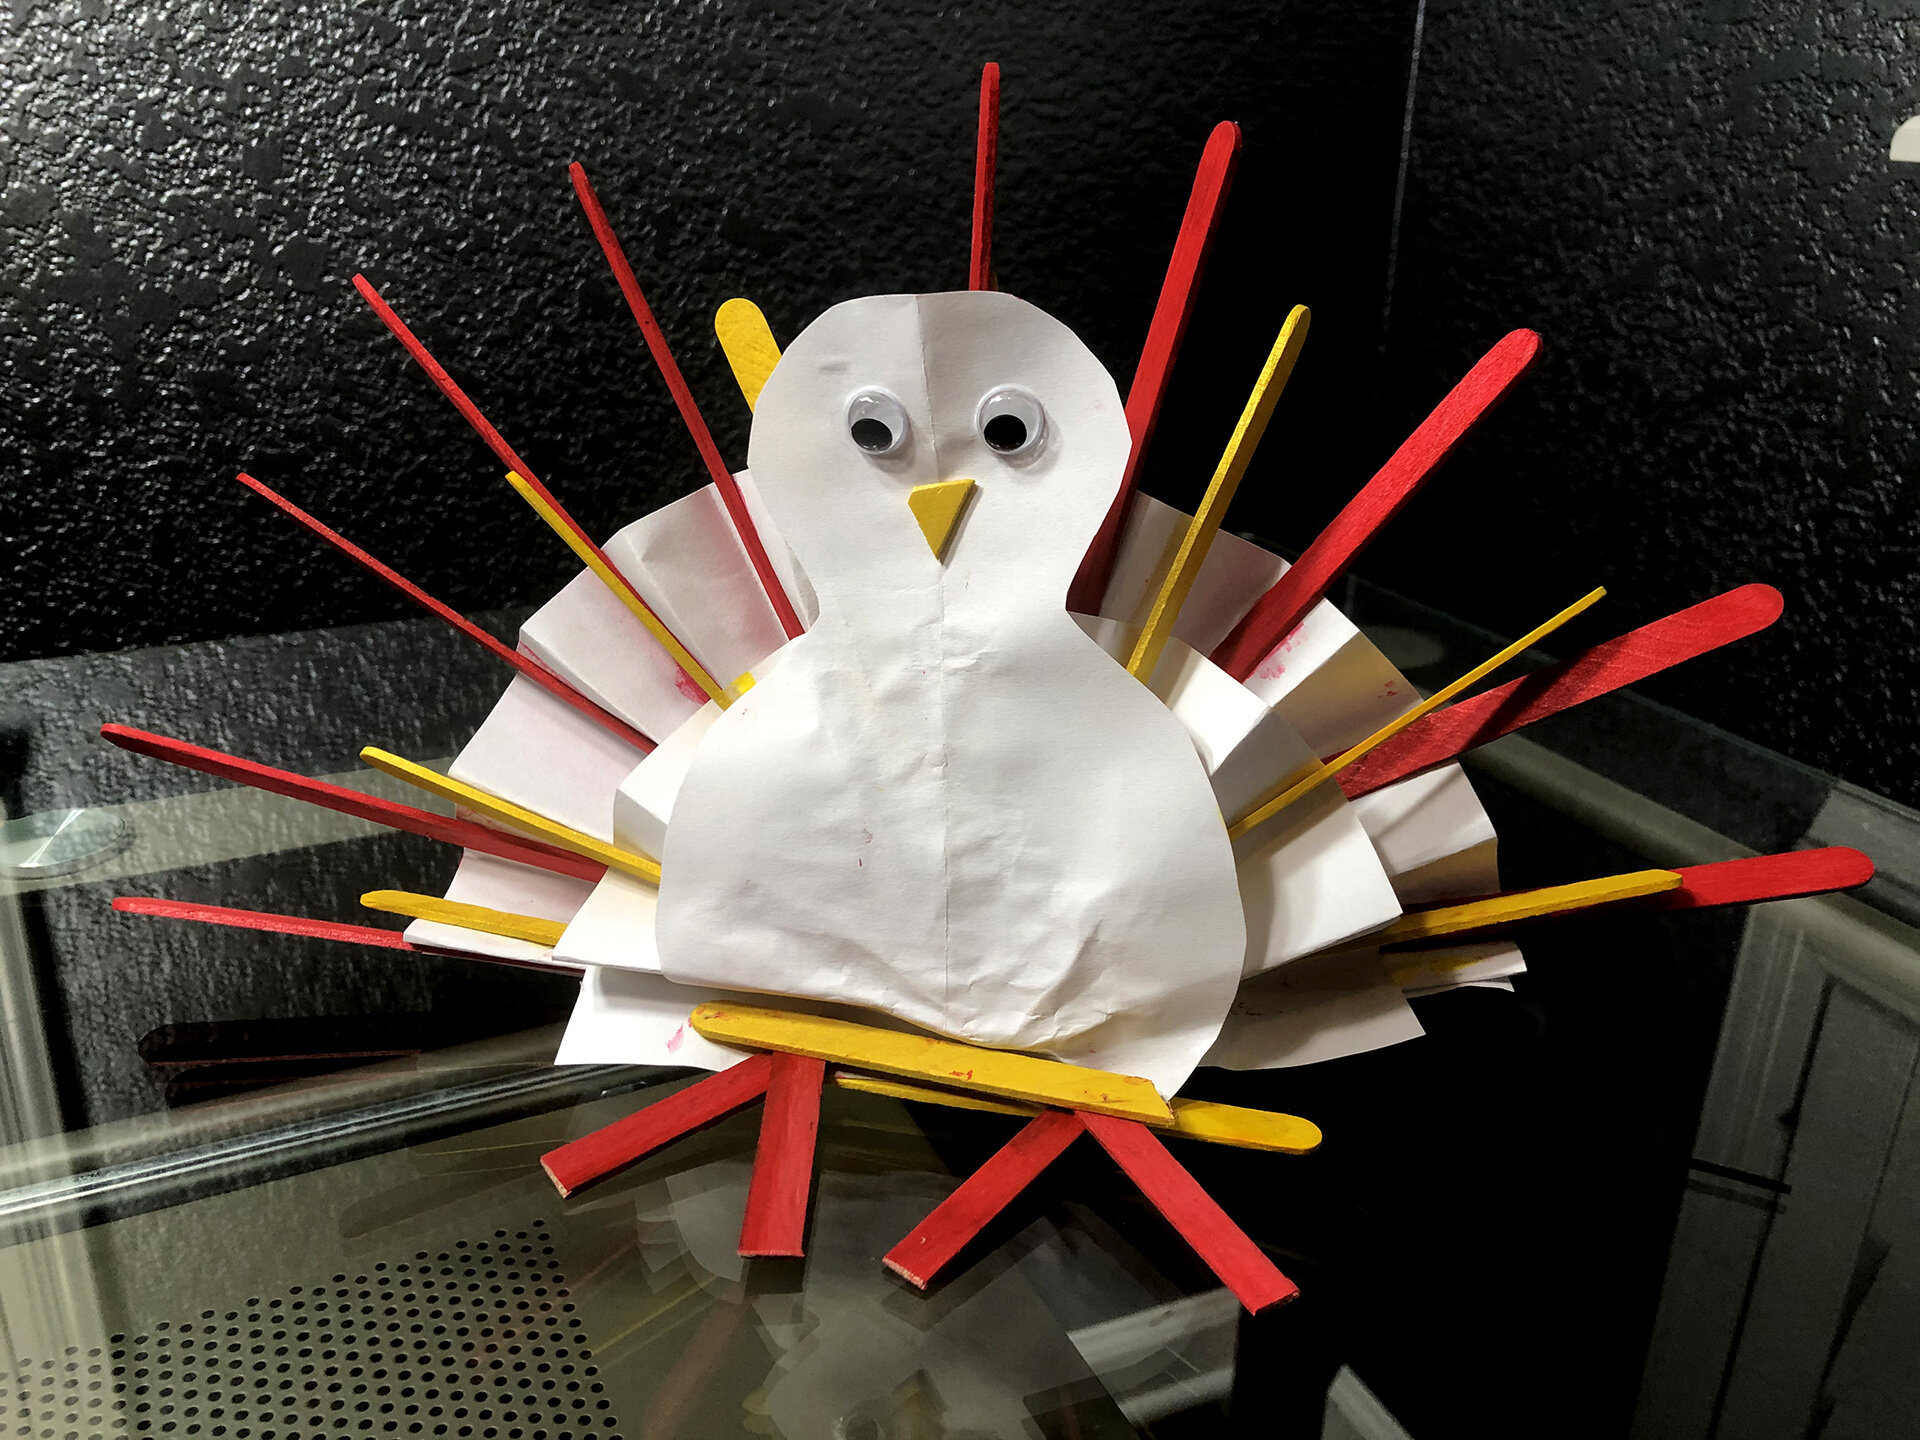
To make your own 3D turkeys, here is a transcript of the instructions. This is a basic template that will give you a starting point to create the turkeys on your own using only paper and glue. Feel free to customize it to express yourself and create something unique.
Step 1: Place your paper in landscape orientation. Then, fold it vertically in half.
Step 2: Cut out the body of your turkey by cutting out 2 adjective semicircles facing the fold. One semicircle should be larger than the other, such that when you unfold it, it feels like a bowling pin or a snowman.
Step 3: Cut out two small circles and a triangle for the eyes and the beak of the turkey. Glue it on the smaller circle (head of the turkey).
Step 4: Create the feathers of your turkey and place them around the body. This can be done using a variety of techniques:
Accordion fold method - Take your sheet of paper and make a half inch fold on one side of the page. Then, crease it and flip the page over. Make another half inch fold on the same side of the page so that the folds are going in opposite directions and making an accordion texture. Repeat until you get to the end of the page. Then. take the folded piece of paper and fold it in half. Then where the 2 sides meet, glue the two sides together so that the paper is a semicircular fan. Then, glue this to the turkey’s body. Use different sizes of paper for different lengths of feathers
Loop method - Cut out 1 inch strips of paper (or your desired thickness) using the sheet in front of you. Then, create a loop and glue the two ends of the strips to the turkey’s body. Feel free to experiment with the layering, size, and shape of each loop.
Strip method - Cut out strips of paper and shape them into the shape of a feather. Then, glue the bottom of your strips to the body of your turkey.
Step 5: Add feet and decorate your turkey! To make your turkey freestanding, use a thick piece of paper and cut out small rectangles. Then, fold it so that the rectangle makes a 90 degree angle. Glue one part of the rectangle to the body of the turkey, allowing the folded half to be touching the ground and perpendicular to the body. You can also add additional textures and details, such as designing elements that symbolize what you are thankful for, adding a string to hang your turkey, or adding colors.
Tags:
#tactilceart, #Artfortheblind, #touchart, #visuallyimpaired, #blindartist,, #accessibleart, #artforall, #sensoryart, #BlindandVI, #accessibility, #inclusion, #artmuseums, #artforeveryone, #accessiblemuseum
Art for the visually impaired, Art for the Blind
