
Tactile Art Club - Mary Dignan and Macaroni Mosaics
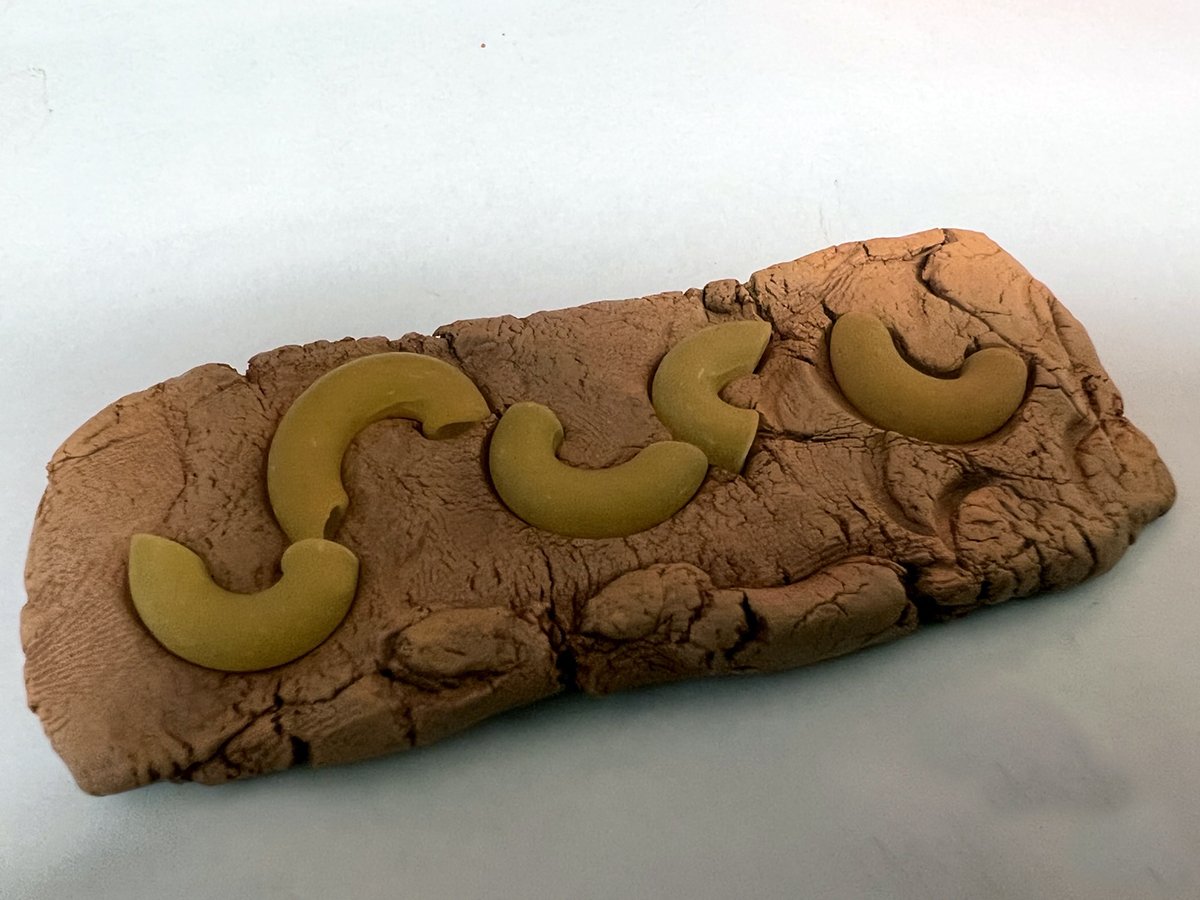
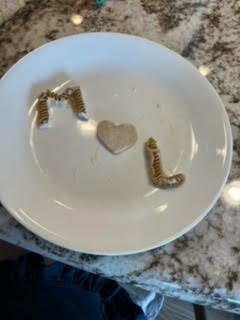
/Tactile Art Club is back with another fun June project inspired by blind mosaic artist, Mary Dignan. She identifies as having moderate to severe deafness and being blind as a result of Usher syndrome (Type 2) and retinitis pigmentosa. With her mosaics, she explores the power of Tactile senses, color, geometry, texture, and storytelling. In our June meeting, we created a simpler version of mosaics using only air-dry clay and pasta! Designs ranged from abstract patterns to figurative, and each mosaic was unique to the artist that made it. We experimented with positive and negative space, with some participants getting creative with cookie cutters, stamps, food coloring, and other at-home tile substitutes. The mosaic also plays with the innovative ways in which unique, small parts can contribute to a larger whole. I was fascinated by how some participants joined several pieces together to tell a larger story, or shaped the tiles themselves to be standalone art. When looking at these pieces, I am reminded of how we, like tiles, are all small parts of a larger, interconnected community, and little contributions can, when compounded, create something truly beautiful.
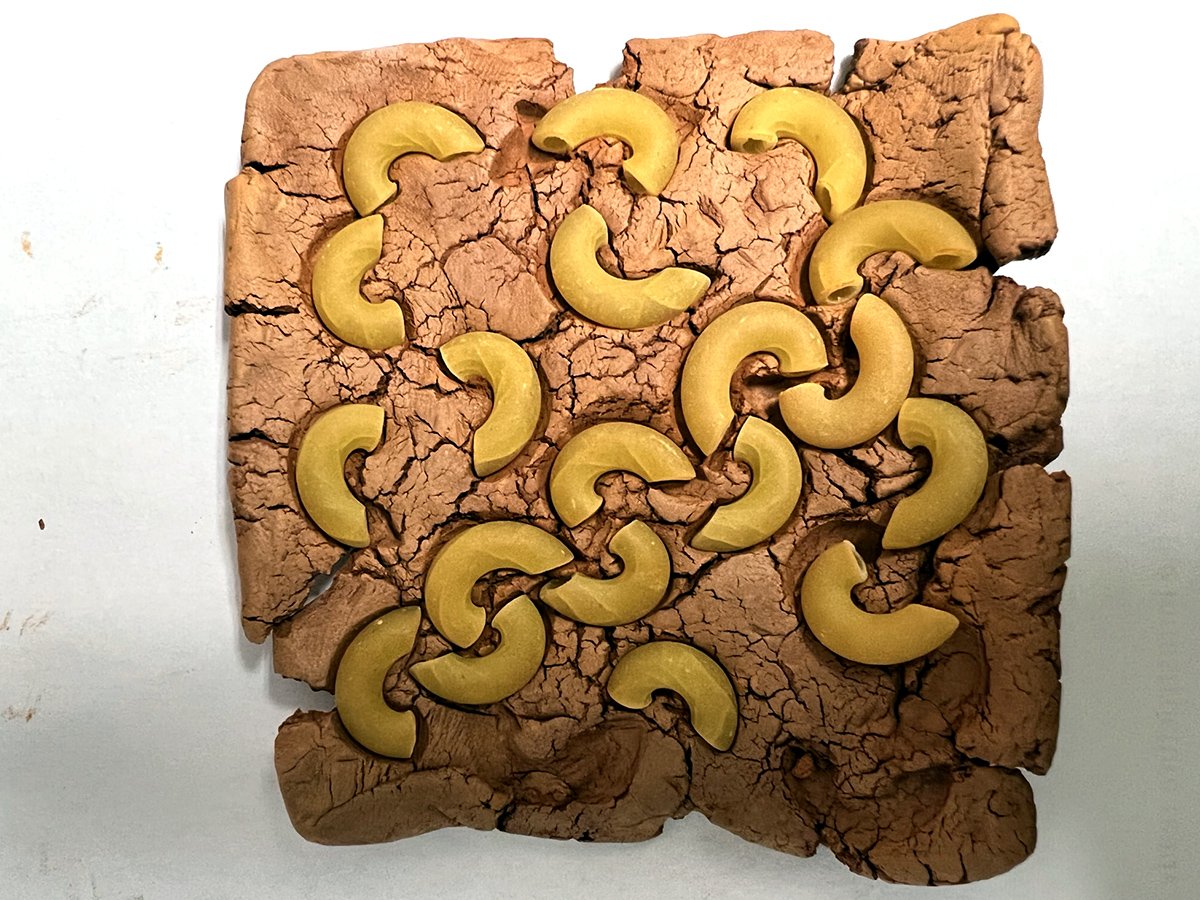
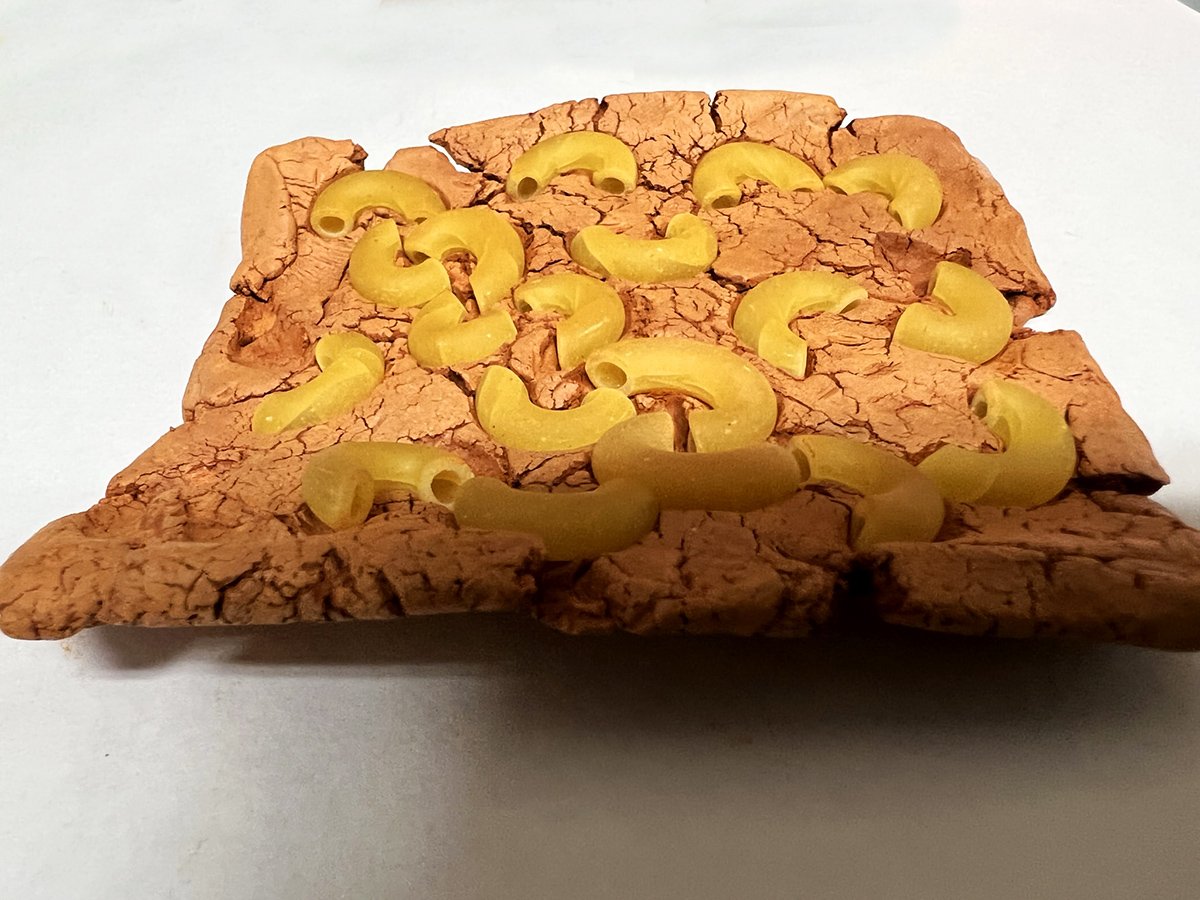
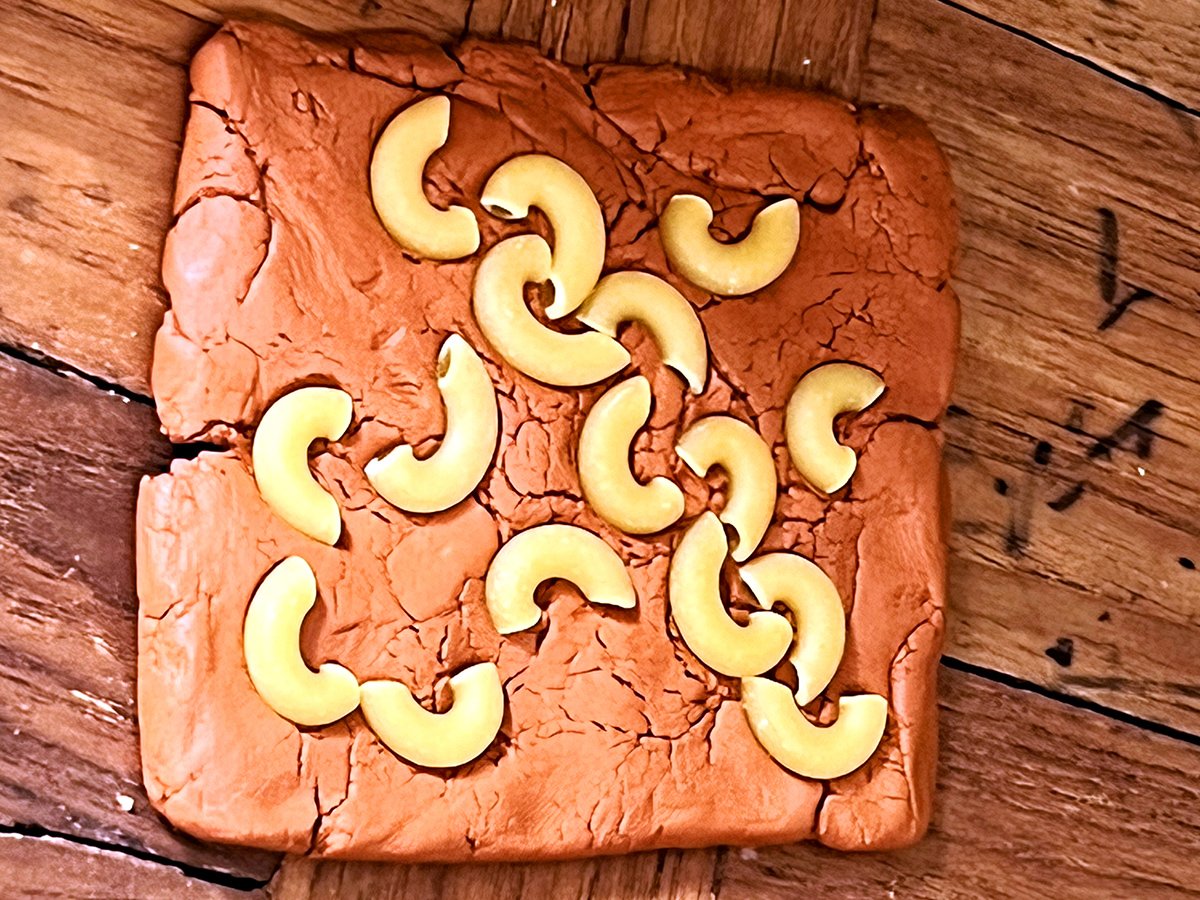
Below are images of what some people made!
If you are interested in creating this at home, here are the instructions:
Materials: flour, water, salt, and pasta. Optional items include food coloring, other mixed media, and a scent to add to your clay (such as cinnamon).
Instructions for making Salt Dough:
1. Combine all of your ingredients (flour (about 2 cups) , salt (0.5 cup), warm water (0.75).
2. Knead for at least 10 minutes to thoroughly mix the dough until your dough is soft. If your dough is too dry, add a tablespoon of water at a time. If your dough is too sticky, add a little more flour. The dough should be smooth and roll out with not too many bumps.
3. (Optional) - Add a sprinkling of Cinnamon or other festive scent.
Mosaic Instructions:
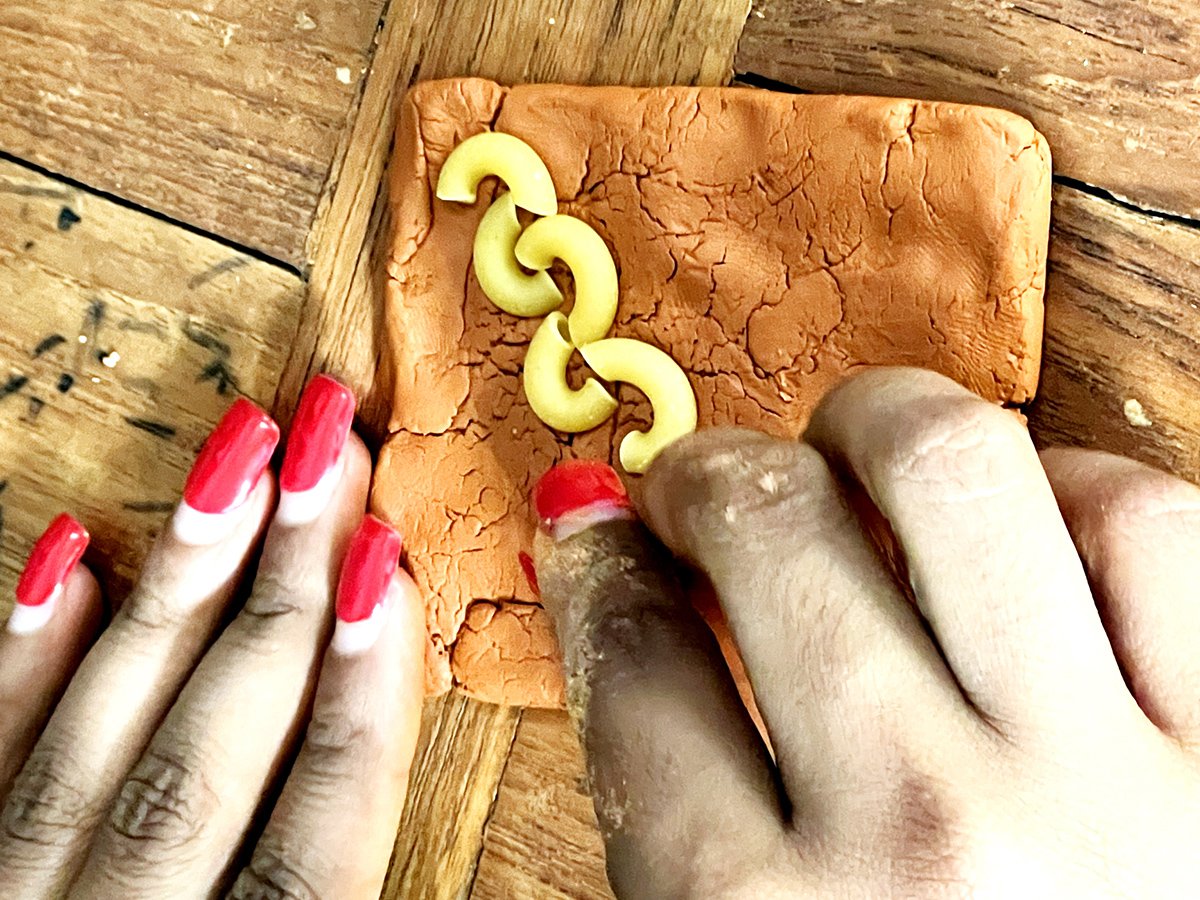
A mosaic is composed of 2 elements: the background, where tiles are embedded, and the tiles themselves. Step one is to create a clay base for tiles to be embedded. Start by rolling out a slab of clay that is around 1/4 in thick (will differ depending on what pasta you use). The traditional shape is a square or rectangle, but feel free to be creative!
Embed your tiles! You can use pasta to create a raised line drawing, use the edge to carve into the mosaic surface, or lay the pasta down directly in an abstract pattern. Consider both positive space (the shapes the pasta is making) and negative space (how the parts without pasta look/feel). Make sure to press your pasta firmly to allow it to stick. Turn over the tile and further press if needed.
Now it’s time to customize your mosiac! You can either make several mosaics and join them together or decorate your current mosaic with additional materials, colors, etc.
To color the pasta with food coloring:
Measure about 2 cups of desired pasta, add to plastic zipper bag.
Add 1/8 of vinegar to a disposable cup, then add 20-30 drops of food coloring and stir.
Add mixture to pasta in bag.
Mix well by shaking the bag until pasta is covered in color.
Add additional food colouring to bag to increase color saturation if desired.
Spread out on parchment paper to let dry.
Break up and mix pasta 30 min into drying time to help it from sticking together.
Allow to dry overnight.
Tags:
#tactilceart, #TactileAccess, #Artfortheblind, #touchart, #visuallyimpaired, #blindartist,, #accessibleart, #artforall, #sensoryart, #BlindandVI, #accessibility, #inclusion, #artmuseums, #artforeveryone, #accessiblemuseum
#lowvision, Art for the visually impaired, Art for the Blind #mosaicart
