
Colorado School for the Deaf and the Blind (CSDB) - 3D Wire Sculpture
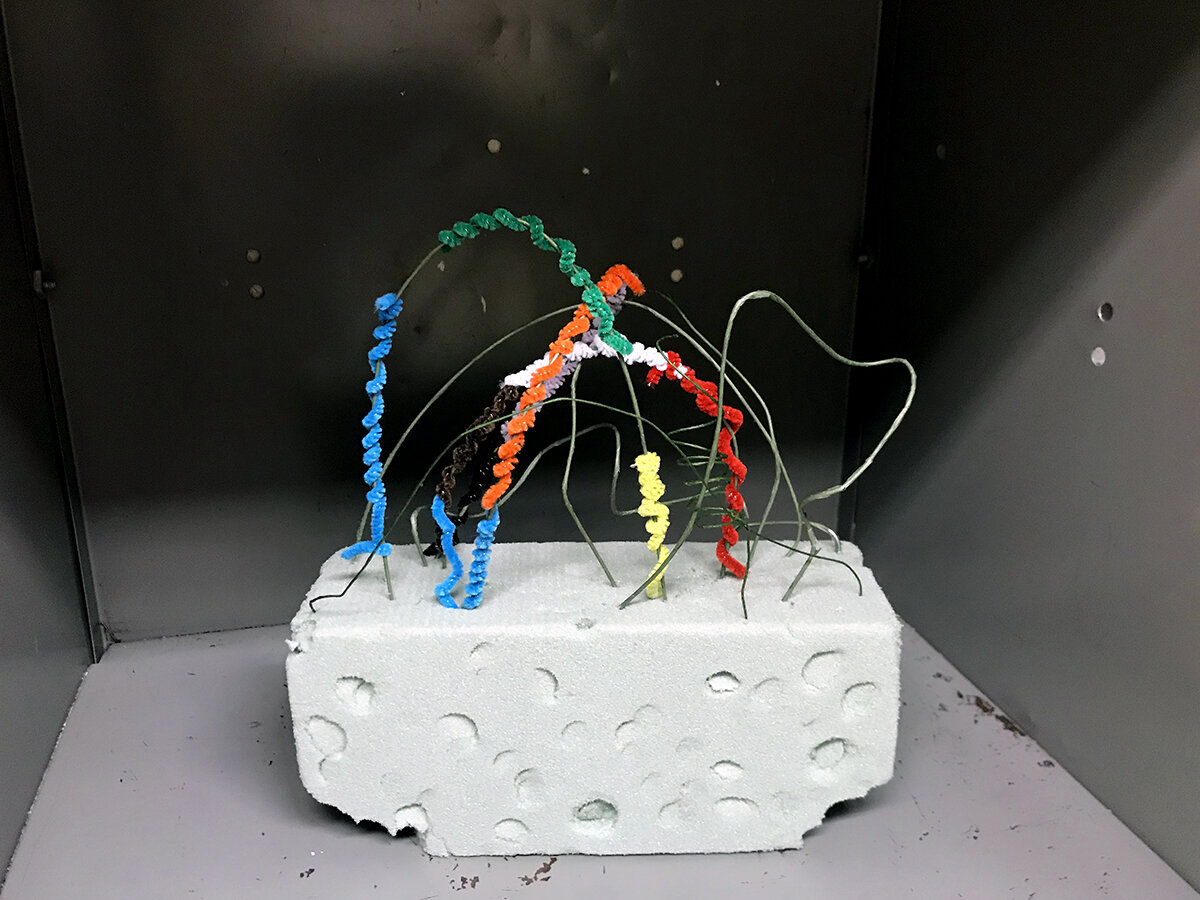
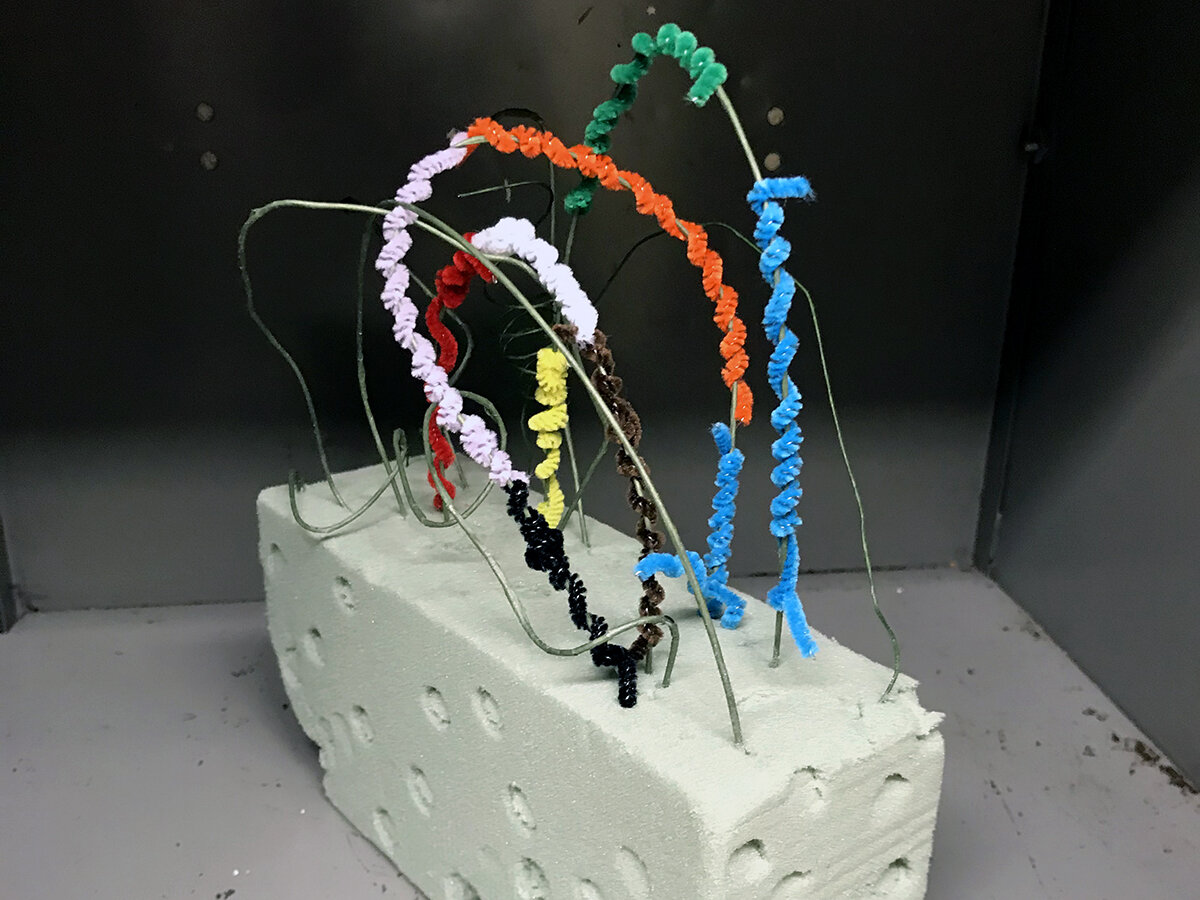
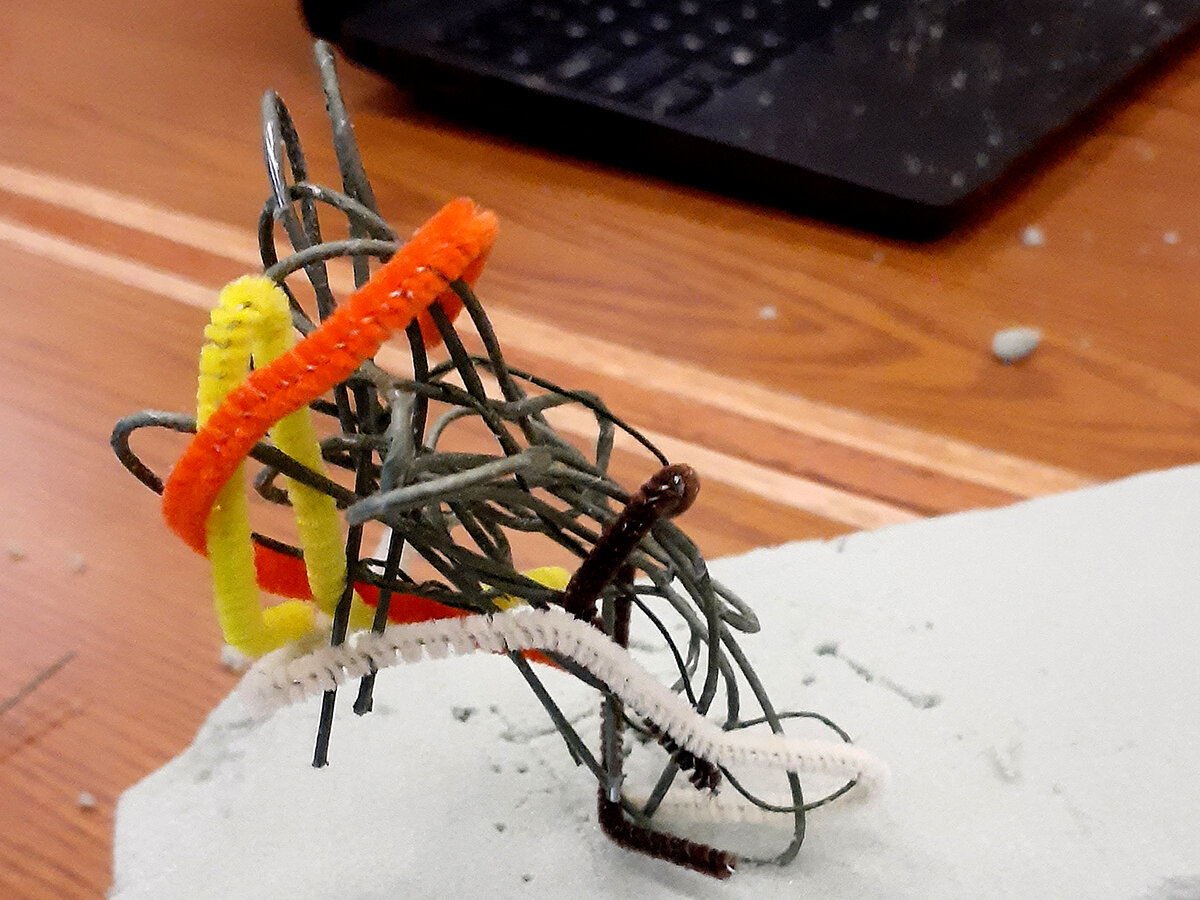
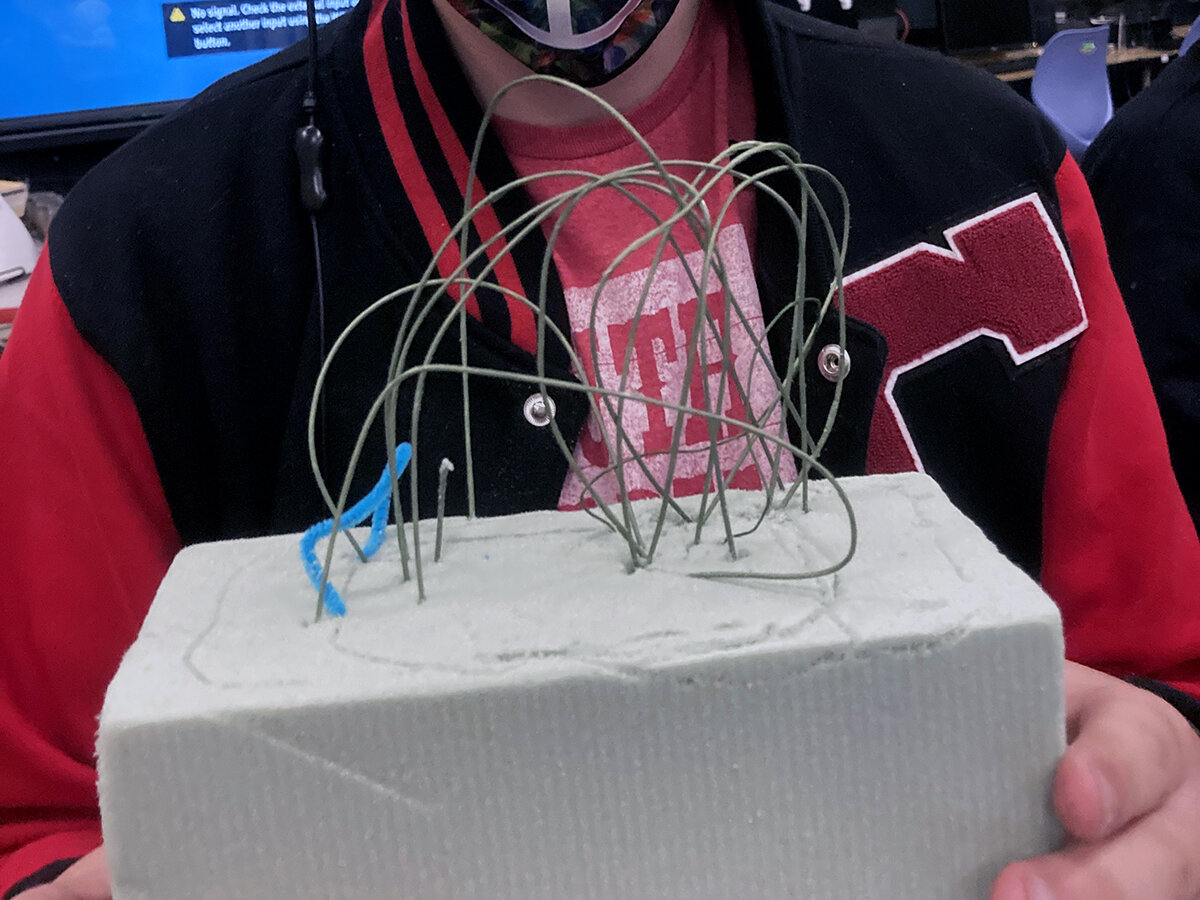
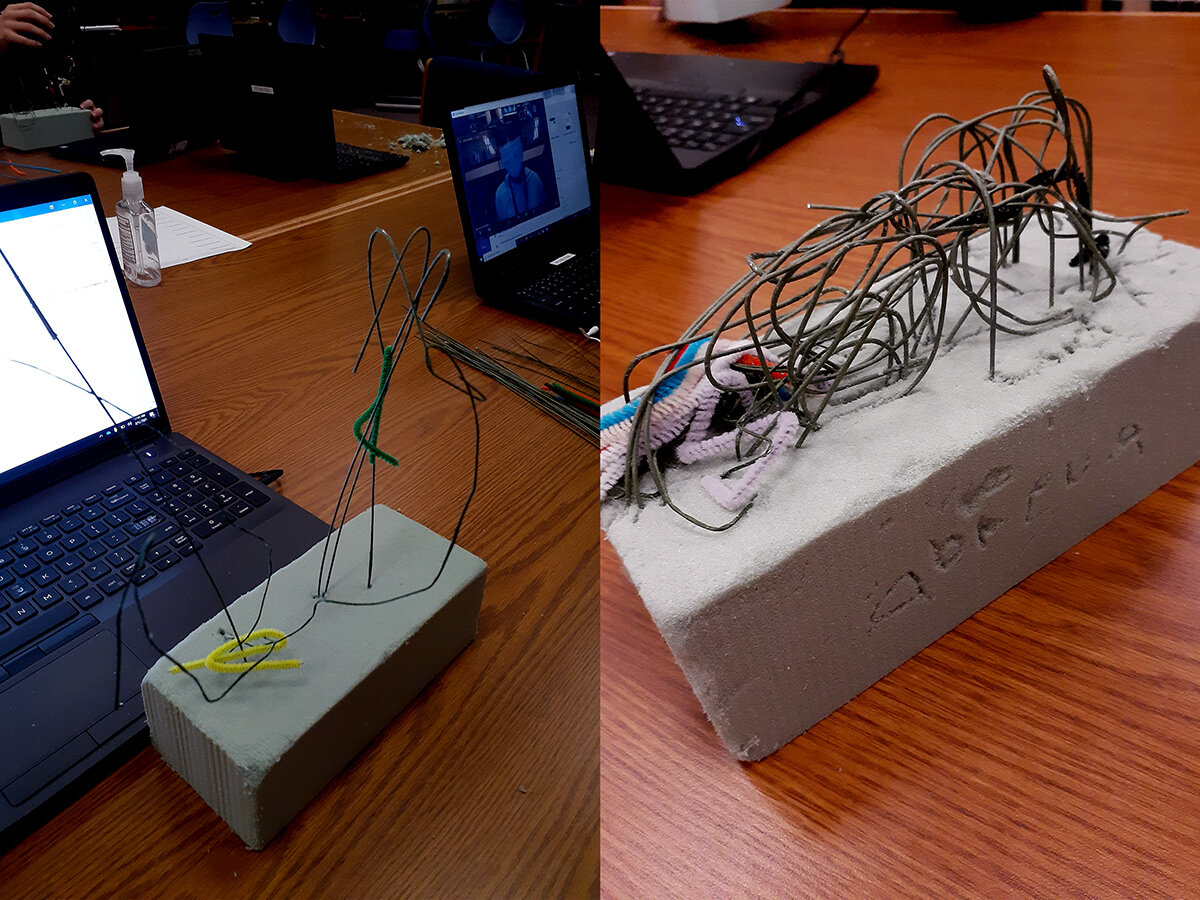
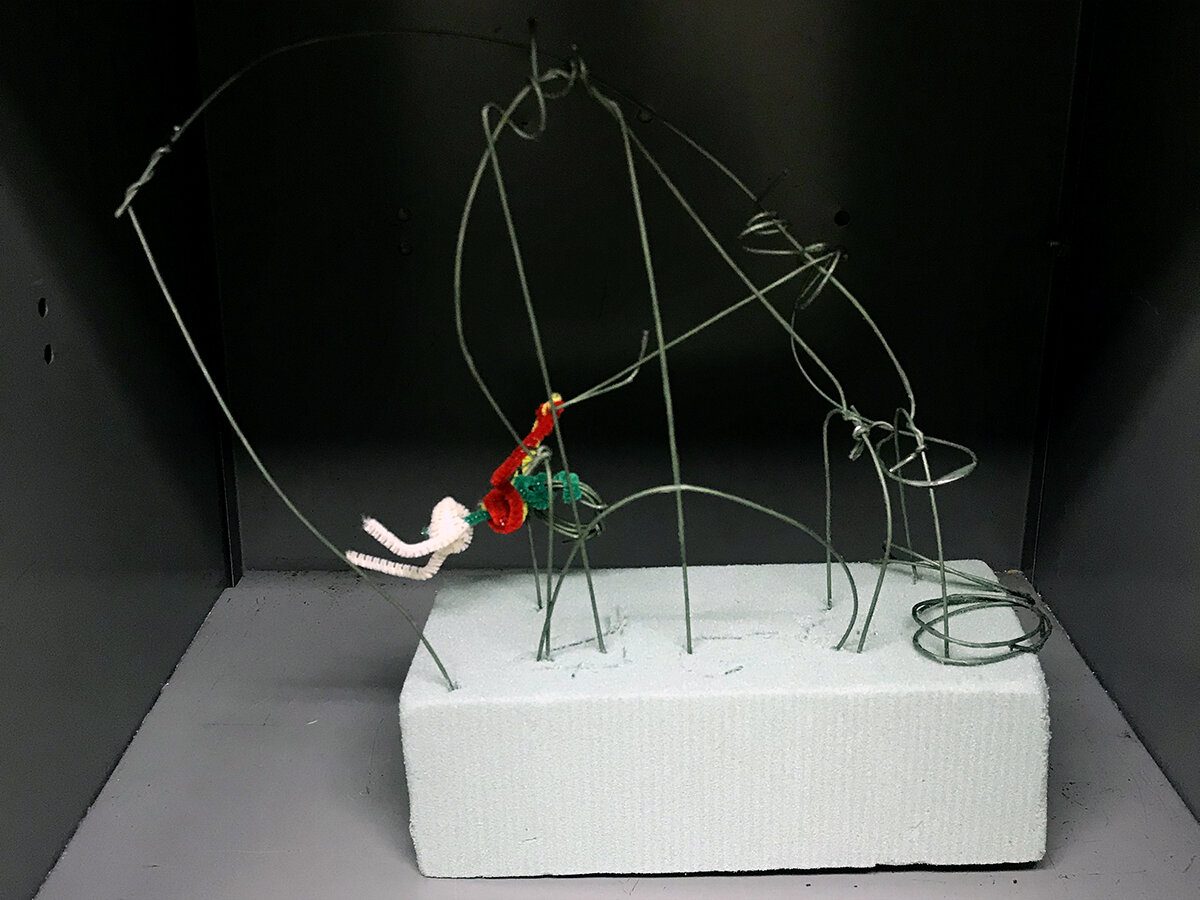
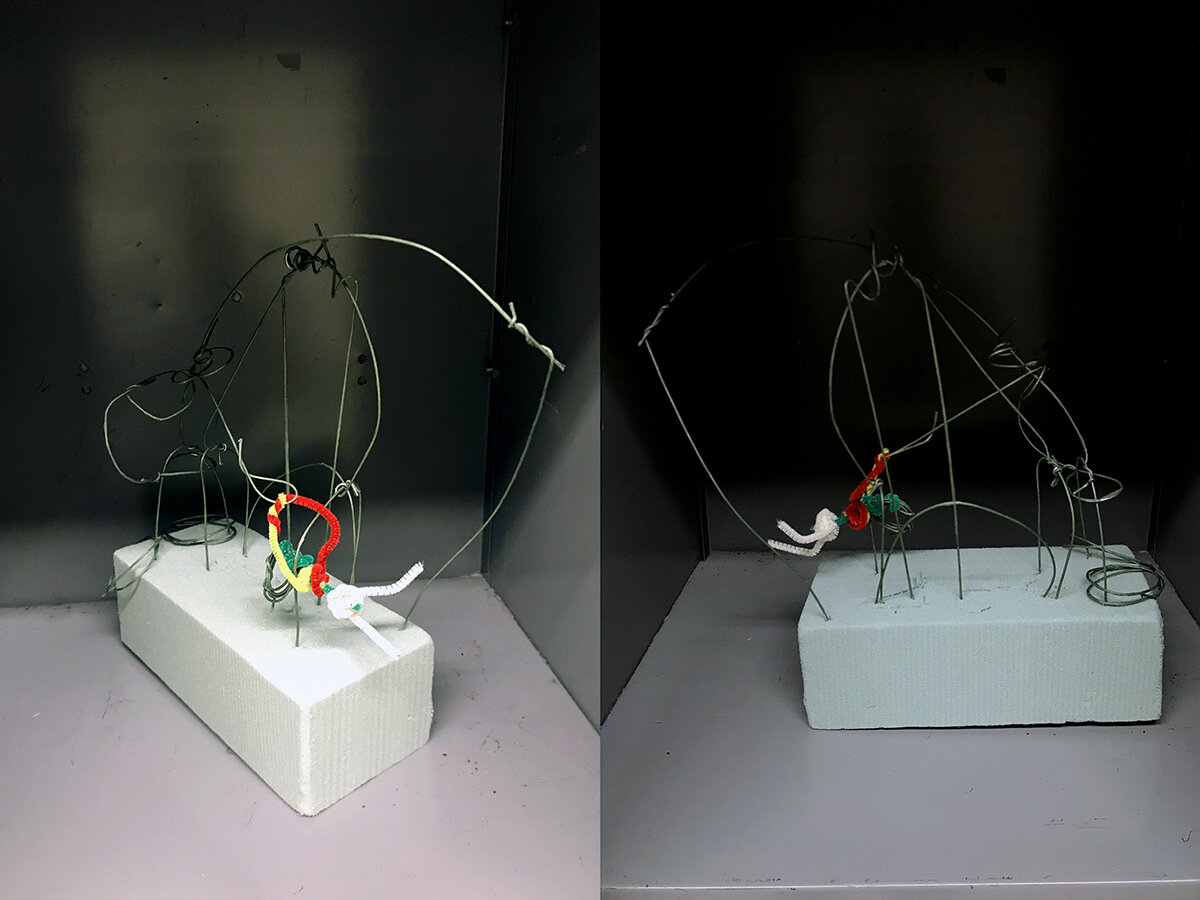
/During this week’s Vision of the Artist’s Soul workshop at Colorado School for the Deaf and the Blind (CSDB), students created a 3d wire sculpture based on the raised line drawings completed in the previous art class. Through this lesson, they explored the relationship between 2d and 3d representation, learned new sculpting techniques, experimented with geometry and other mathematical concepts, and ultimately, developed their artistic process. This was surprisingly one of the students’ favorite workshops. Many students (including myself!) had never made art with floral wire before, and it was fascinating to see what different designs students came up with. I also enjoyed this workshop because student work ranged from representational to abstract, meaning that no two pieces looked the same and, in many cases, no two people had the same interpretation of a piece of artwork. Some of the students also had an innovative idea to decorate their sculptures with pipe cleaners, adding beautiful pops of color to their work. In the future, I look forward to creating lessons with more unconventional materials and continuing to build 3d design and modelling skills in our group!
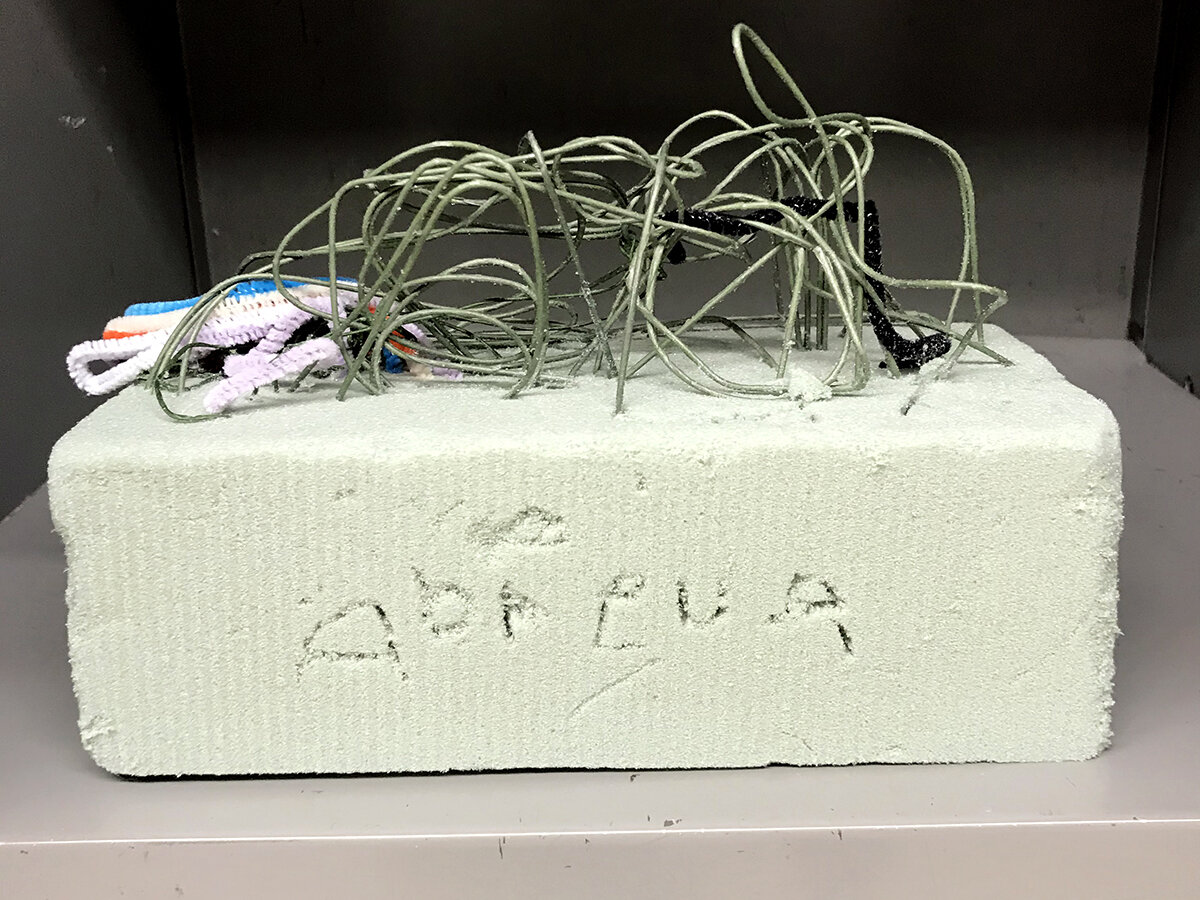
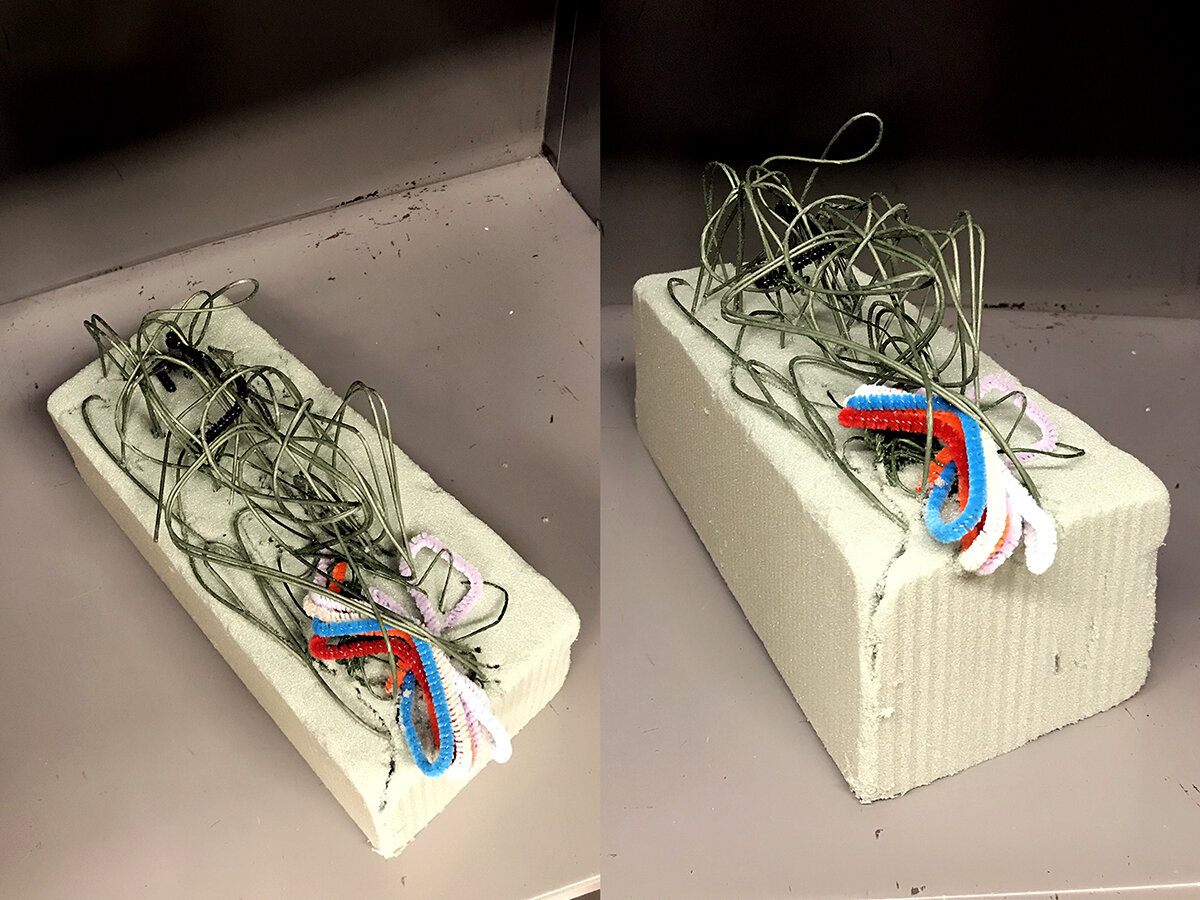
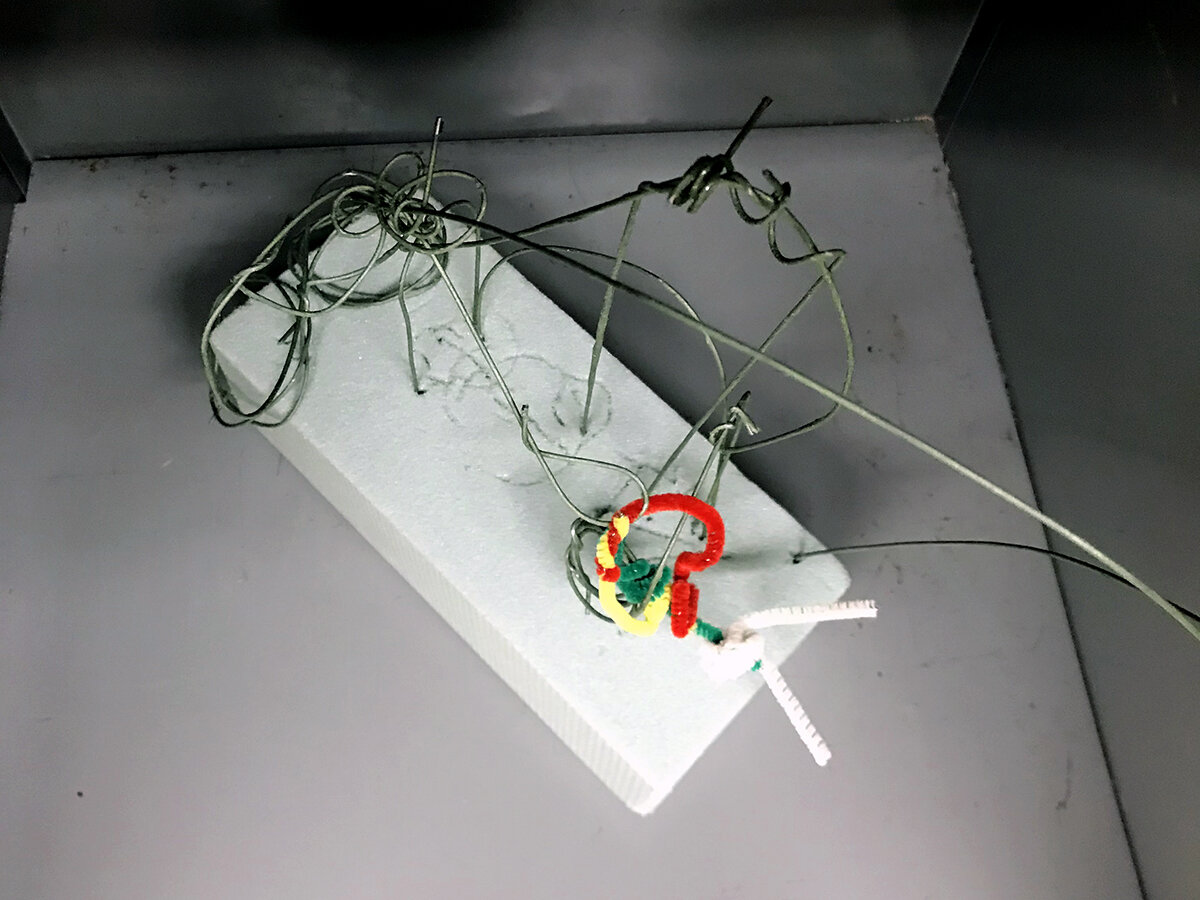
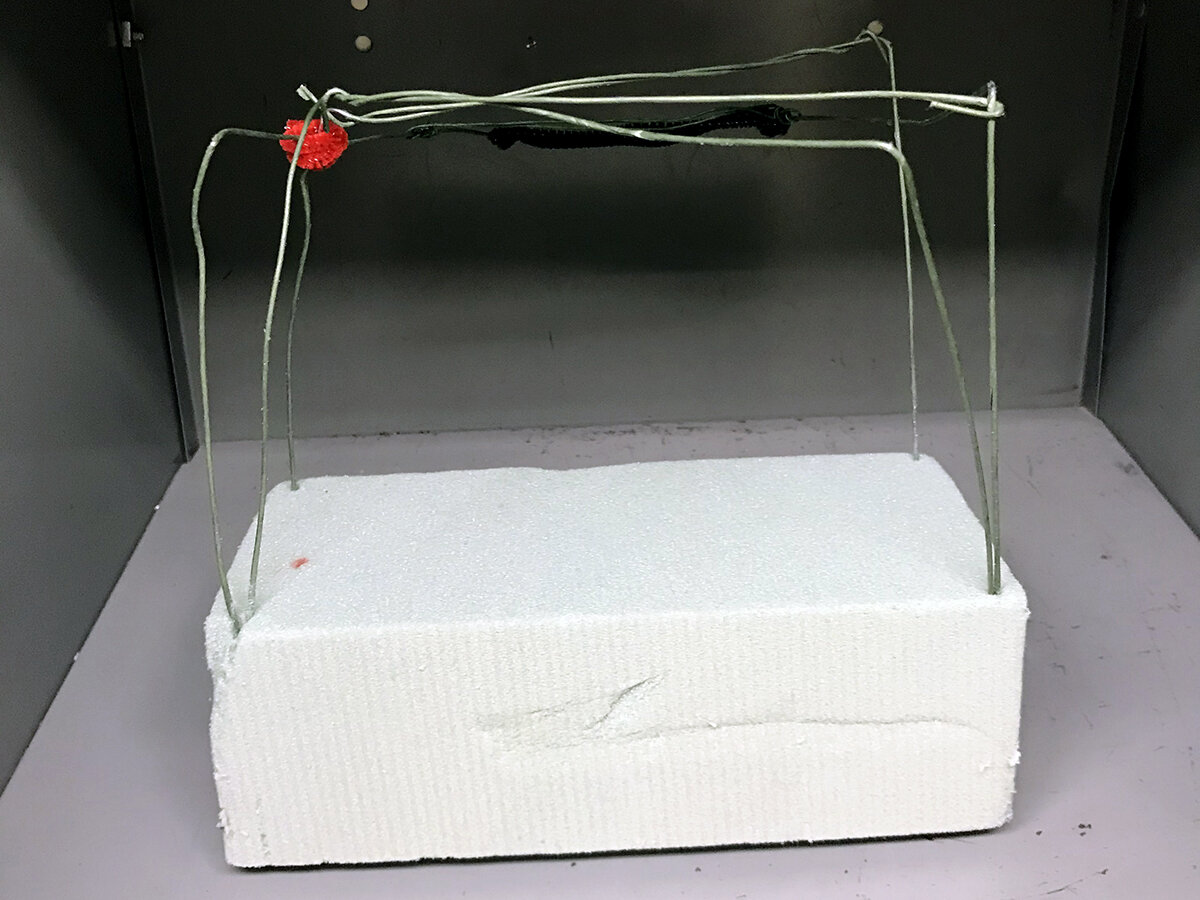
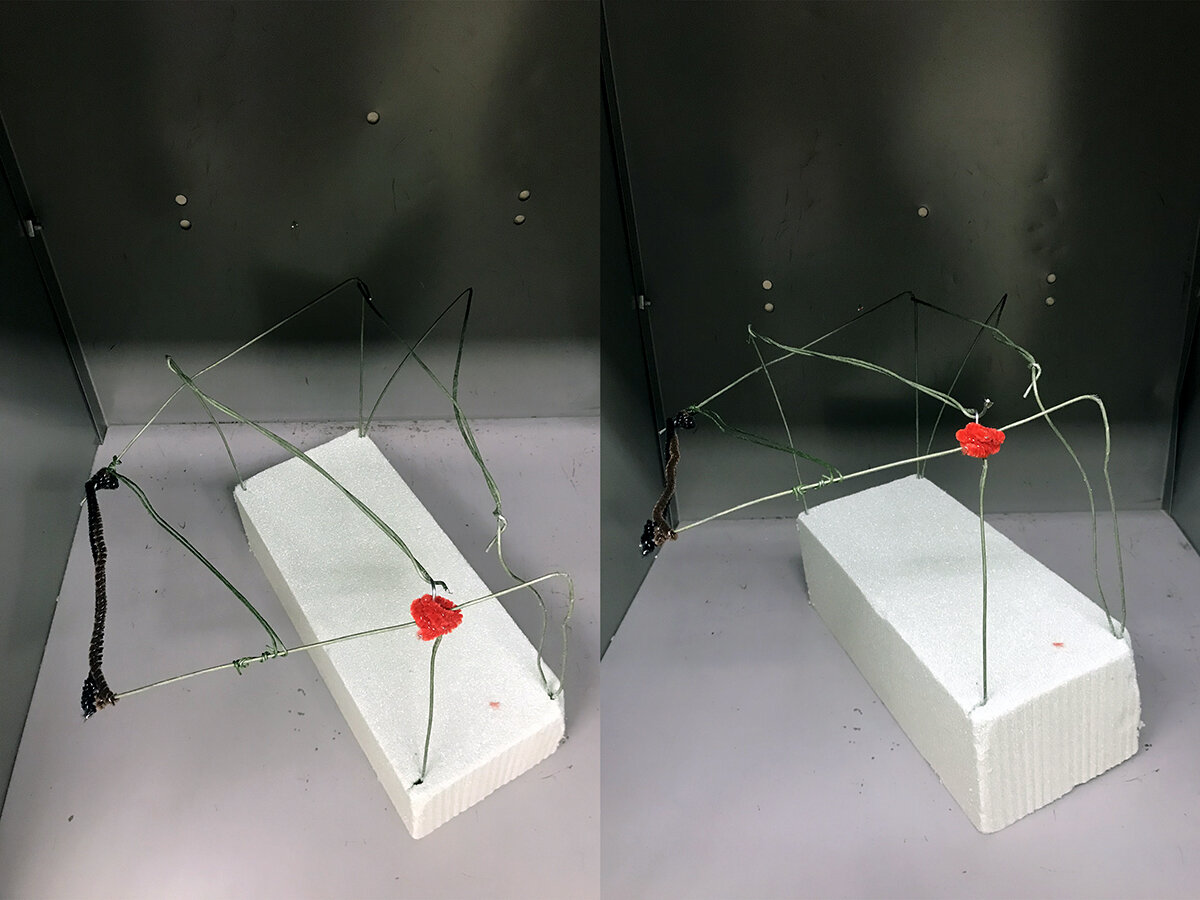
Please find attached a few photos of the 3d wire sculptures that students created:
For those interested in creating the 3D wire sculptures themselves, here is a transcript of instructions:
Materials:
Piece of dry foam for base
Floral wire
Scissors
Pipe Cleaners
Steps to make 3D wire sculptures:
Step 1: Armature (base to build the sculpture and give structural support)
Trace your raised line drawing with the wire / pipe cleaner
Place structural supports on the bottom and stick it into your clay base
Add more wire to create illusions of mass and 3d effects
Shadows = more wire
Convex + concave shapes
Managing weight (armature must be heaviest and sturdy)
Multiple layers
Note: triangles are the most sturdy base shapes!
Connection: stability and symmetry in architecture
Twist together to combine wire and create hold
Twist repeatedly to create straight lines
Step 2:
Create a “base” for your armature. Do so by extending wire and sticking it into the foam block. Continue to add supports until the wire sculpture is sturdy
Step 3: Build mass
Make a 2d or 3d wire sculpture
For 3d, loop wire around the armature using different sizes to create the illusion of depth
Ex: if you want to make a sphere, start with a circle armature and then loop wire around it until you have a spherical shape
Step 4: After (options only for wire) :
Paint wire
Cover with paper mache
Tags:
#tactilceart, #Artfortheblind, #touchart, #visuallyimpaired, #blindartist,, #accessibleart, #artforall, #sensoryart, #BlindandVI, #accessibility, #inclusion, #artmuseums, #artforeveryone, #accessiblemuseum
Art for the visually impaired, Art for the Blind
