
Colorado School for the Deaf and the Blind (CSDB) - 3D Paper Flowers
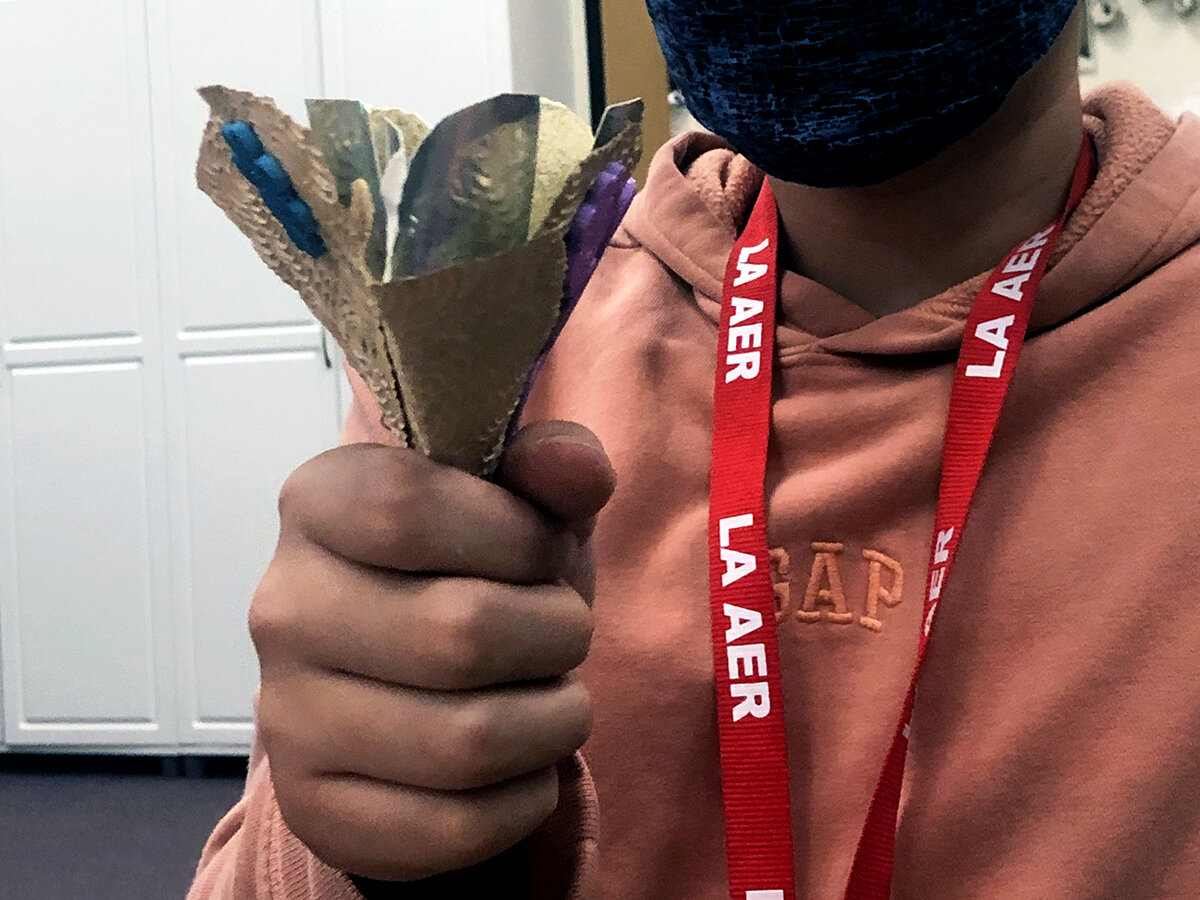
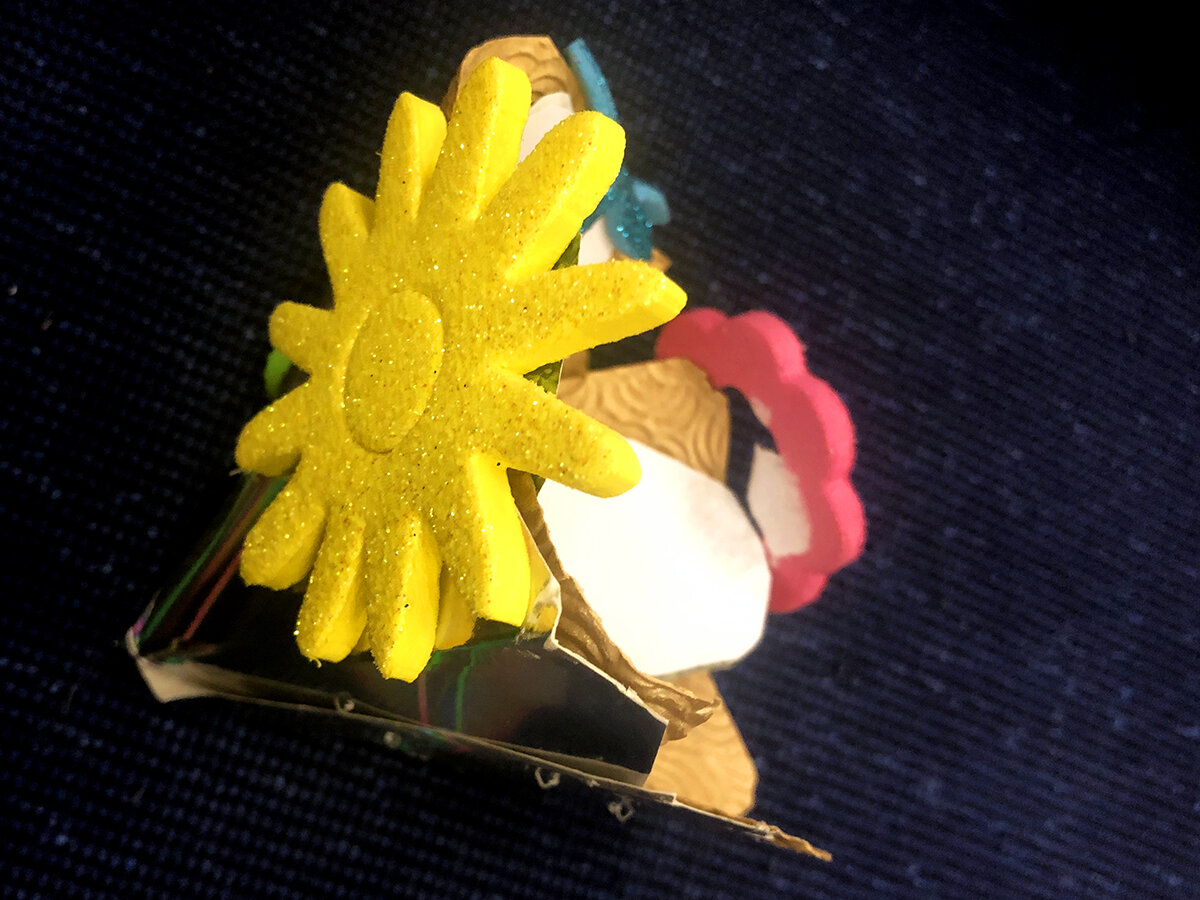
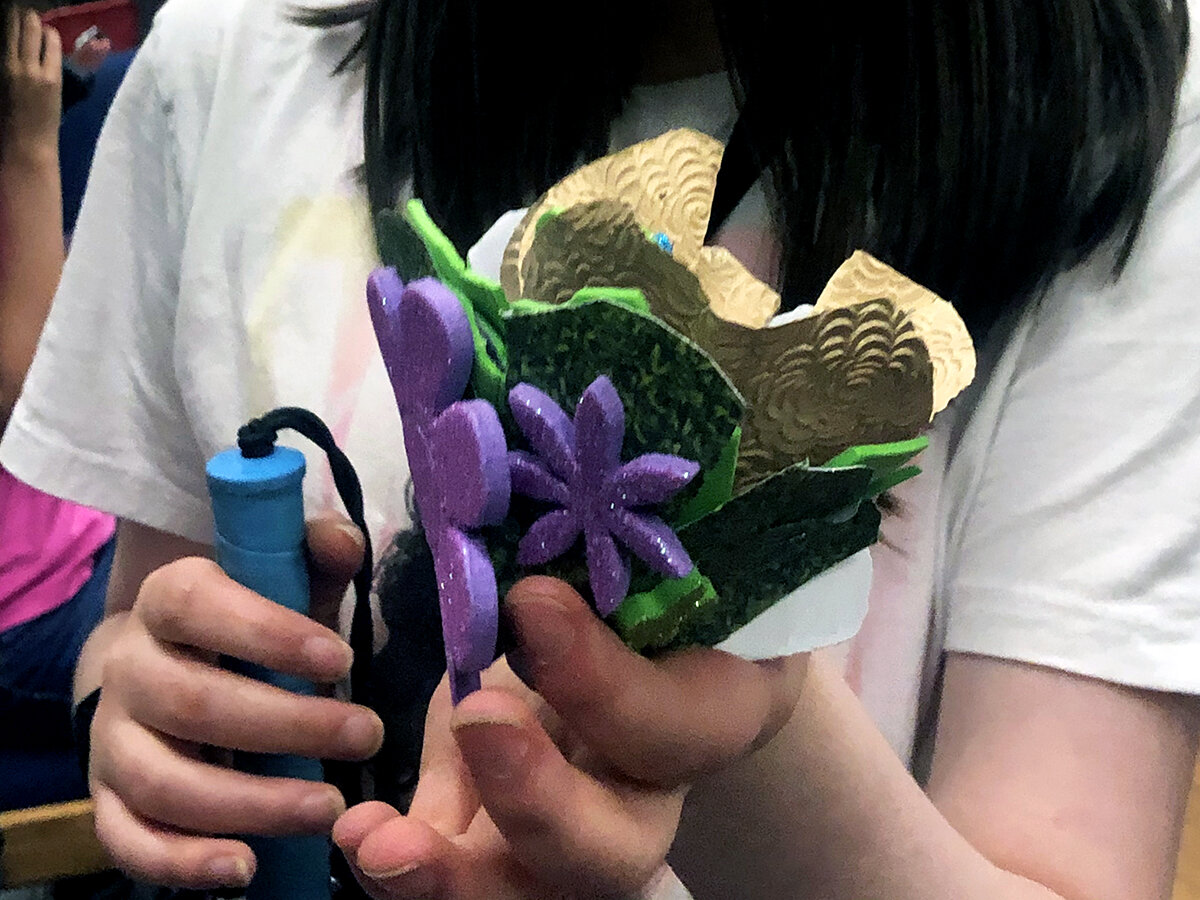
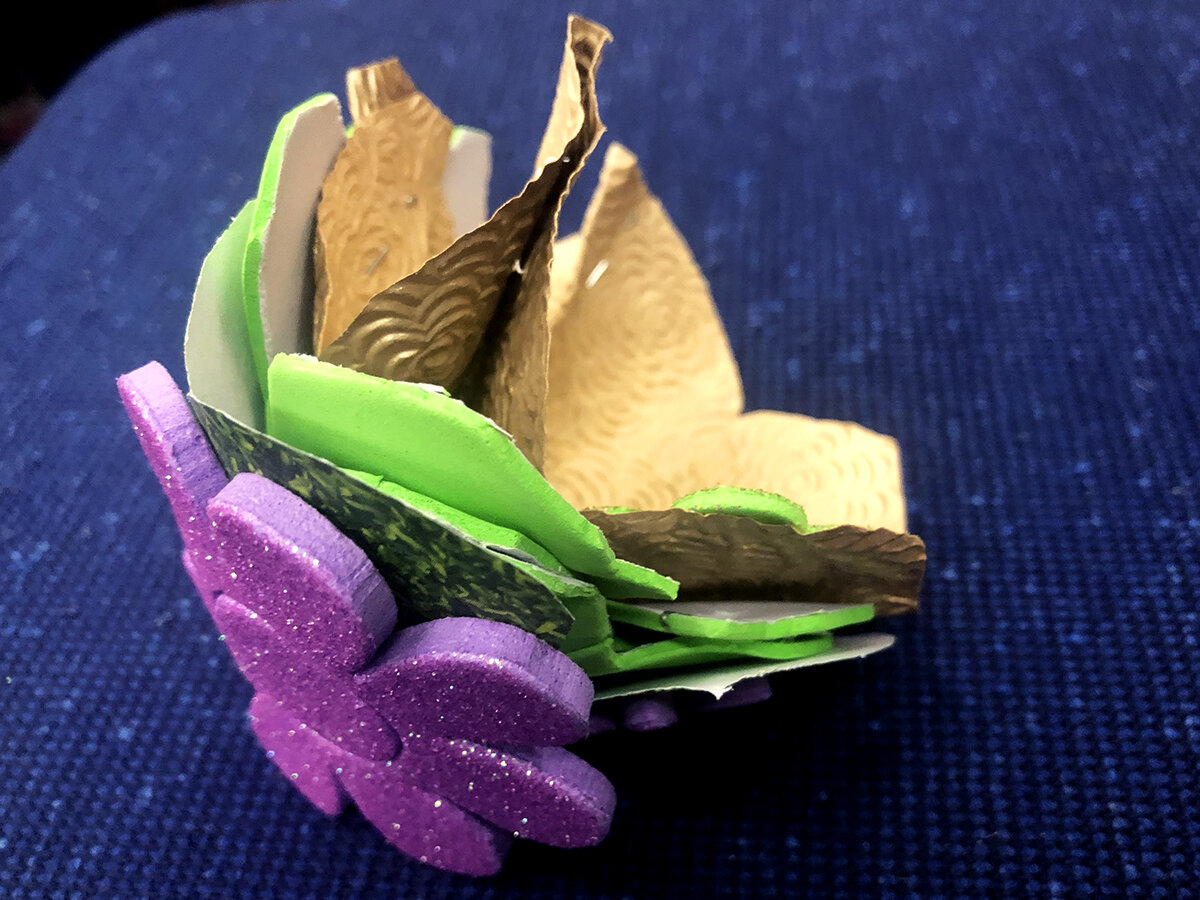
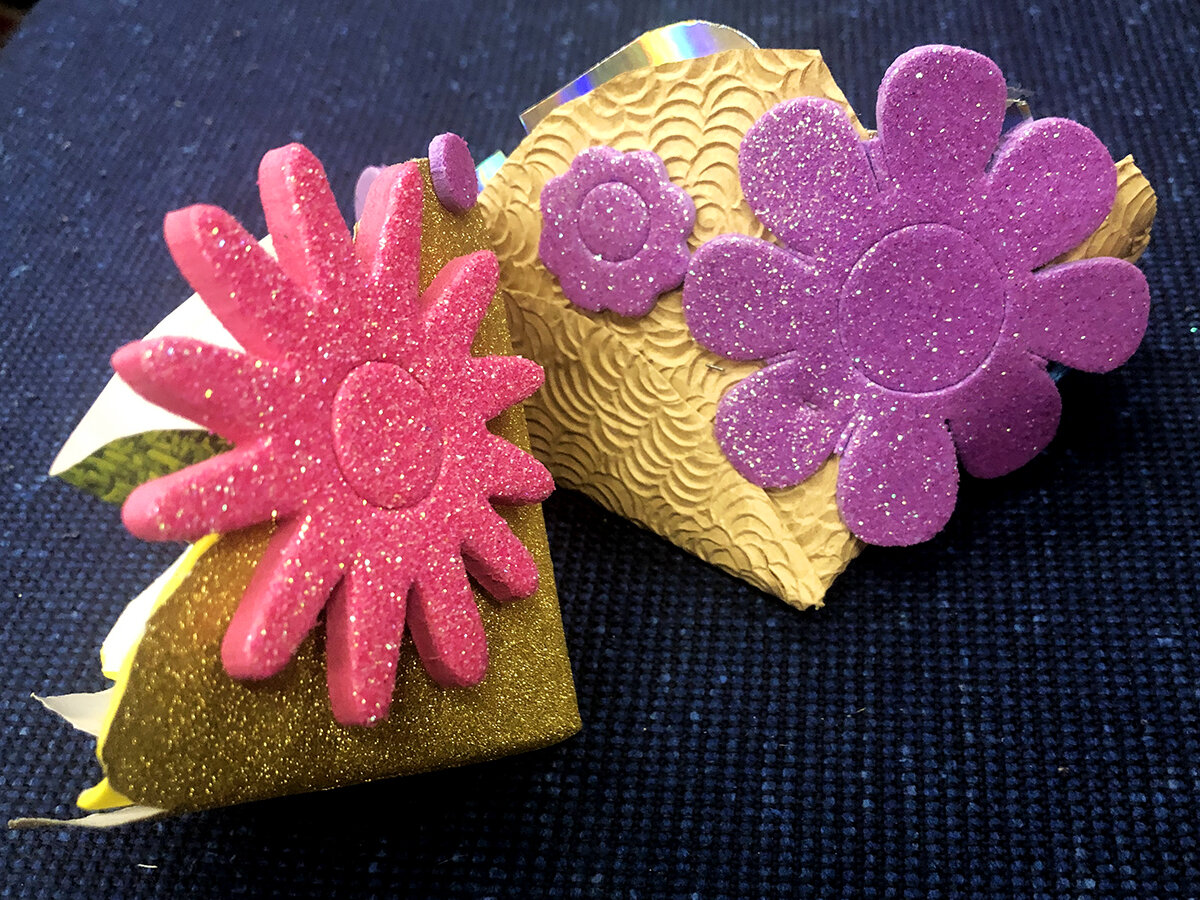
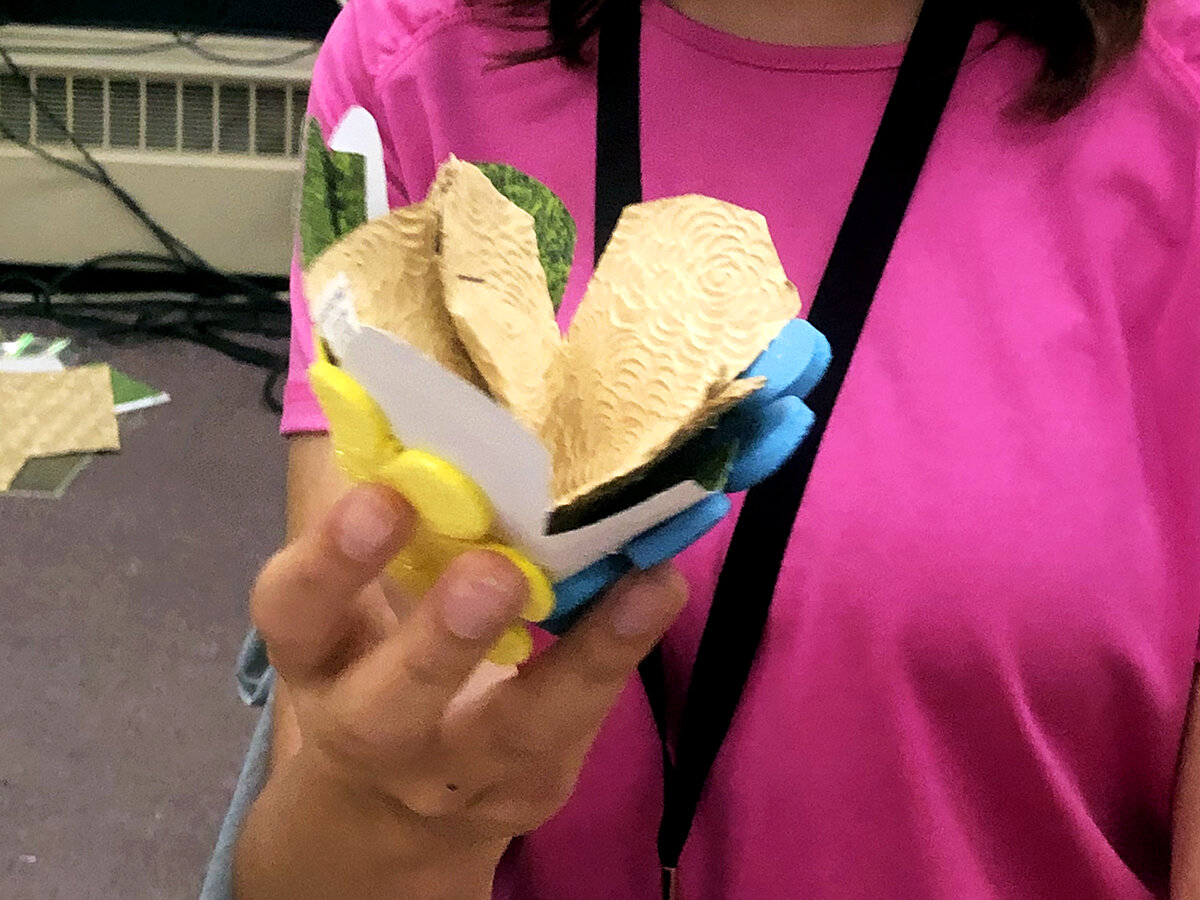
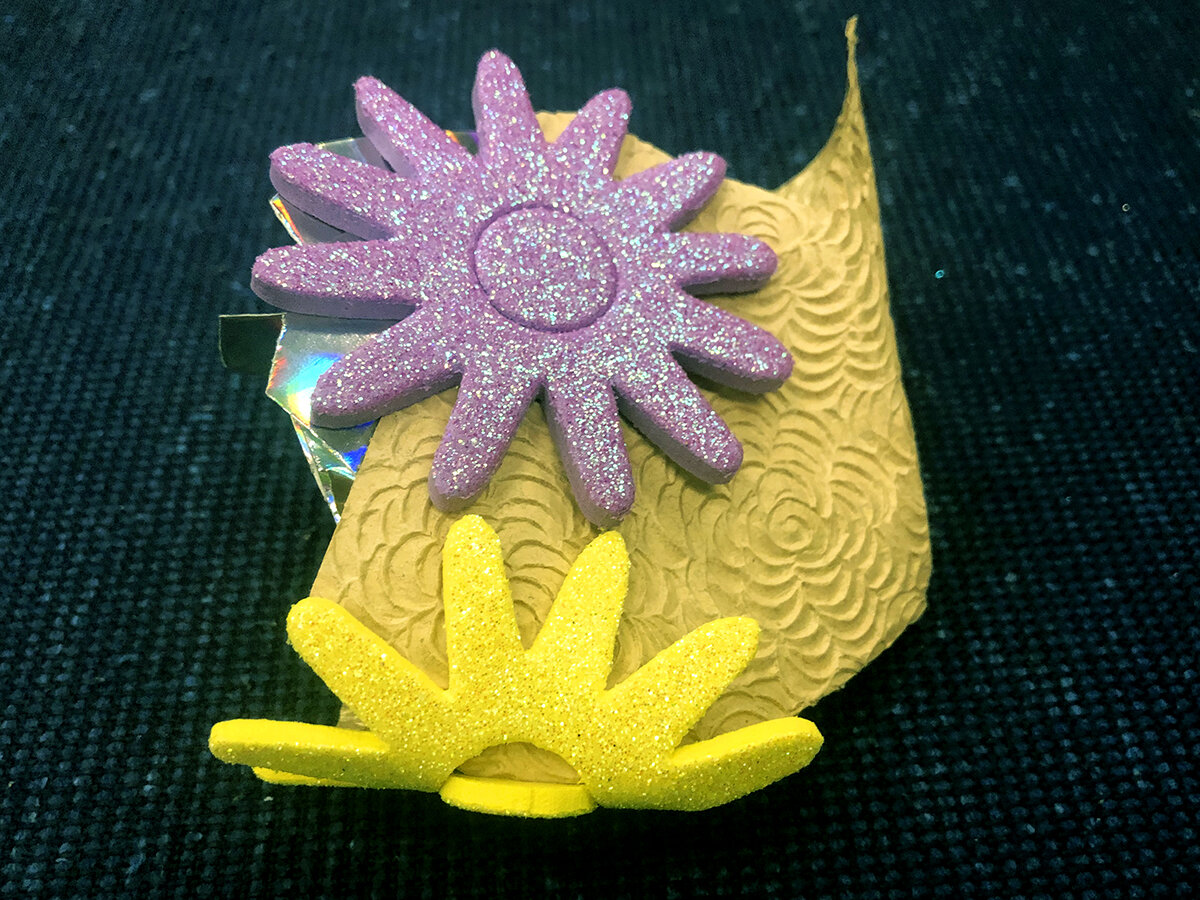
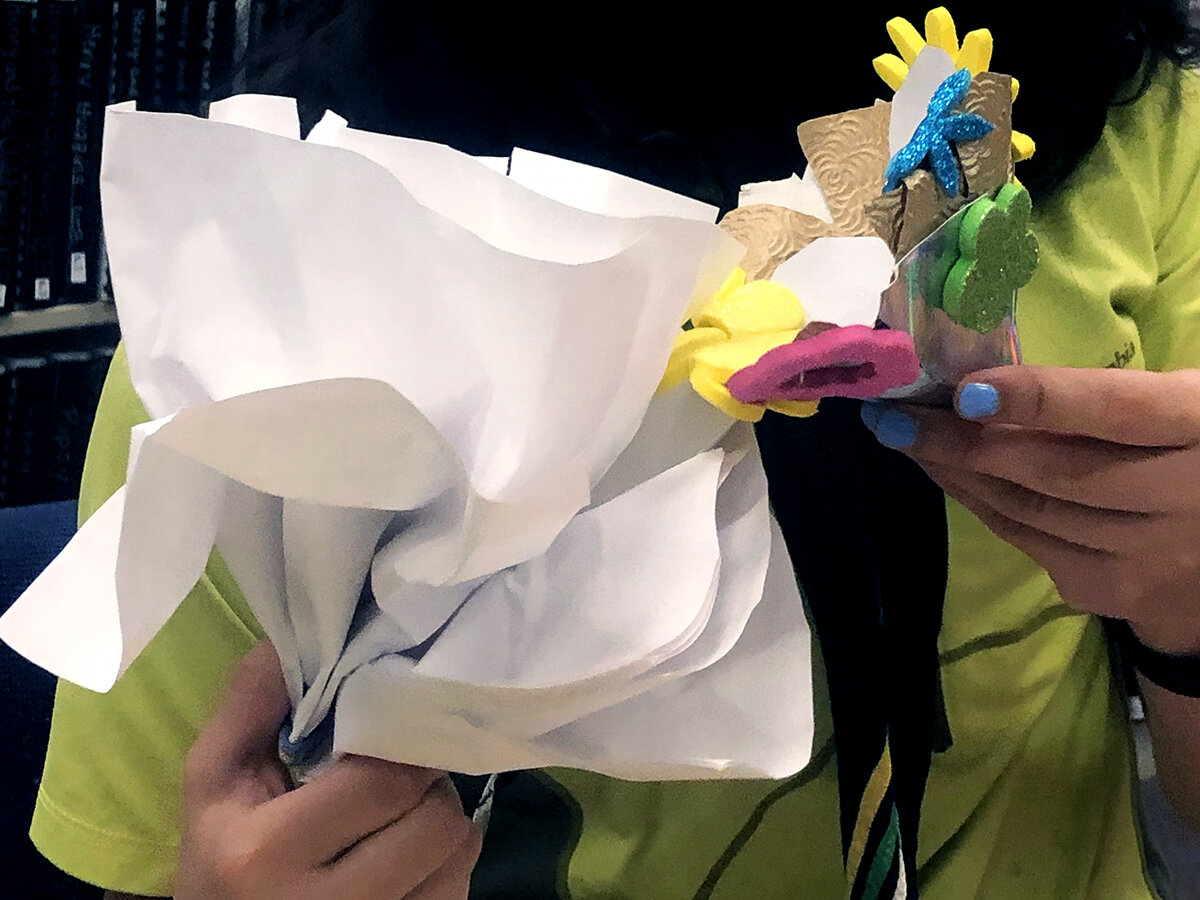
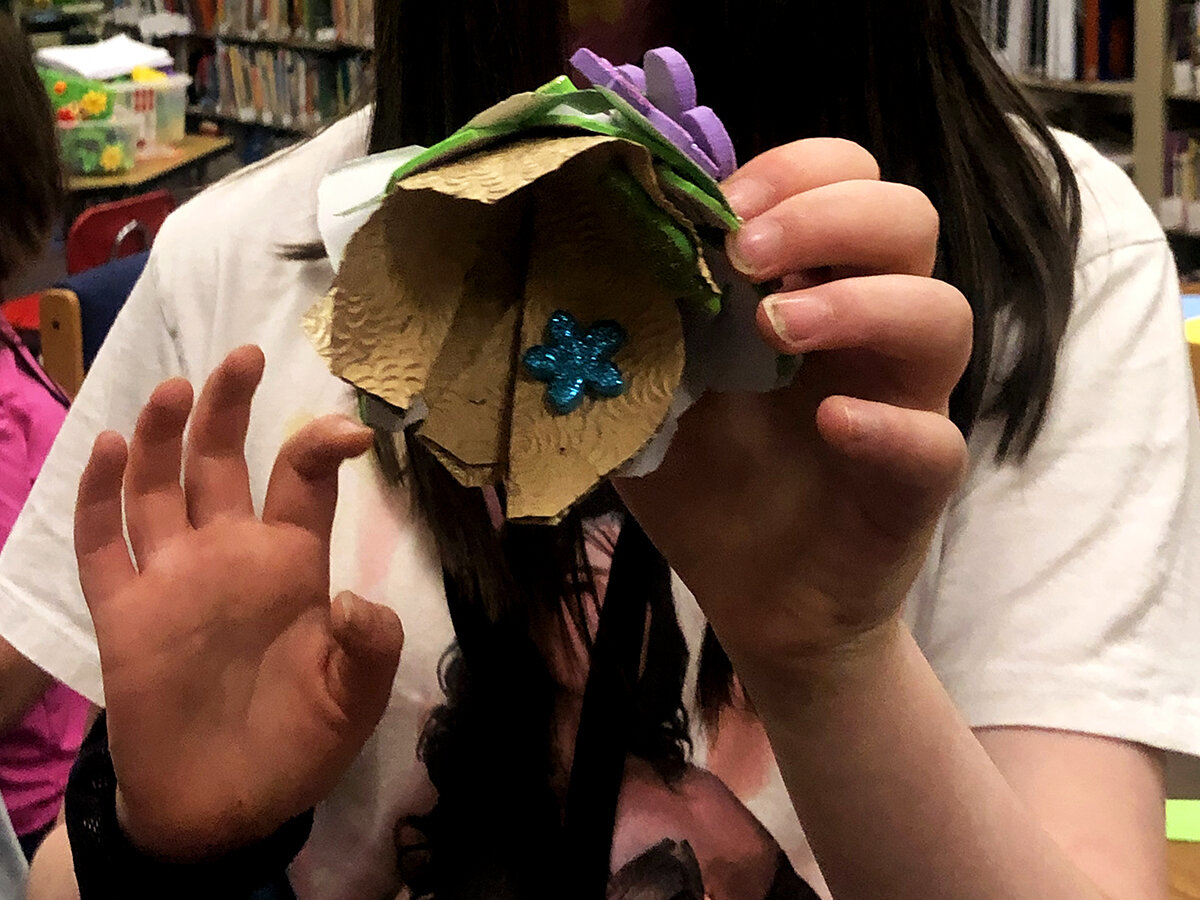
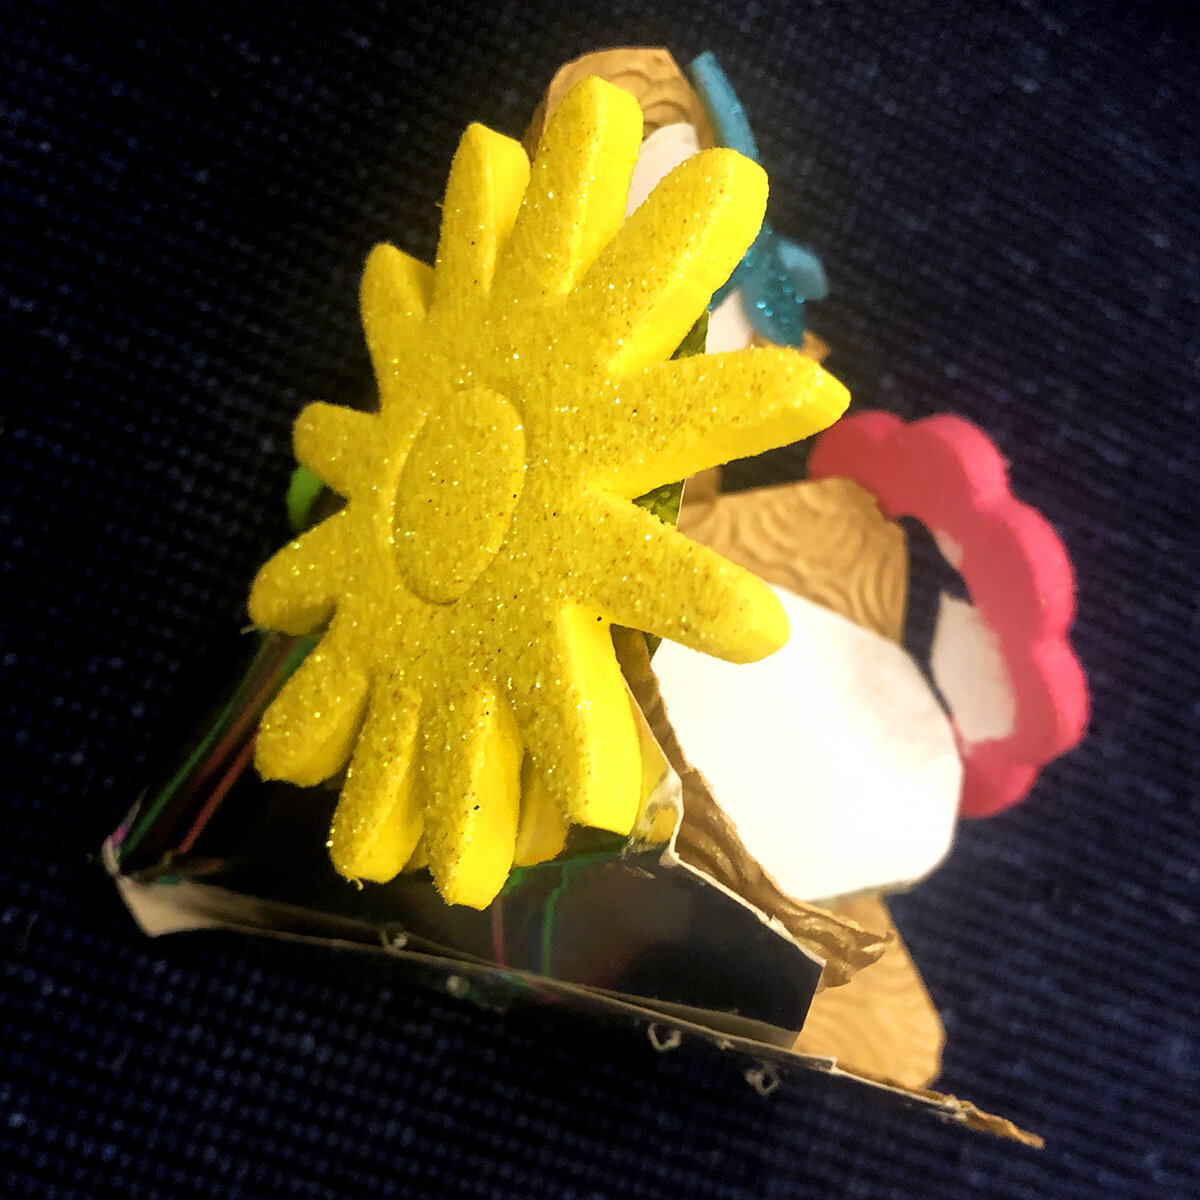
/In this Vision of the Artist’s Soul workshop at Colorado School for the Deaf and the Blind (CSDB), we had a wonderful time constructing unique 3d paper flowers! The students loved making botanical flowers out of tinfoil in a past workshop, so as per their request, we experimented with ways to make different types of flowers out of multi-textured materials! These flowers represented new beginnings in the summertime, personal growth, or gratitude for an important person in their lives. Many students chose to give their flowers to parents, friends, and seniors who were graduating in the following week.
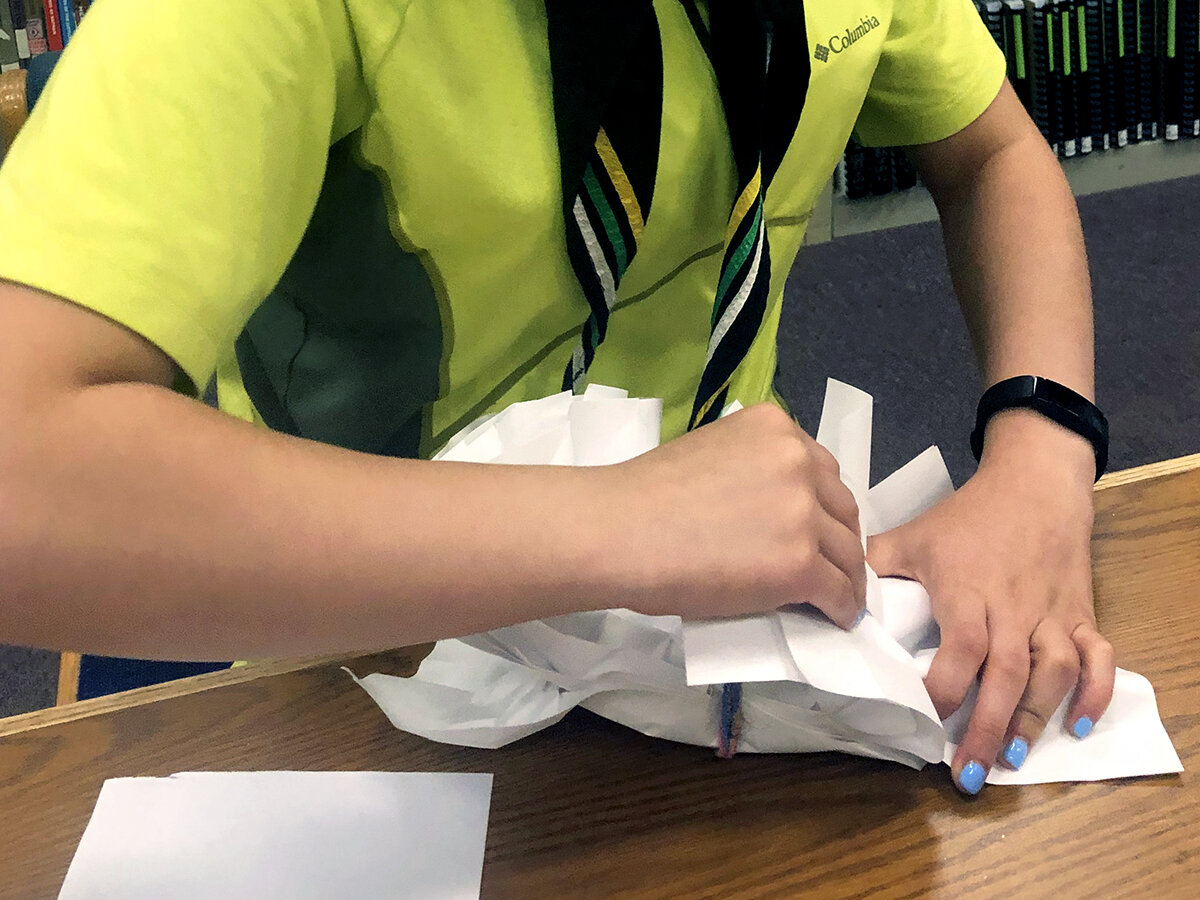
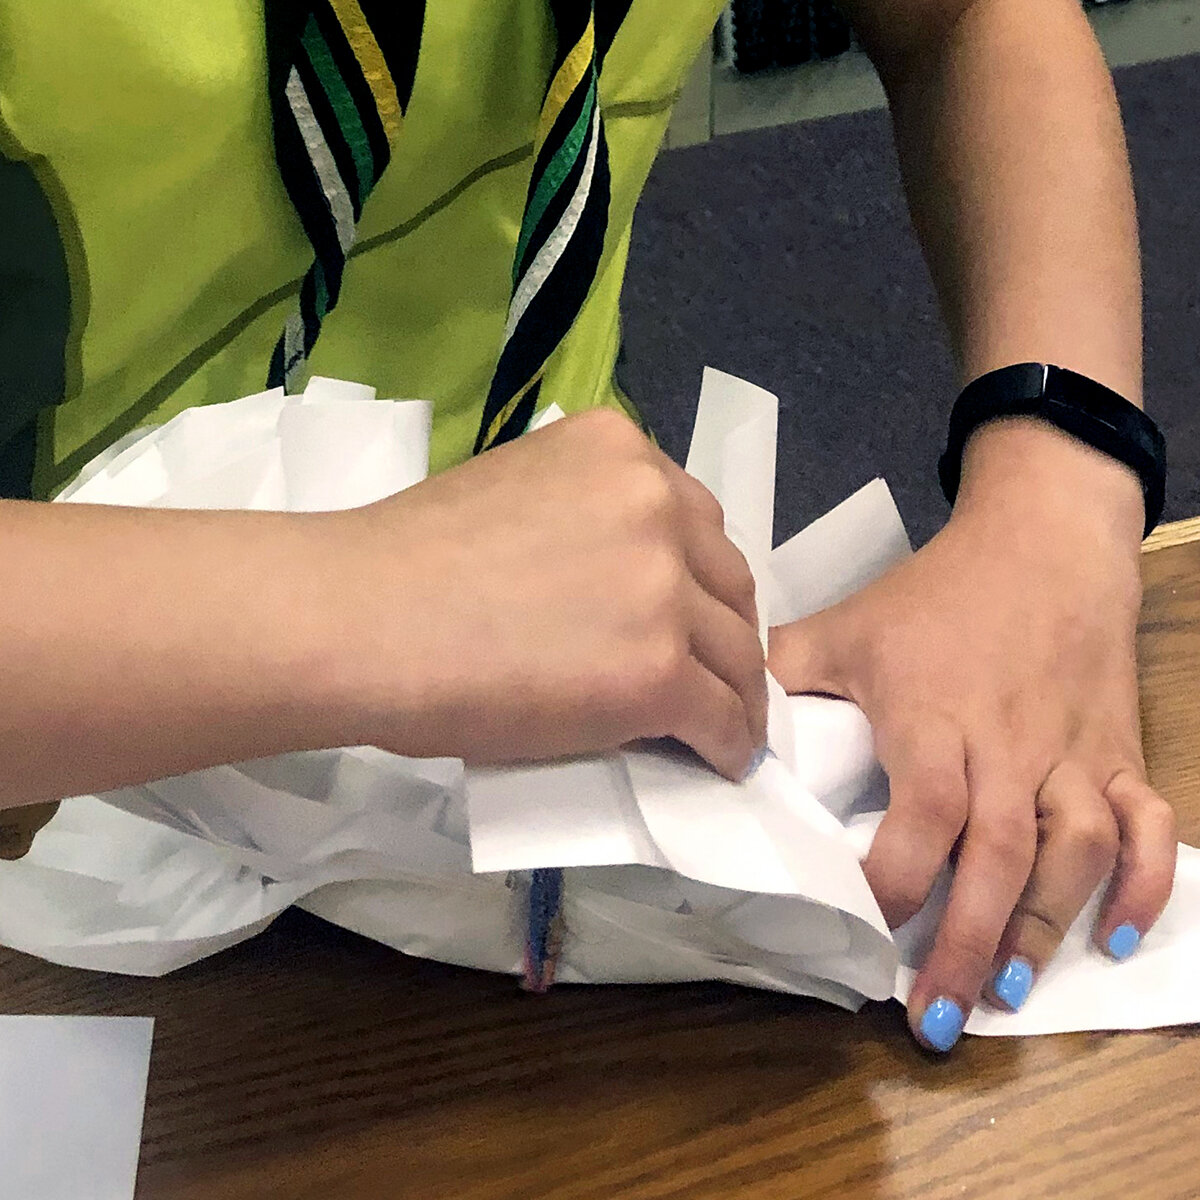
After past origami workshops, each person had the advanced folding skills to make intricate and dynamic flowers. I was quite impressed with the way they improvised even when some parts of the project proved to be more challenging than expected. For example, some of the textured paper was significantly harder to cut through than printer paper. Nonetheless, each student found ways to create flower shapes and add unique decorations such as stickers to decorate their creations. By the end of the workshop, we had a great time improvising with materials, improving our hand-eye coordination, and sharing our ideas with the group!
Please find attached a few photos of different 3d paper flowers that students created:
For those interested in creating 3d paper flowers, here is a transcript of instructions:
Materials:
Sheets of textured papers
Elmer’s Glue
Scissors
Step by step instructions to create 3d paper flowers:
Take a square sheet of paper and fold it in half diagonally to make a triangle.
Fold it in half diagonally again.
Fold it in half diagonally again.
Now, you should have one “folded edge’ and two edges where you can peel the paper back. Turn your triangle so that the folded edge is facing towards you.
Cut a small arc to round the edges of the other two edges. The result should look like a petal or a small slice of pie.
Unfold the sheet of paper.
Repeat steps 1-6 2 more times.
Now, take one of the 2d flowers you just made and cut one petal out of it so it looks like a pie with a slice missing.
Do the same with the other one but cut two slices out of it.
Finally, cut 3 slices out of the last one.
Now, glue the flower together. Start with the 2d flower with 3 slices missing and glue the end petals togethers so that it forms a cone. Place that on the step.
Repeat with the other parts and continue placing them on stems until you have layered flowers.
Done! Now it’s your turn to be creative and make it your own!
Tags:
#tactilceart, #Artfortheblind, #touchart, #visuallyimpaired, #blindartist,, #accessibleart, #artforall, #sensoryart, #BlindandVI, #accessibility, #inclusion, #artmuseums, #artforeveryone, #accessiblemuseum
Art for the visually impaired, Art for the Blind
